Testing a Vue component part 1: getting started
Recently we released vue-tabs-component, a simple Vue component to render a tabular interface. If you want to know more about to the component itself I suggest you head to the introductory post on it. Like with the vast majority of our open source work this package comes with tests. In this series of blogposts I'd like to delve a little bit deeper in those tests.
We'll touch upon Jest, jsdom, snapshot testing, async/await, monkey patching and a whole lot more. I hope you're ready for the ride.
Here's the table of contents of the series:
- Starting out with tests (you're here)
- The first test and snapshot testing
- Creating an instance of a component
- More tests and faking time
- Jest awesomeness and a skeleton to get started
Starting out with tests
I'm not ashamed to say that starting out with writing tests for a Vue component was very daunting at first.
The only thing I knew was that I wanted to use Jest, a modern testing platform for JavaScript, because I had used it before and was quite happy with it. More on Jest later.
Sure, the official Vue docs explain how to do simple assertions But for a real life component that documentations doesn't cut it. The tests of our component should assert that it is rendered correctly in the dom, that is caches that name of the last opened tab](https://github.com/spatie/vue-tabs-component), that it opens the right tab when navigating to a url with a specific fragment, that the fragments can customized and much more.
Luckily my colleague Sebastian helped a lot with setting up the right environment to write the tests in. If you want to write and test your own Vue component check out our skeleton-vue repo that contains all the right things to get started.
With this solid setup I could move past the initial frustration and write some tests.
A first look at the tests
If you want to follow along with you should clone the vue-tabs-component repo with
git clone git@github.com:spatie/vue-tabs-component
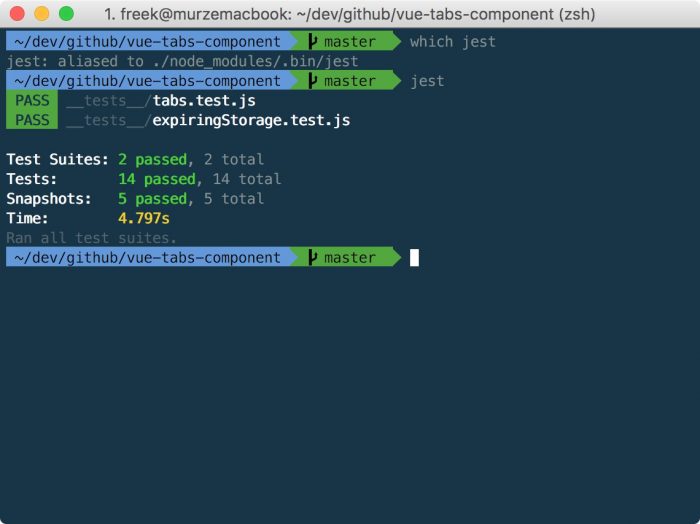
Inside the cloned repo, run yarn (or npm install) to pull in all dependencies. Because it is listed in our package.json file that command will also pull in jest, our test runner. To run all the tests for the package issue this command ./node_modules/.bin/jest. You could opt to alias that to jest .
You'll see this output.
All tests are green, great!
You might wonder where those tests are stored an how Jest finds them. Well, the tests themselves are stored in the __tests__ directory. You're not required to name that directory as such, but it seems the convention that most Jest users are following. Jest will just scan your entire project for files that end on test.js and execute the tests inside them.
Let's take a look at our first real test. Open up __tests__/expiringStorageTest.js. This file contains all test that make sure our Vue component is working correctly.
Near the top of the file you see this line:
describe('vue-tabs-component', () => {
That describe function is part of Jest. The first parameter is just the name of your test suite (it is displayed when you run Jest). The second parameter is a function that contains the tests you want to run. Inside that function you'll see lines starting with the it function such as:
it('can mount tabs', async () => {
it('displays the first tab by default', async () => {
...
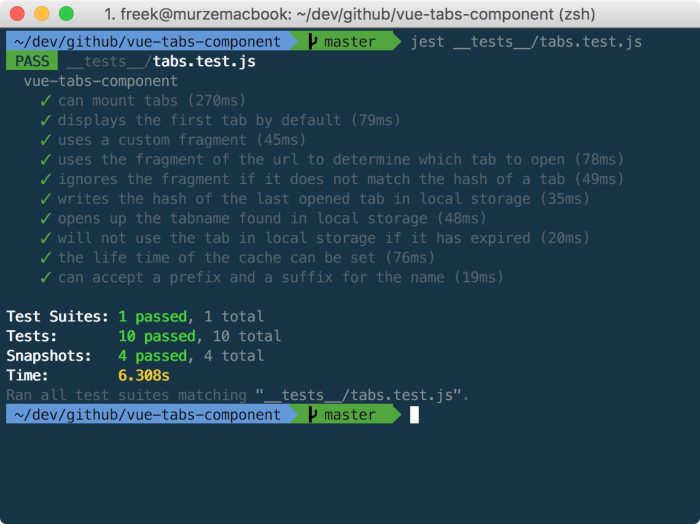
Those it functions contain the actual tests. The second argument of it is function that is the test itself, the first argument is the name of that test. Notice that together with the it before it, the name of the test clearly says what is going to be tested: it can mount tabs. You haven't seen those labels in the output when running Jest before because there are multiple test files in our project. You can run all the test from a single file by just passing that file as a second argument of Jest.
jest __tests__/tabs.test.js
That'll output something this:
Our journey into the wicked world of Vue component testing continues in the second part of this series: The first test and snapshot testing.


