Generating status badges using PHP original
Recently, we introduced a nice new feature to Oh Dear: status badges. A status badge is a beautiful SVG that shows the uptime status of your site.
Here’s the actual Oh Dear powered status badge for flareapp.io
Hopefully, Flare is online at the time you are reading this, and the above badge is green. Should Flare be down, the badge will be colored red.
In this post, I’d like to show you how we built these badges.
Taking a look at the badges
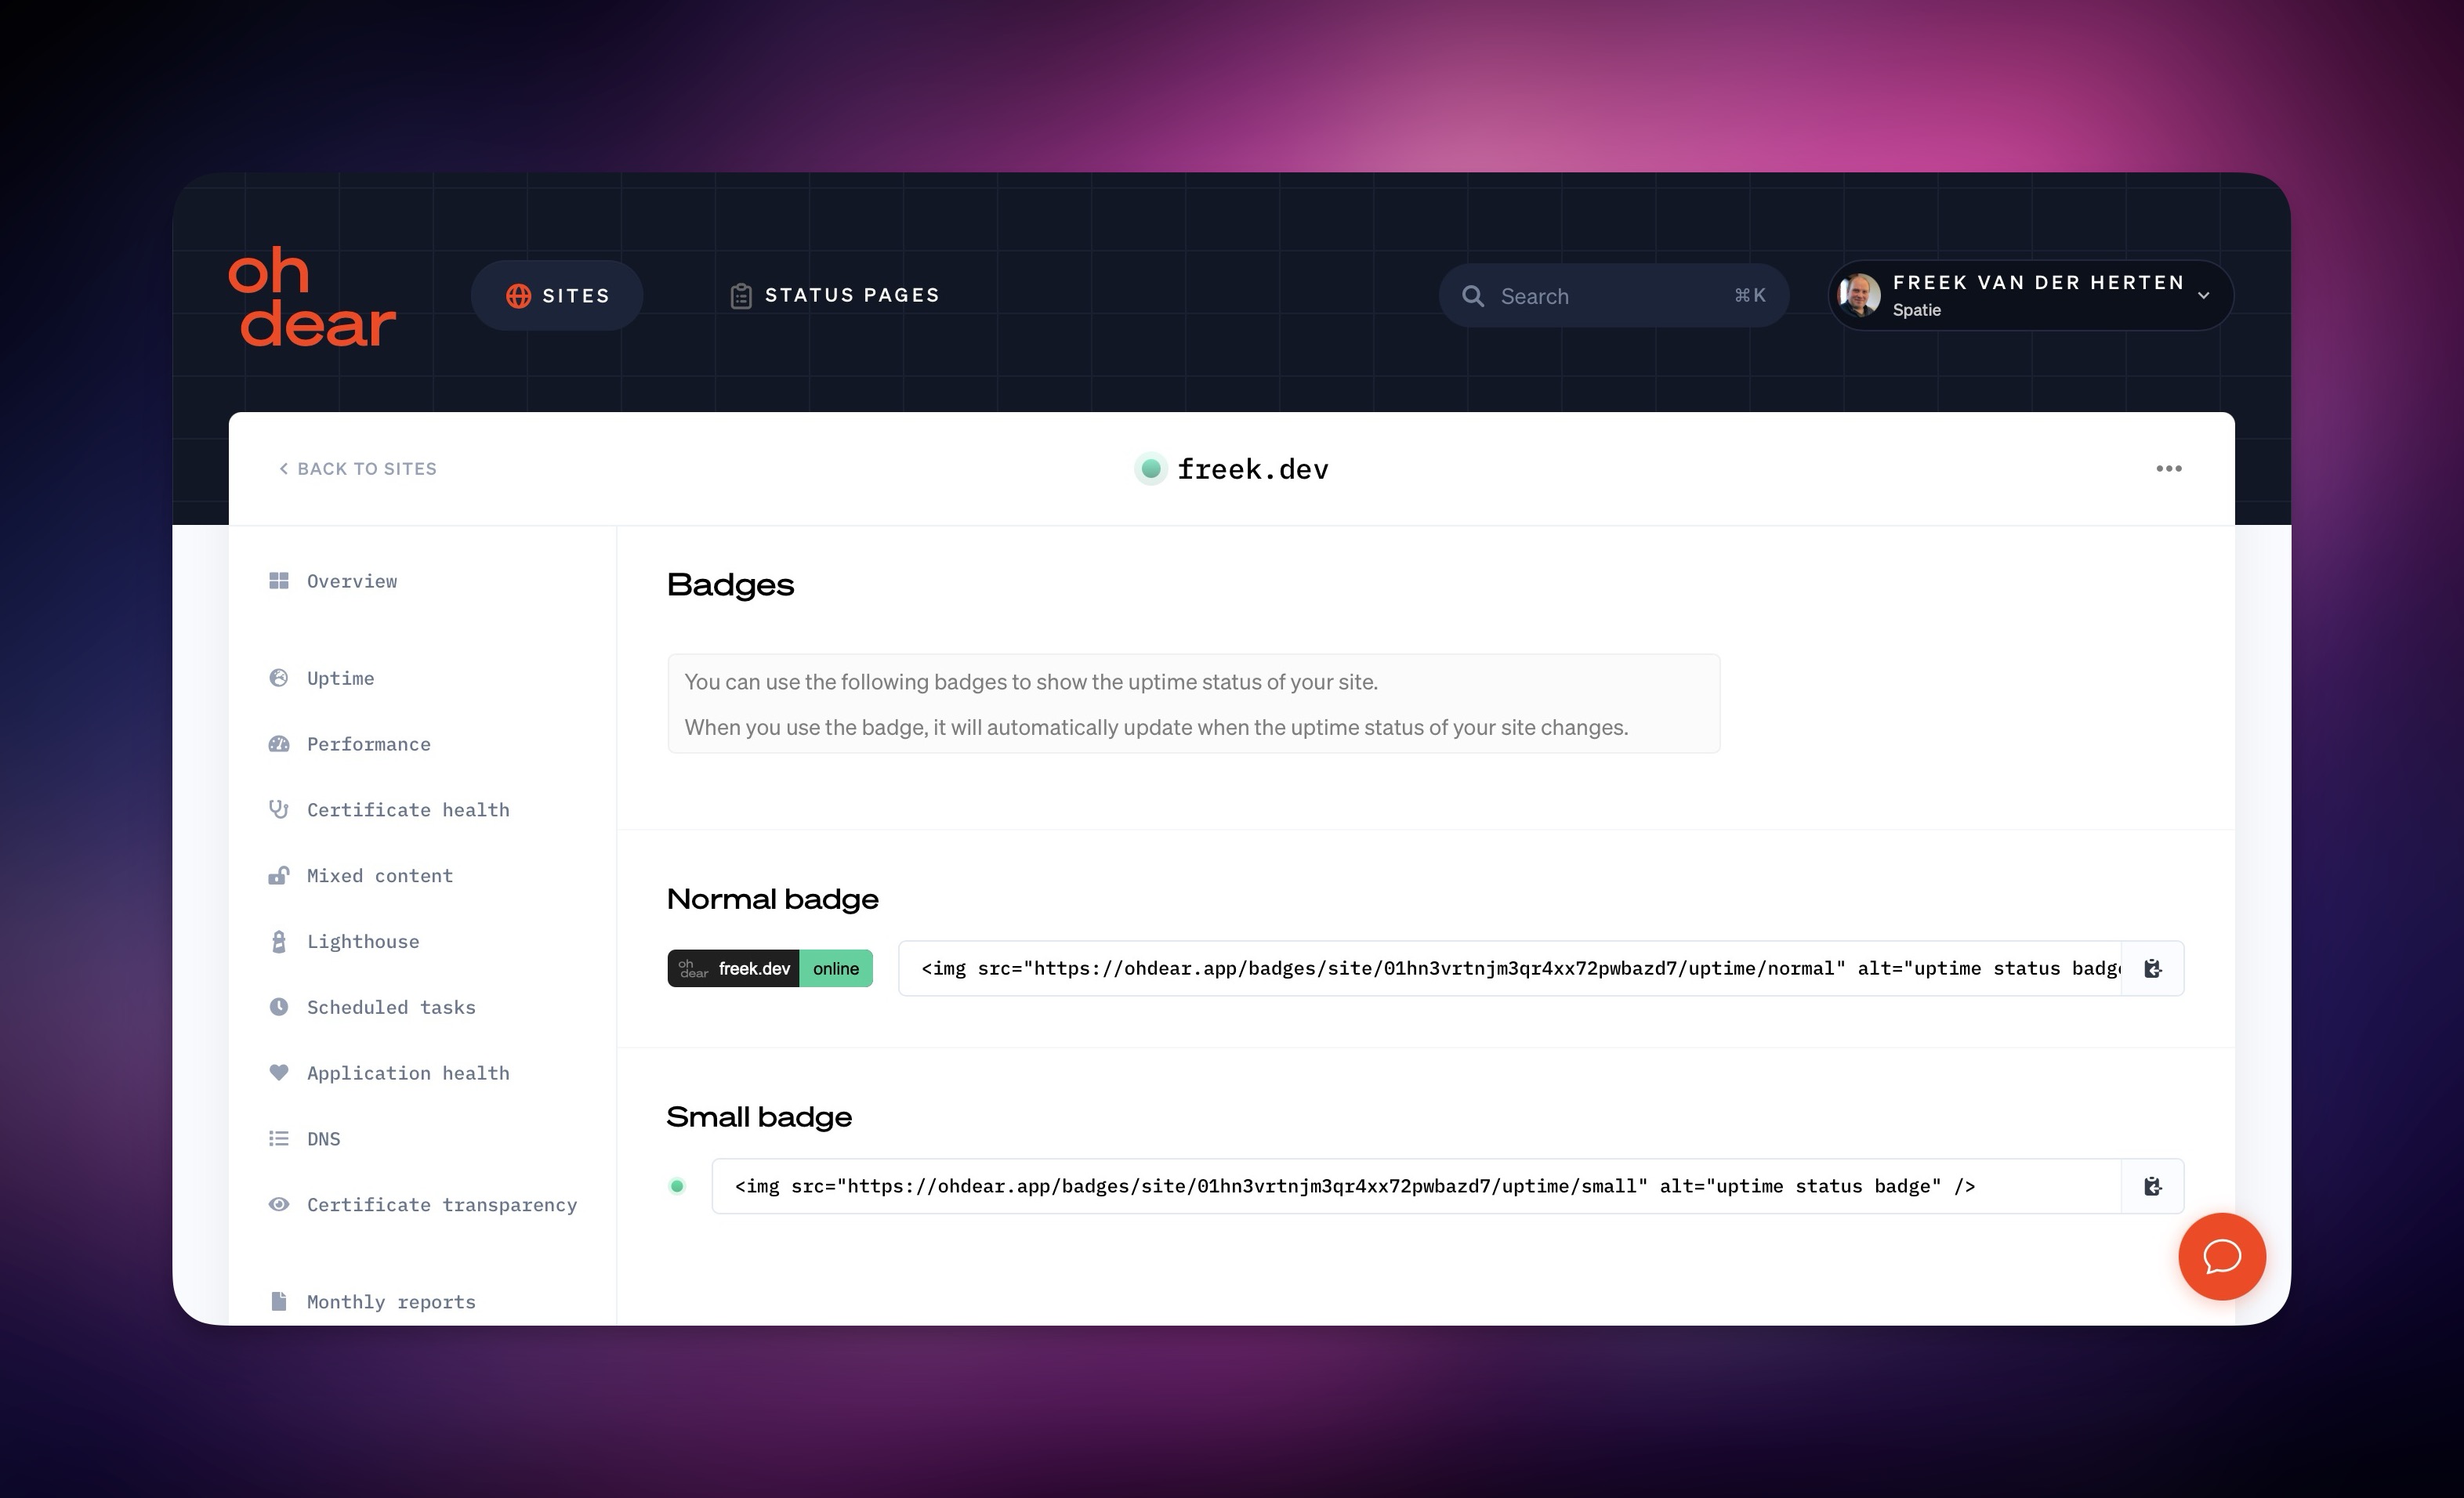
For each site and status page in your Oh Dear account, we offer badges that you can use to show the status of your site or status page everywhere you want.
The default badge shows the name of a site and its uptime status. Here's the actual badge for freek.dev
The small badge is a smaller version of the default badge that only shows the status of a site.
Here's the actual small badge for freek.dev:
At Oh Dear, you can find the badges in the "Badges" tab for each of the sites and status pages in your account. On that screen, you can easily copy the HTML code to use the badge you want.
How the status badges are generated
Technically, the status badges are SVGs. You might think we store the SVGs on a disk somewhere, but that's not the case. We generate the SVGs on the fly using PHP.
Here again is the default badge for Flare:
Our codebase has a Blade component that can render the normal badge shown above. It accepts three properties: the label text ("flareapp.io"), the result text ("online"), and the color of the badge.
<x-normal-badge
    :labelText="$labelText"
    :resultText="$resultText"
    :color="$color"
/>
The Blade view for this component looks like this. I've omitted some parts for brevity.
<svg id="svg" width="{{ $sizes['fullBadgeWidth'] }}" height="24" viewbox="0 0 {{ $sizes['fullBadgeWidth'] }} 24"
     fill="none"
     xmlns="http://www.w3.org/2000/svg">

    <!-- Some parts removed for brevity -->

    <text id="labelText" transform="scale(.1)" x="330" y="160" fill="#fff">{{ $labelText }}</text>
    <text id="status" x="{{ $sizes['textLabelX']  }}"
          y="160" transform="scale(.1)" fill="{{ $colors['text'] }}">{{ $resultText }}
    </text>
</svg>
You can see that the Blade view contains code to render an SVG. To make the SVG dynamic, we use some variables passed to the Blade component, such as $labelText and $resultText.
You can imagine that the SVG needs to grow or shrink depending on the length of the label text and result text. The total length the SVG needs to be, is stored in the $sizes['fullBadgeWidth'] variable. This number is calculated in the component class that renders the badge.
The font used in the badge isn't a monospace font, meaning each character has a different width. Luckily, PHP has a nifty function called imagettfbbox that can calculate the width of a string in a given font of a specific font size.
$fontPath = base_path('resources/fonts/arial/Arial.ttf');

$labelBoundingBox = imagettfbbox(
    size: 8,
    angle: 0,
    font_filename: $fontPath,
    text: $labelText,
);

$labelWidth = $labelBoundingBox[2];
We do the same for the result text. We then calculate the width of the SVG by adding the width of the label text, the width of the result text, and some padding.
And voila, we have a dynamic SVG that can grow and shrink depending on the length of the label and result text.
Caching and responding with the SVG
In the section above, we saw how to generate an SVG for a badge. Let's now look at the controller that handles the request for a badge.
namespace App\Http\Front\Controllers\Badges;

use App\Domain\Site\Actions\GenerateSiteUptimeStatusBadgeSvgAction;
use App\Domain\Site\Models\Site;

class SiteUptimeStatusBadgeController
{
    public function __invoke(Site $site, string $type)
    {
        $svg = app(GenerateSiteUptimeStatusBadgeSvgAction::class)->execute($site, $type);

        return response($svg, headers: [
            'Content-Type' => 'image/svg+xml',
            'Cache-Control' => 'max-age=30, s-maxage=30, stale-while-revalidate=30',
        ]);
    }
}
The GenerateSiteUptimeStatusBadgeSvgAction is a class that we use to generate the SVG itself.
You can see that the controller returns the SVG as a response. The response has a Content-Type header that tells the browser that the response is an SVG. The response also has a Cache-Control header that has three parts to it:
-
max-age=30: this tells the browser that it can cache the response for 30 seconds. -
s-maxage=30: this tells shared caches, such as CDNs and proxy servers that they can cache the response for 30 seconds. -
stale-while-revalidate=30: this tells the shared caches that it can serve the cached response for 30 seconds after the cache has expired. The CDN will then revalidate the cache in the background.
By setting these headers, we can ensure that the browser and shared caches don't have to request the badge from our servers whenever the badge is shown on a page. This saves us a lot of bandwidth and CPU cycles.
Now, in addition to those headers, we also use the spatie/laravel-responsecache package to cache the response on our server.
Let's look at the routes defined to handle the badge requests.
Route::prefix('badges')->middleware('cacheResponse:30')->group(function () {
    Route::get('site/{siteUlid}/uptime/{type}', SiteUptimeStatusBadgeController::class);
    Route::get('status-page/{statusPageUlid}/{type}', StatusPageStatusBadgeController::class);
});
The cacheResponse middleware is provided by the spatie/laravel-responsecache package. It will cache the response, in our case the rendered SVG for 30 seconds.
Together with the Cache-Control headers, the middleware will ensure that the response will be cached on our server, in the browser, and on shared caches for a short time. So our badge is always fresh enough and we don't have to generate it on every request.
Conclusion
I hope this post gave you some insights into how we generate the status badges at Oh Dear. To try the badges yourself, sign up for a free Oh Dear trial.
Oh Dear can monitor your entire site, not just the homepage. It will actually crawl your entire website and report any broken links. You can monitor your scheduled jobs, if Horizon is up, your SSL certificate is valid, your DNS records, and more. I've put a lot of love into Oh Dear, and I hope you'll like it.