New major versions for spatie/image and Laravel Media Library have been released original
We’ve released a new major version of spatie/image, v3. This package makes it very easy to manipulate images using PHP.
At the same time, we’ve also released a new major version of spatie/laravel-medialibrary. This is a powerhouse package that can associate all kinds of files with Eloquent models. The latest version of this package now uses spatie/image v3 under the hood for manipulating images.
In this blog post, I’ll explain why we made new major versions and how they can be used.
Using spatie/image
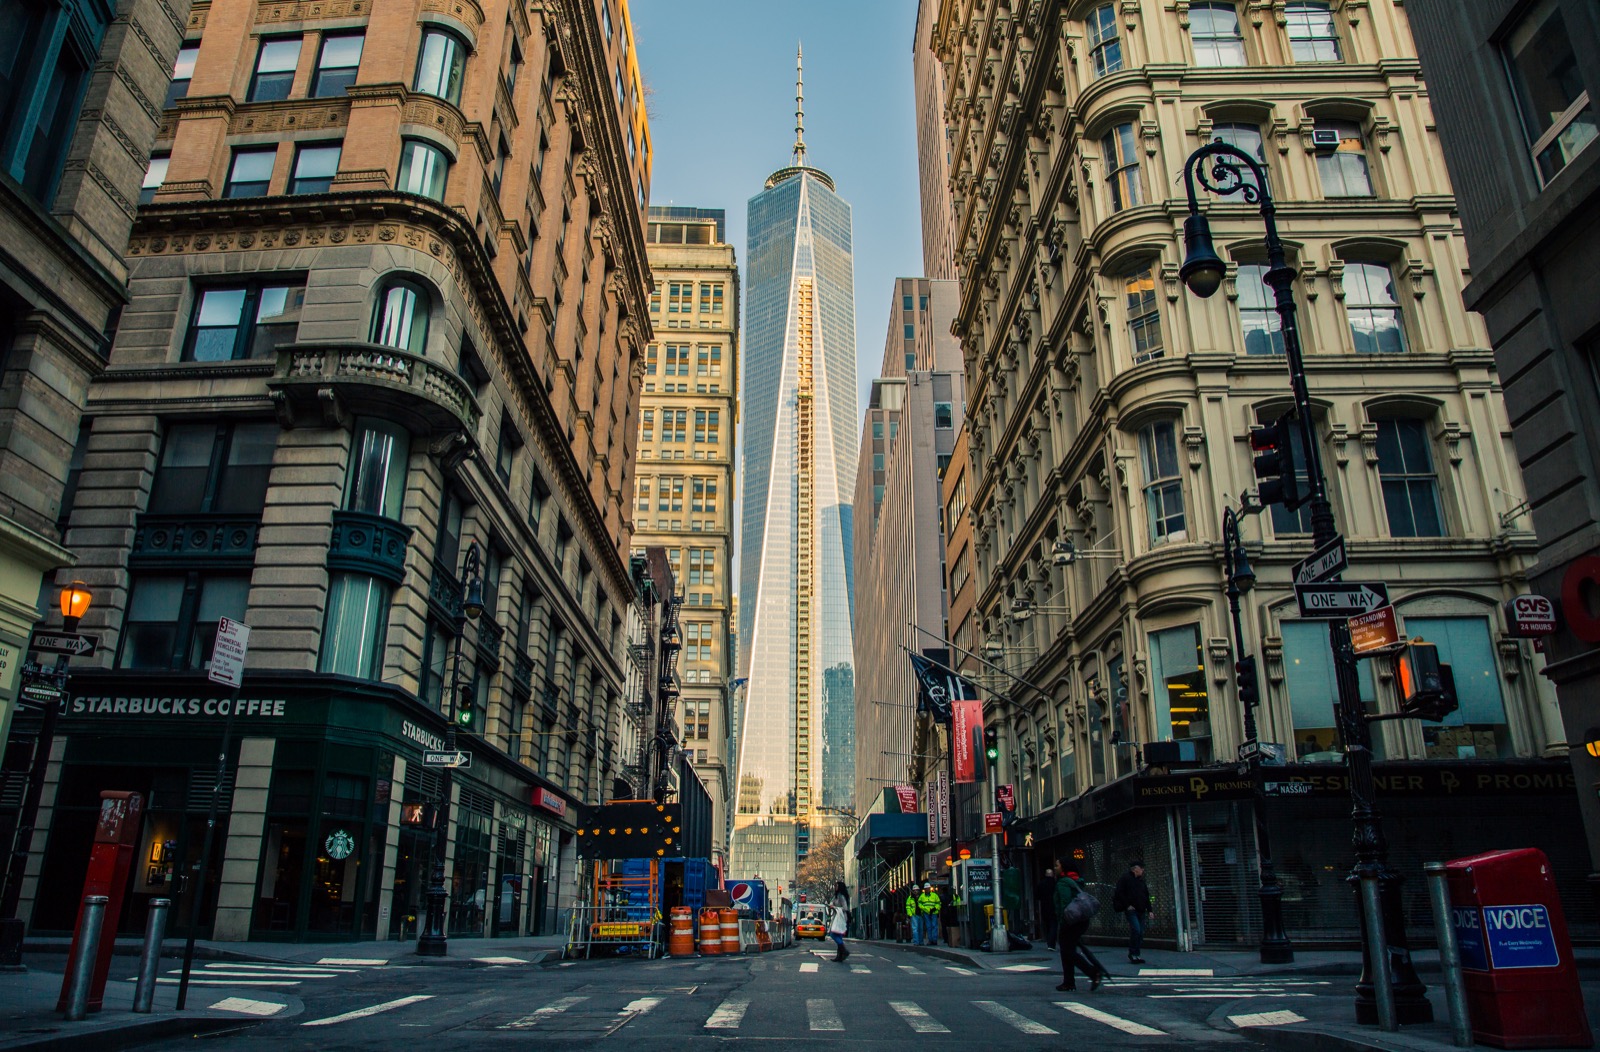
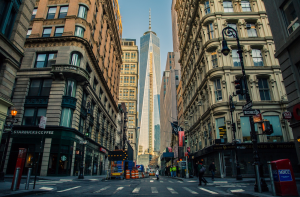
In the remainder of this post, we will manipulate this beautiful photograph taken in New York City.
Let's start with a simple manipulation. The package allows you to easily load up an image, perform some manipulations, and save it again, overwriting the original image.
Image::load('new-york.jpg')
    ->sepia()
    ->blur(50)
    ->save();

Imagine you want to convert a jpg to a png. Here's how to do that. You should have to specify a path with the correct extension.
Image::load('new-york.jpg')->save('converted.png');
One of the more powerful methods is fit. This operation will try to fit an image within given boundaries. Here’s an example where we will resize an image and fit it within the width and height boundaries without cropping, distorting, or altering the aspect ratio.
$image->fit(Fit::Contain, 300, 300);
Here’s what the resulting image looks like.
So its aspect ratio wasn’t altered (it does not look stretched), and the resulting image fits in a 300x300 box.
There are a couple more fit modes such as Fix::Max, Fit::Fill, Fit::strech. These fit operations are quite powerful because you don’t need to calculate the resulting dimensions, which can be tricky. The package takes care of all this.
Of course, the package supports many more image manipulations. Check out the the extensive documentation to learn more.
Why we released a new major version of spatie/image
If you already use spatie/image, you might wonder what’s new in v3. And the truth is that in the public API, almost nothing changed, but under the hood, the new v3 is entirely other beast than v2.
v2 of our package uses Glide (by Jonathan Reinink) to perform image manipulations. Glide can generate images on the fly using URL parameters. With Glide installed in your project, a cropped version of the image in this bit of html will be automatically generated.
<img src="image.jpg?w=300&h=400&fit=crop" />
Its API is really nice to work with. Under the hood, Glide leverages the popular Intervention Image package by Oliver Vogel, but it hides some of the complex operations behind easy-to-use parameters. The various fit operations described above were calculated in spatie/image v2’s Glide dependency.
So while spatie/image v2 is a joy to work with as a user, there’s quite some overhead under the hood. We have to translate all methods calls to a query string like ?w=300&h=400&fit=crop and feed that to Glide’s server, which translates it to Intervention Image calls under the hood.
In v3, this is vastly simplified. In fact, spatie/image v3 has no dependency at all (besides the GD and Imagick extension). Technically, v3 is a fork of Intervention Image, where we modernized the codebase and refactored it for readability. We added a modern test suite (more on that later). On top of that code base, we added all of the image manipulation operations available in Glide.
This makes spatie/image v3 much more efficient and maintainable than spatie/image v2.
Testing spatie/image v3
While developing v3, we took some time to develop a good way to test image manipulations. The easiest way to verify an operation is correct is to take a hash of the resulting file.
it('can adjust the brightness', function () {
    $targetFile = $this
			->tempDir
			->path("brightness-test-result.png");

    Image::load(getTestJpg())->brightness(-50)->save($targetFile);

    $resultHash = md5($targetFile);

    expect($resultHash)->toBe(/* some hardcoded value */);
});
If you would only want to run this test suite on one computer, it would be fine. But on other computers, and over time, you could use different versions of GD and Imagick. These versions might produce slightly different results. If you work with a hash to verify if the resulting image is what you expect, than even a difference of one pixel in your image would result in a different hash and a failing test.
This can be solved by using a JavaScript tool like Pixelmatch instead of relying on a hash. Pixelmatch can compare two images and return the percentage of matching pixels. We made a package called spatie/pixelmatch-php to easily use this tool using PHP. Here’s how it can be used.
use Spatie\Pixelmatch\Pixelmatch;

$pixelmatch = Pixelmatch::new("path/to/file1.png", "path/to/file2.png");

$pixelmatch->matchedPixelPercentage(); // returns a float, for example 97.5
$pixelmatch->mismatchedPixelPercentage(); // returns a float, for example 2.5
There’s also a matches function to check if the images match.
use Spatie\Pixelmatch\Pixelmatch;

$pixelmatch = Pixelmatch::new("path/to/file1.png", "path/to/file2.png");
$pixelmatch->matches(); // returns a boolean
$pixelmatch->doesNotMatch(); // returns a boolean
A key feature of Pixelmatch is that you can set a threshold. Higher values will make the comparison more sensitive. The threshold should be between 0 and 1.
use Spatie\Pixelmatch\Pixelmatch;

// while be true even if the image has slight variations
$isSameImage = Pixelmatch::new("path/to/file1.png", "path/to/file2.png")
   ->treshold(0.1)
   ->matches();
With this in mind, we could rewrite our test like this.
it('can adjust the brightness', function () {
    $targetFile = $this->tempDir->path("brightness-test-result.png");

    Image::load(getTestJpg())
			->brightness(-50)
			->save($targetFile);

		$imageWithBrighnessAdjusted = $this
			->fixturesPath('brightness.png')

    $isSameImage = Pixelmatch::new(
       imageWithBrighnessAdjusted,
       $targetFile,
   )
      ->threshold(0.1)
      ->matches();

    expect($isSameImage)->toBeTrue();
});
Nice! Now, our test will only succeed if there are slight variations in the output caused by using different versions of GD/Imagick.
We could call it a day here, but we went one step further. Our test suite has hundreds of tests, so we want them to be as small as possible while retaining readability.
To create the test above, we first manually created a file with the brightness adjusted ($imageWithBrighnessAdjusted) so we could use that as a file to compare against.
A far better way to handle this is to leverage snapshot testing. When using snapshot testing, the first time you run the test, the result is automatically saved; the next time you run a test, its output will be compared to the saved result. Snapshot testing is a large subject in itself. To learn more about it, check out this video from our testing course.
To work with images, we added a new function to our PHPUnit snapshots assertions package: assertMatchesImageSnapshot. We also added that function to the Pest specific package.
The first time you run a test containing assertMatchesImageSnapshot($pathToImage), the passed image will be written in the snapshots directory. You should then manually make sure that that image is correct. The next time you run the tests, the passed image will be compared to the image written in the snapshots directory. If it is the same, the test passes. If it is not, the test fails.
As a bonus, you can pass a Pixelmatch threshold as a second parameter to assertMatchesImageSnapshot. By default, it is set to 0.1
assertMatchesImageSnapshot($targetFile, 0.2)
With that snapshot assertion, we can make our test much smaller.
it('can adjust the brightness', function () {
    $targetPath = $this->tempDir->path("brightness-test-result.png");

    Image::load(getTestJpg())
			->brightness(-50)
			->save($targetFile);

    assertMatchesImageSnapshot($targetFile);
});
Beautiful, right? We could call it a day here, but as it stands, this test now only supports Imagick (because that’s selected under the hood by Image::load())). Our package supports both GD and Imagick. Let’s leverage Pest’s dataset feature to make sure both GD and Imagick work correctly using a single test.
First, a dataset that contains both drivers needs to be defined. You can put this in your tests/datasets directory or the Pest.php file.
dataset('drivers', [
    'imagick' => [Image::useImageDriver('imagick')],
    'gd' => [Image::useImageDriver('gd')],
]);
With the dataset defined, we can now adjust our tests to run once per driver in the dataset.
it('can adjust the brightness', function (ImageDriver $driver) {
    $targetFile = $this->tempDir->path("{$driver->driverName()}/brightness.png");

    $driver->loadFile(getTestJpg())
			->brightness(-50)
			->save($targetFile);

    assertMatchesImageSnapshot($targetFile);
})->with('drivers');
In my mind, this is an incredibly powerful test. It covers both GD and Imagick. It will also create a snapshot image per driver the first time you run that test. We can manually inspect that file if the correct results were rendered. On the next run of the test, it will verify if the newly created results match the snapshot.
In the test above, we tested the brightness operation, which is fairly simple. The combination of snapshot testing and datasets really shines when you want to test a more complex operation, like cropping, which takes multiple parameters.
it('can crop an image relative to a position', function (
    ImageDriver $driver,
    array $cropArguments,
    int $expectedWidth,
    int $expectedHeight,
) {
    $targetFile = $this->tempDir
			->path("{$driver->driverName()}/manual-crop.png");

    $driver
			->loadFile(getTestJpg())
			->crop(...$cropArguments)
			->save($targetFile);

    assertMatchesImageSnapshot($targetFile);
})->with('drivers')->with([
    [[50, 100, CropPosition::TopLeft], 50, 100],
    [[50, 100, CropPosition::Center], 50, 100],
    [[50, 100, CropPosition::Top], 50, 100],
    [[50, 100, CropPosition::Left], 50, 100],
    [[50, 100, CropPosition::Right], 50, 100],
    [[50, 100, CropPosition::BottomRight], 50, 100],
    [[50, 100, CropPosition::BottomLeft], 50, 100],
    [[50, 100, CropPosition::TopLeft], 50, 100],
    [[50, 100, CropPosition::TopRight], 50, 100],
    [[1000, 100, CropPosition::Center], 340, 100],
    [[50, 1000, CropPosition::Center], 50, 280],
    [[50, 1000, CropPosition::Top], 50, 280],
]);
If you want to see more examples of this way of testing, checkout out the test suite of spatie/image.
Using Laravel Media Library
All this testing goodness nearly made me forget we have released a new major version of Laravel Media Library as well. As you can suspect by its version number, v11, Media Library is already a very mature package. The latest version is more of a maintenance release where we polished some bits here and there.
The most significant change is that it uses spatie/image v3 under the hood. But because that API between image v2 and v3 was nearly identical, you won’t quickly run into breaking changes. Upgrading from v10 to v11 is straightforward.
When you define a media conversion, you can still use all image manipulations you know and love.
// on your model

public function registerMediaConversions(?Media $media = null): void
{
    $this
        ->addMediaConversion('thumb')
        ->width(50)
        ->height(50)
        ->nonQueued();
}
In closing
When creating image v2 years ago, I still remember thinking I should remove that dependency on Glide someday. I’m happy that today is that day.
Our image package is now a robust solution for manipulating images using PHP. It uses modern PHP features, like enums, and has an easy-to-maintain test suite. By making our Media Library package use spatie/image v3 under the hood, Glide isn’t required anymore.
I’d like to stress that Oliver’s and Jonathan’s excellent work on Intervention Image and Glide made spatie/image v3 possible. My colleague Tim also did a lot of good work on spatie/image v3.
Of course, this isn’t the first time we created a package. You can view an extensive list of all open source work we’ve done on our company website. Also take a look at Media Library Pro which contains front-end components to upload and administer Laravel Medialibrary file collections.