Sending transactional mail using Mailcoach in a Laravel app original
I'm proud to share that we've released two new packages: spatie/laravel-mailcoach-mailer (for Laravel apps) and spatie/mailcoach-mailer (for all other PHP based apps).
Using these two packages, you can send transactional mail through Mailcoach Cloud.
In this blog post, I'd like to share how you can use these packages and how they work under the hood.
Introducing Mailcoach
Mailcoach is an affordable solution for all mail-related things that my team at Spatie has built. It can send newsletters to lists of any size, you can configure drip campaigns, and send transactional emails. Think of it as MailChimp, but better (and more affordable too).
Traditionally Mailcoach worked by connecting it to an email-sending service of your choice (such as SES, Postmark, Mailgun...). Recently we added the option to use our built-in mailer, removing the need for an external account.
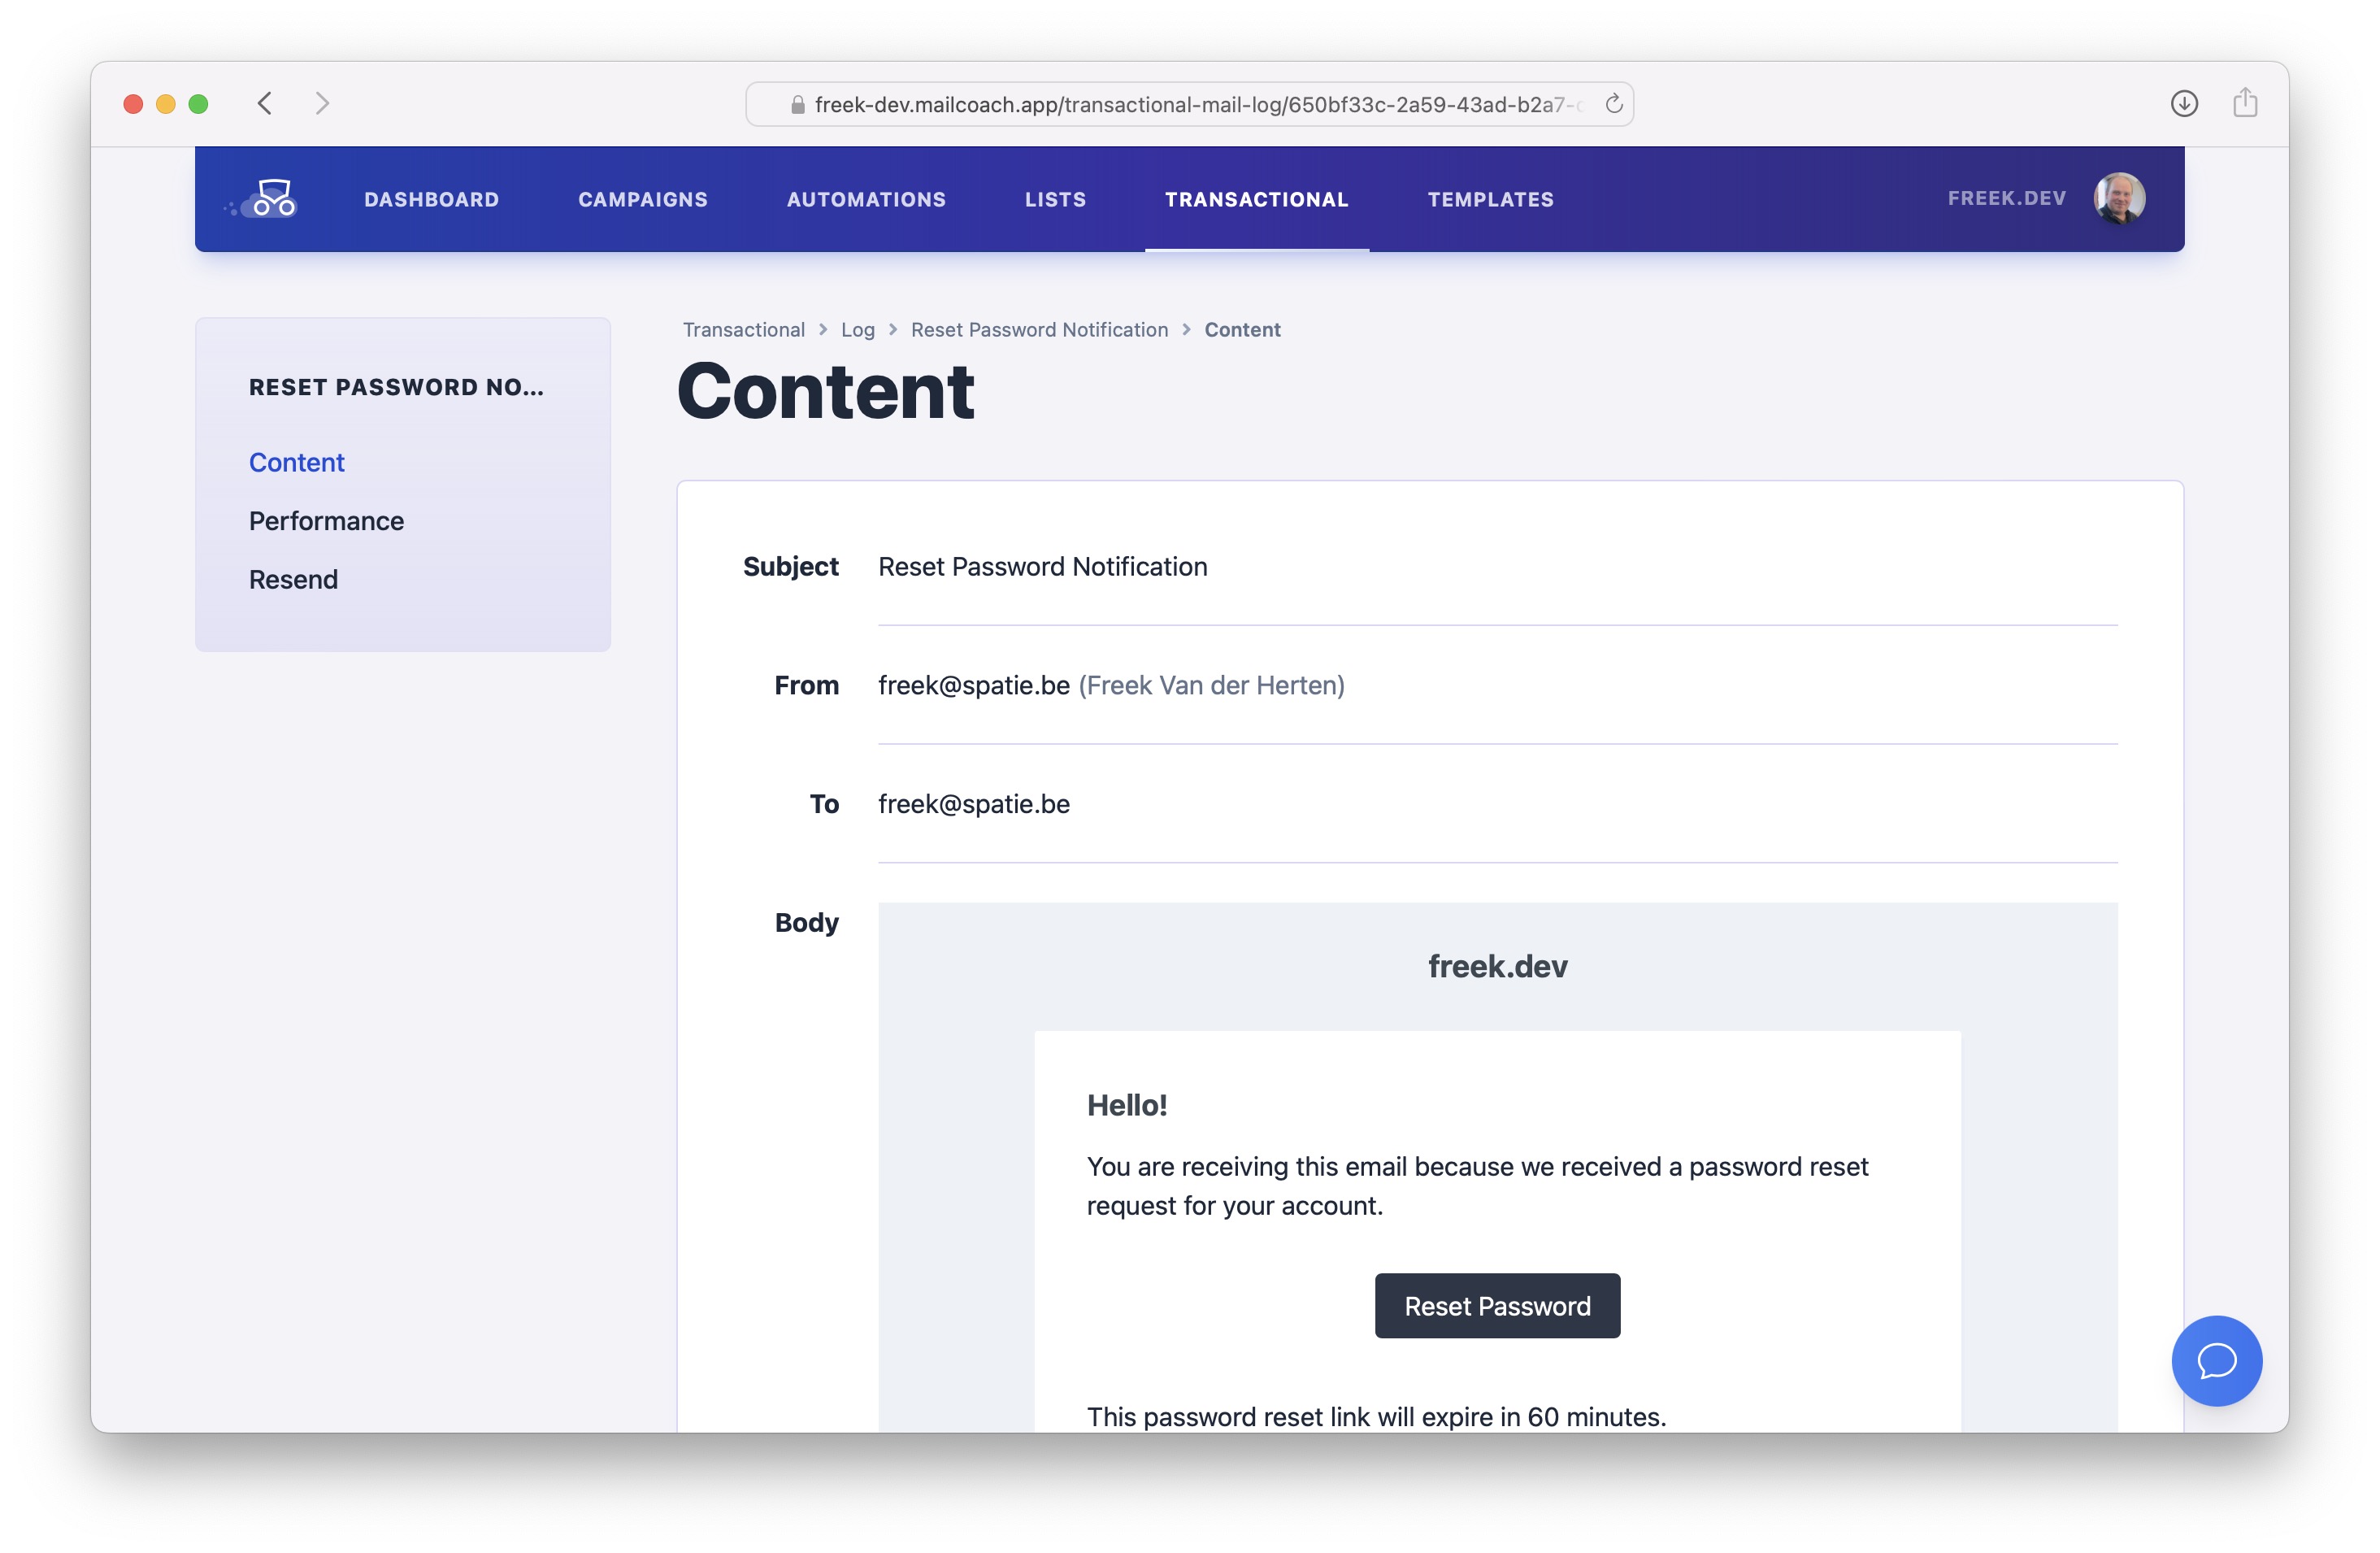
Any transactional emails sent through Mailcoach will be displayed in the transactional mail log.
Optionally, you can enable open- and/or click-tracking, so you know how effective your transactional emails are.
There's also a way of letting non-technical people, like marketeers, edit the content of transactional emails without the need to make code changes in your app. I'll talk about this later in this post.
Letting Laravel send transactional mails via Mailcoach
To send transactional emails from your Laravel through Mailcoach, install our Laravel Mailcoach Mailer package.
composer require spatie/laravel-mailcoach-mailer
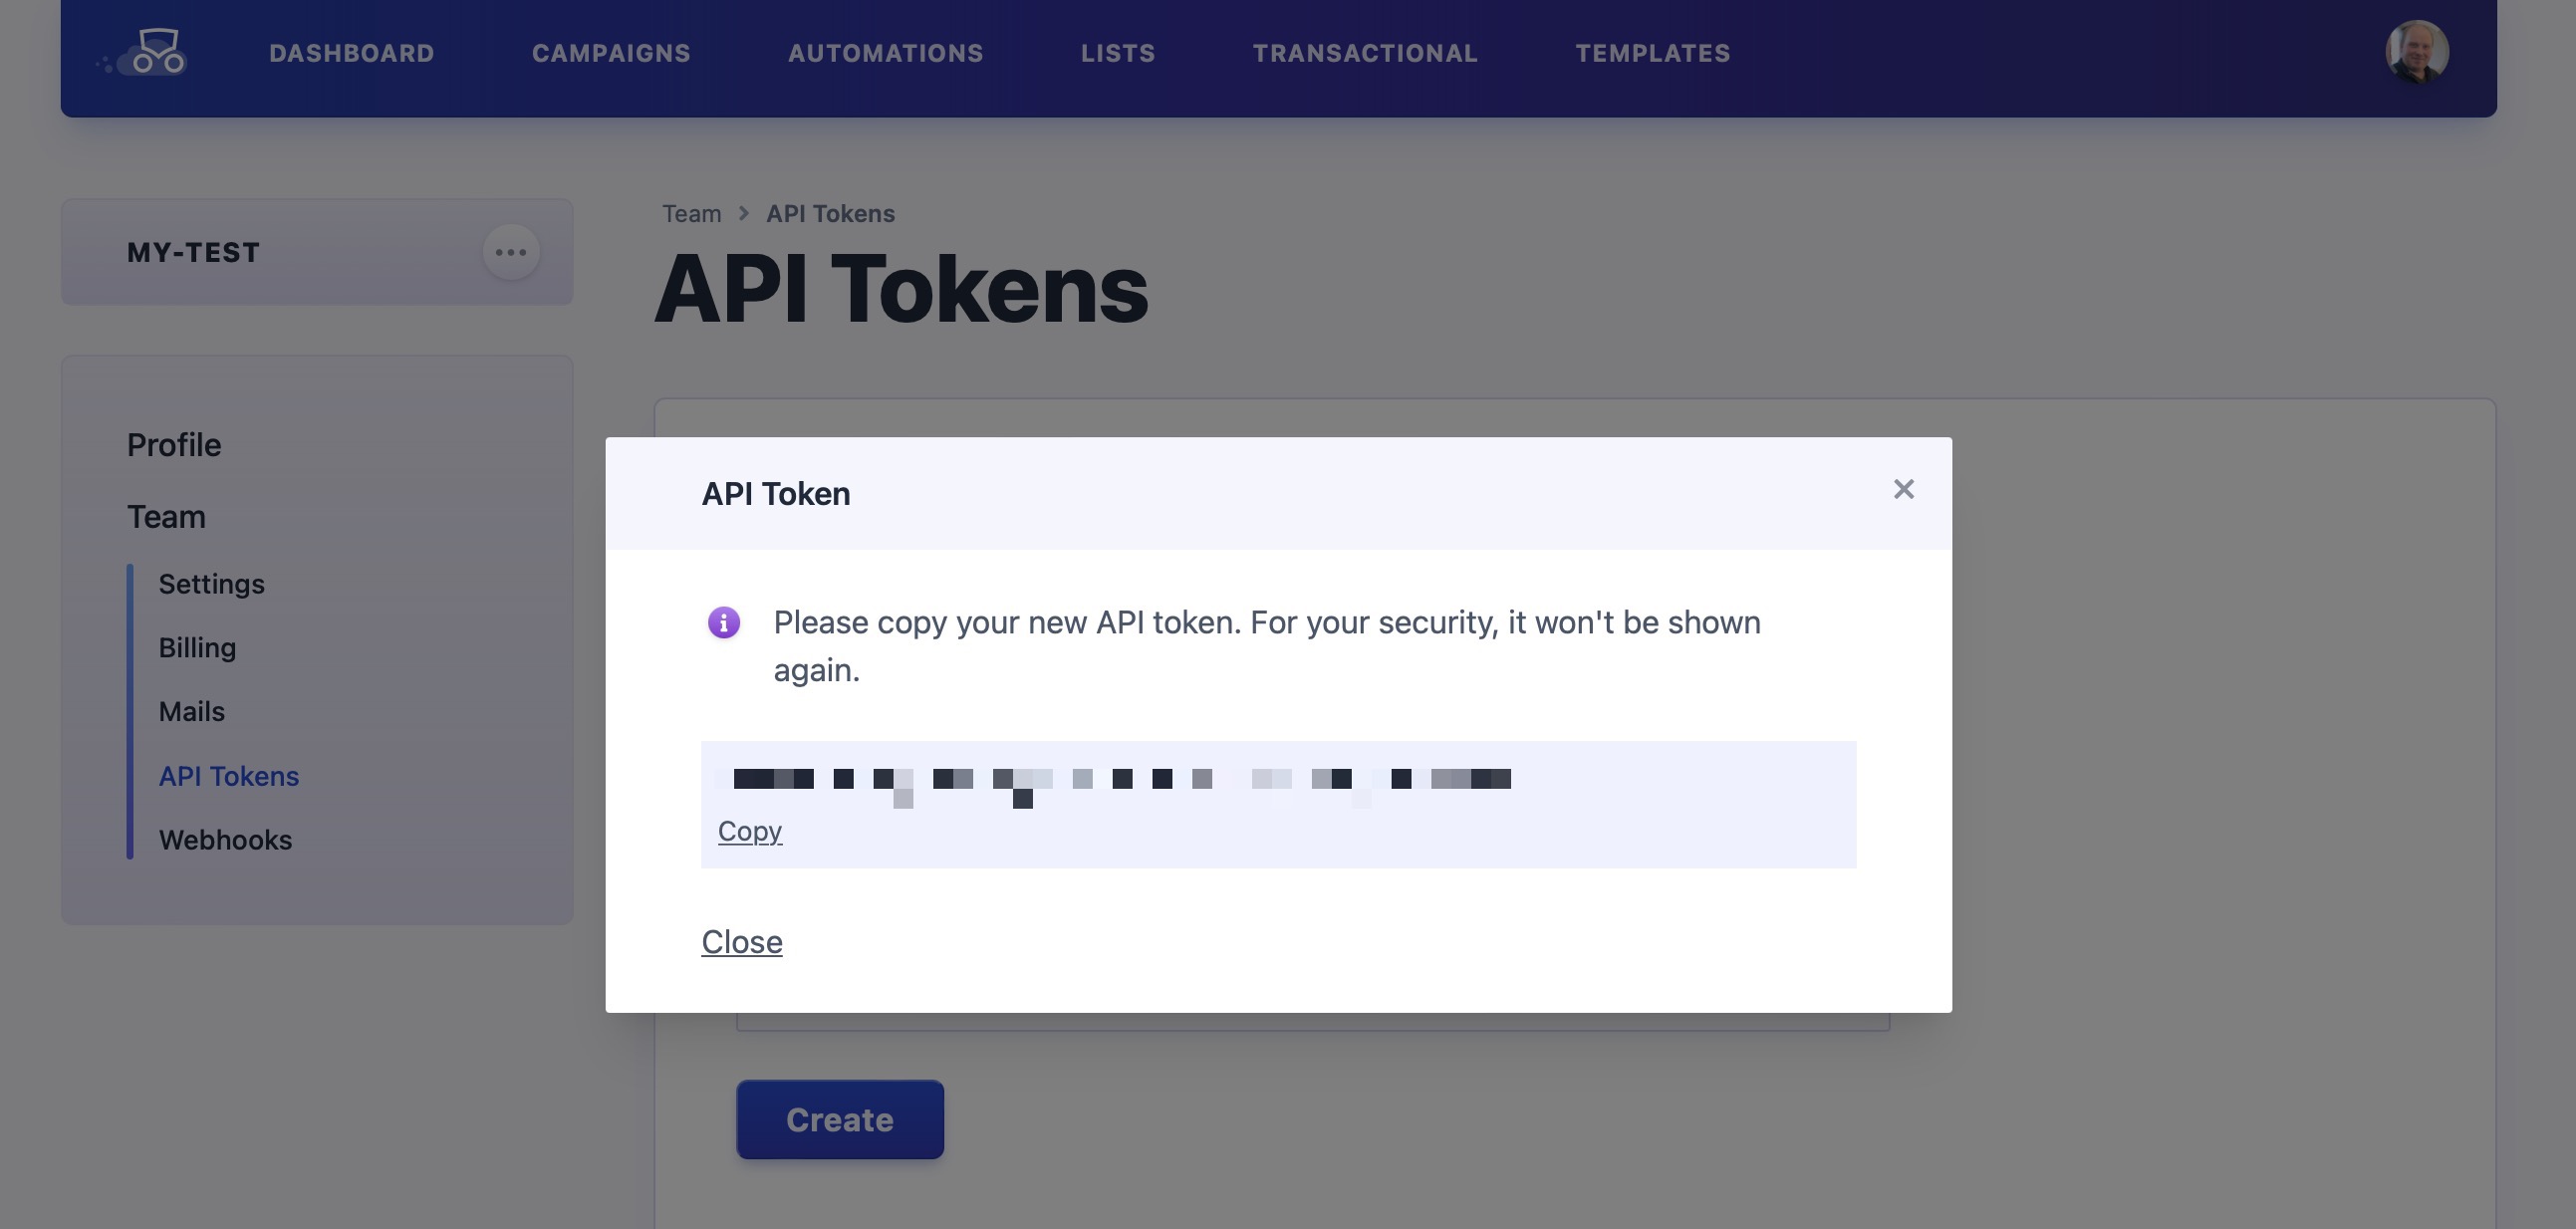
In your mail.php config file, you must add a mailer in the mailers key that uses the mailcoach transport. You should also specify your mailcoach domain (this is the first part) and a Mailcoach API token. In many cases, you also want to make Mailcoach the default mailer in your app.
Here's an example:
// in config/mail.php

'default' => 'mailcoach',

'mailers' => [
    'mailcoach' => [
        'transport' => 'mailcoach',
        'domain' => '<your-mailcoach-subdomain>.mailcoach.app',
        'token' => '<your-api-token>',
],
You'll find the Mailcoach subdomain by looking at any URL of the Mailcoach UI. You can create an API token on the API token screen in the settings.
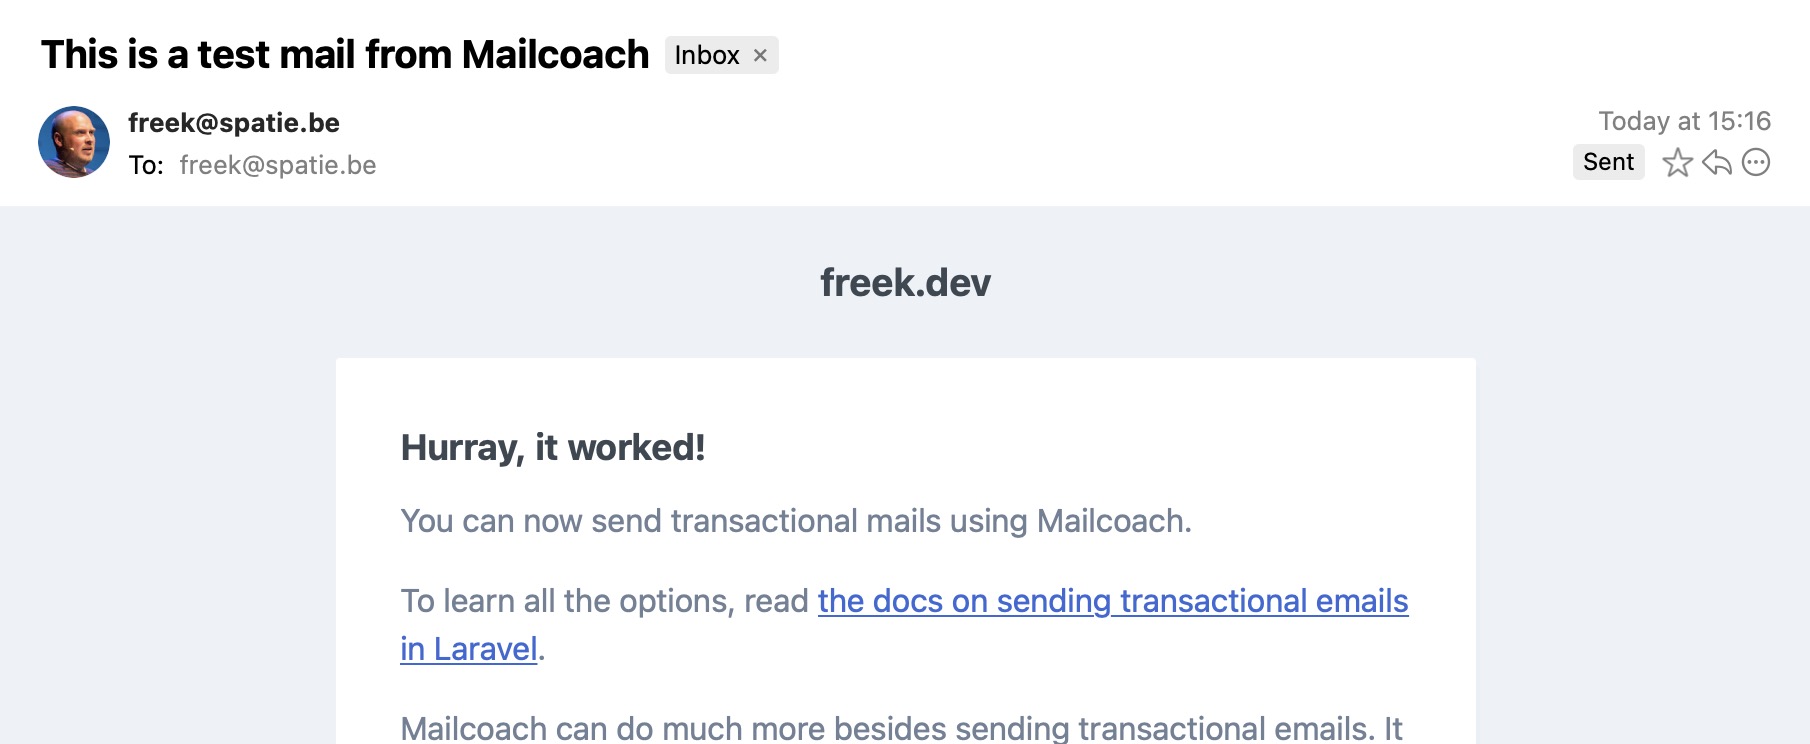
This artisan command can test if everything is set up correctly.
php artisan mailcoach-mailer:send-test
This above command will try to send a transactional mail through Mailcoach using your configuration.
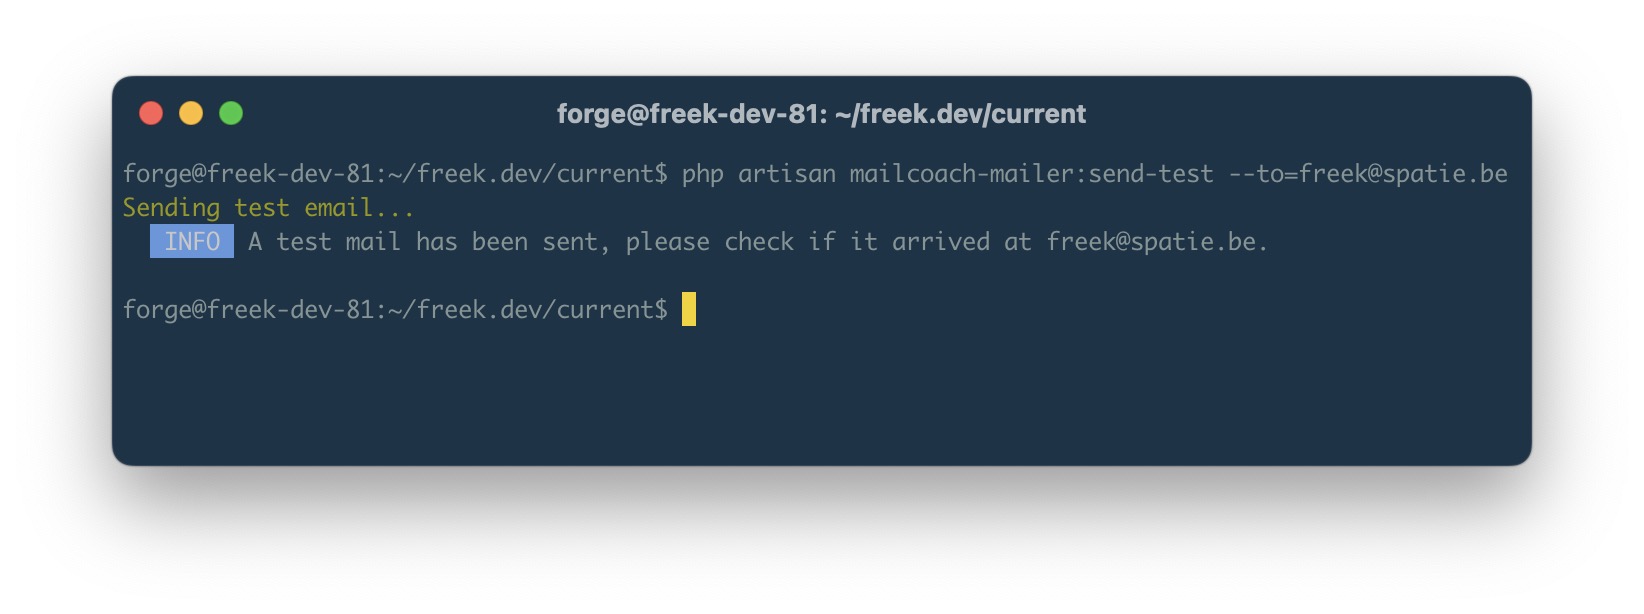
Look in your mailbox for the mail sent.
With this setup out of the way, you can send emails like you're used to.
// will be sent through mailcoach

Mail::to('john@example.com')->send(new OrderShippedMail());
Any transactional emails sent through Mailcoach will be displayed in the transactional mail log.
On the Mailcoach UI, you can also resend any transactional mail that was sent previously.
Editing the content of your emails on Mailcoach
Instead of saving the content of your emails in Mailable classes in your app, you can administer them in the Mailcoach UI. This way, non-technical people, such as marketeers, can edit the content of emails without a developer having to push code changes.
To get started, first create a template. A template is used to store the basic layout of your mail. Typically you would only set this up just once.
Next, you can create an email on the Transactional > Emails screen.
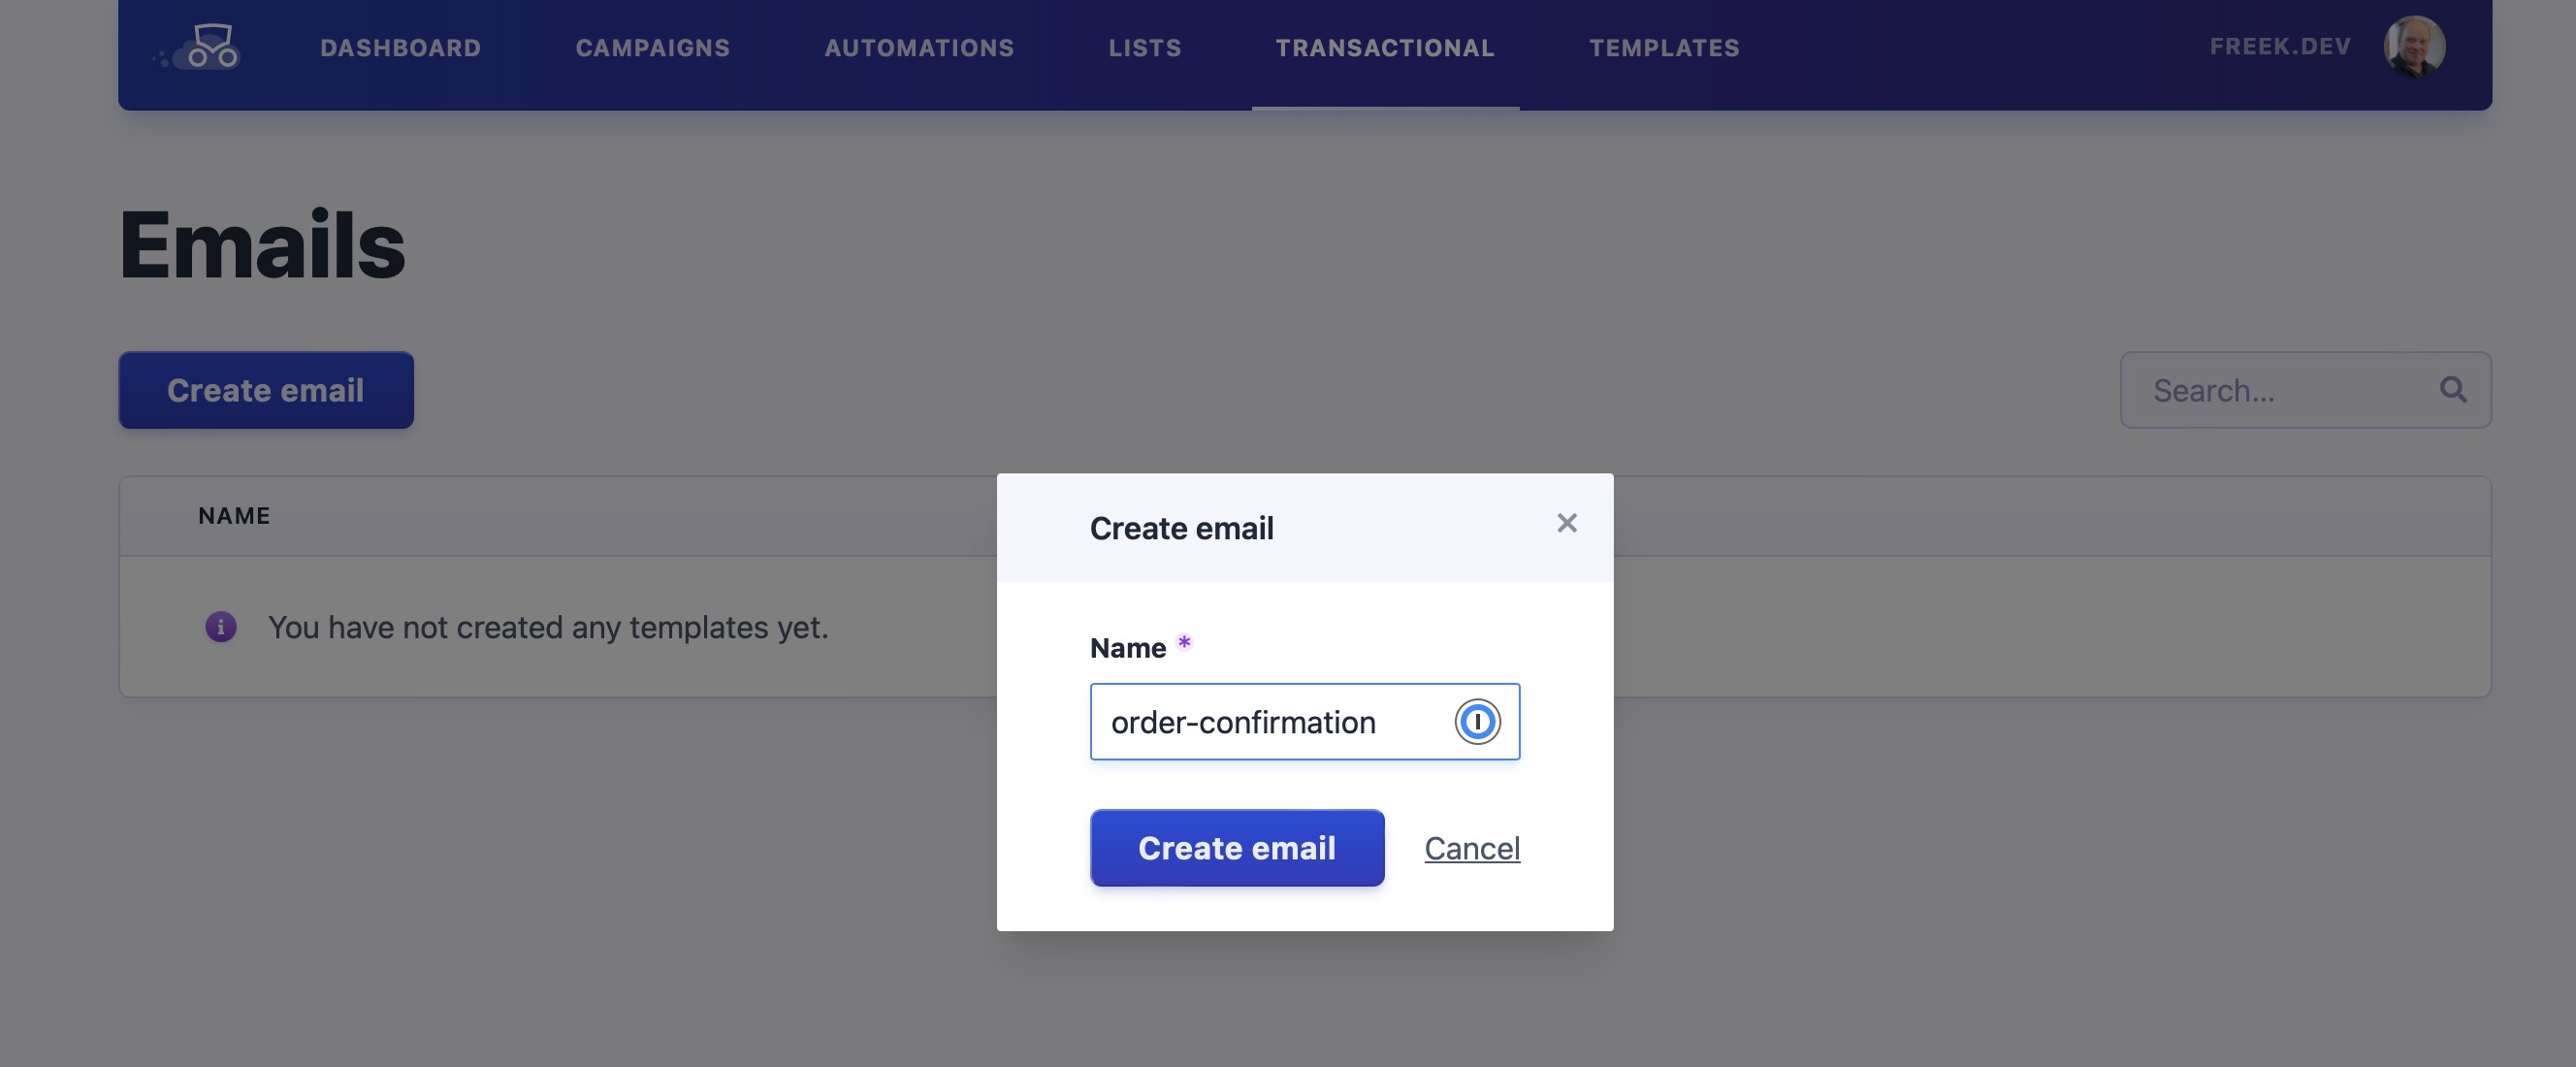
On the created email, which we named order-confirmation, you can pick the template you want to use and specify the subject and content of the mail.
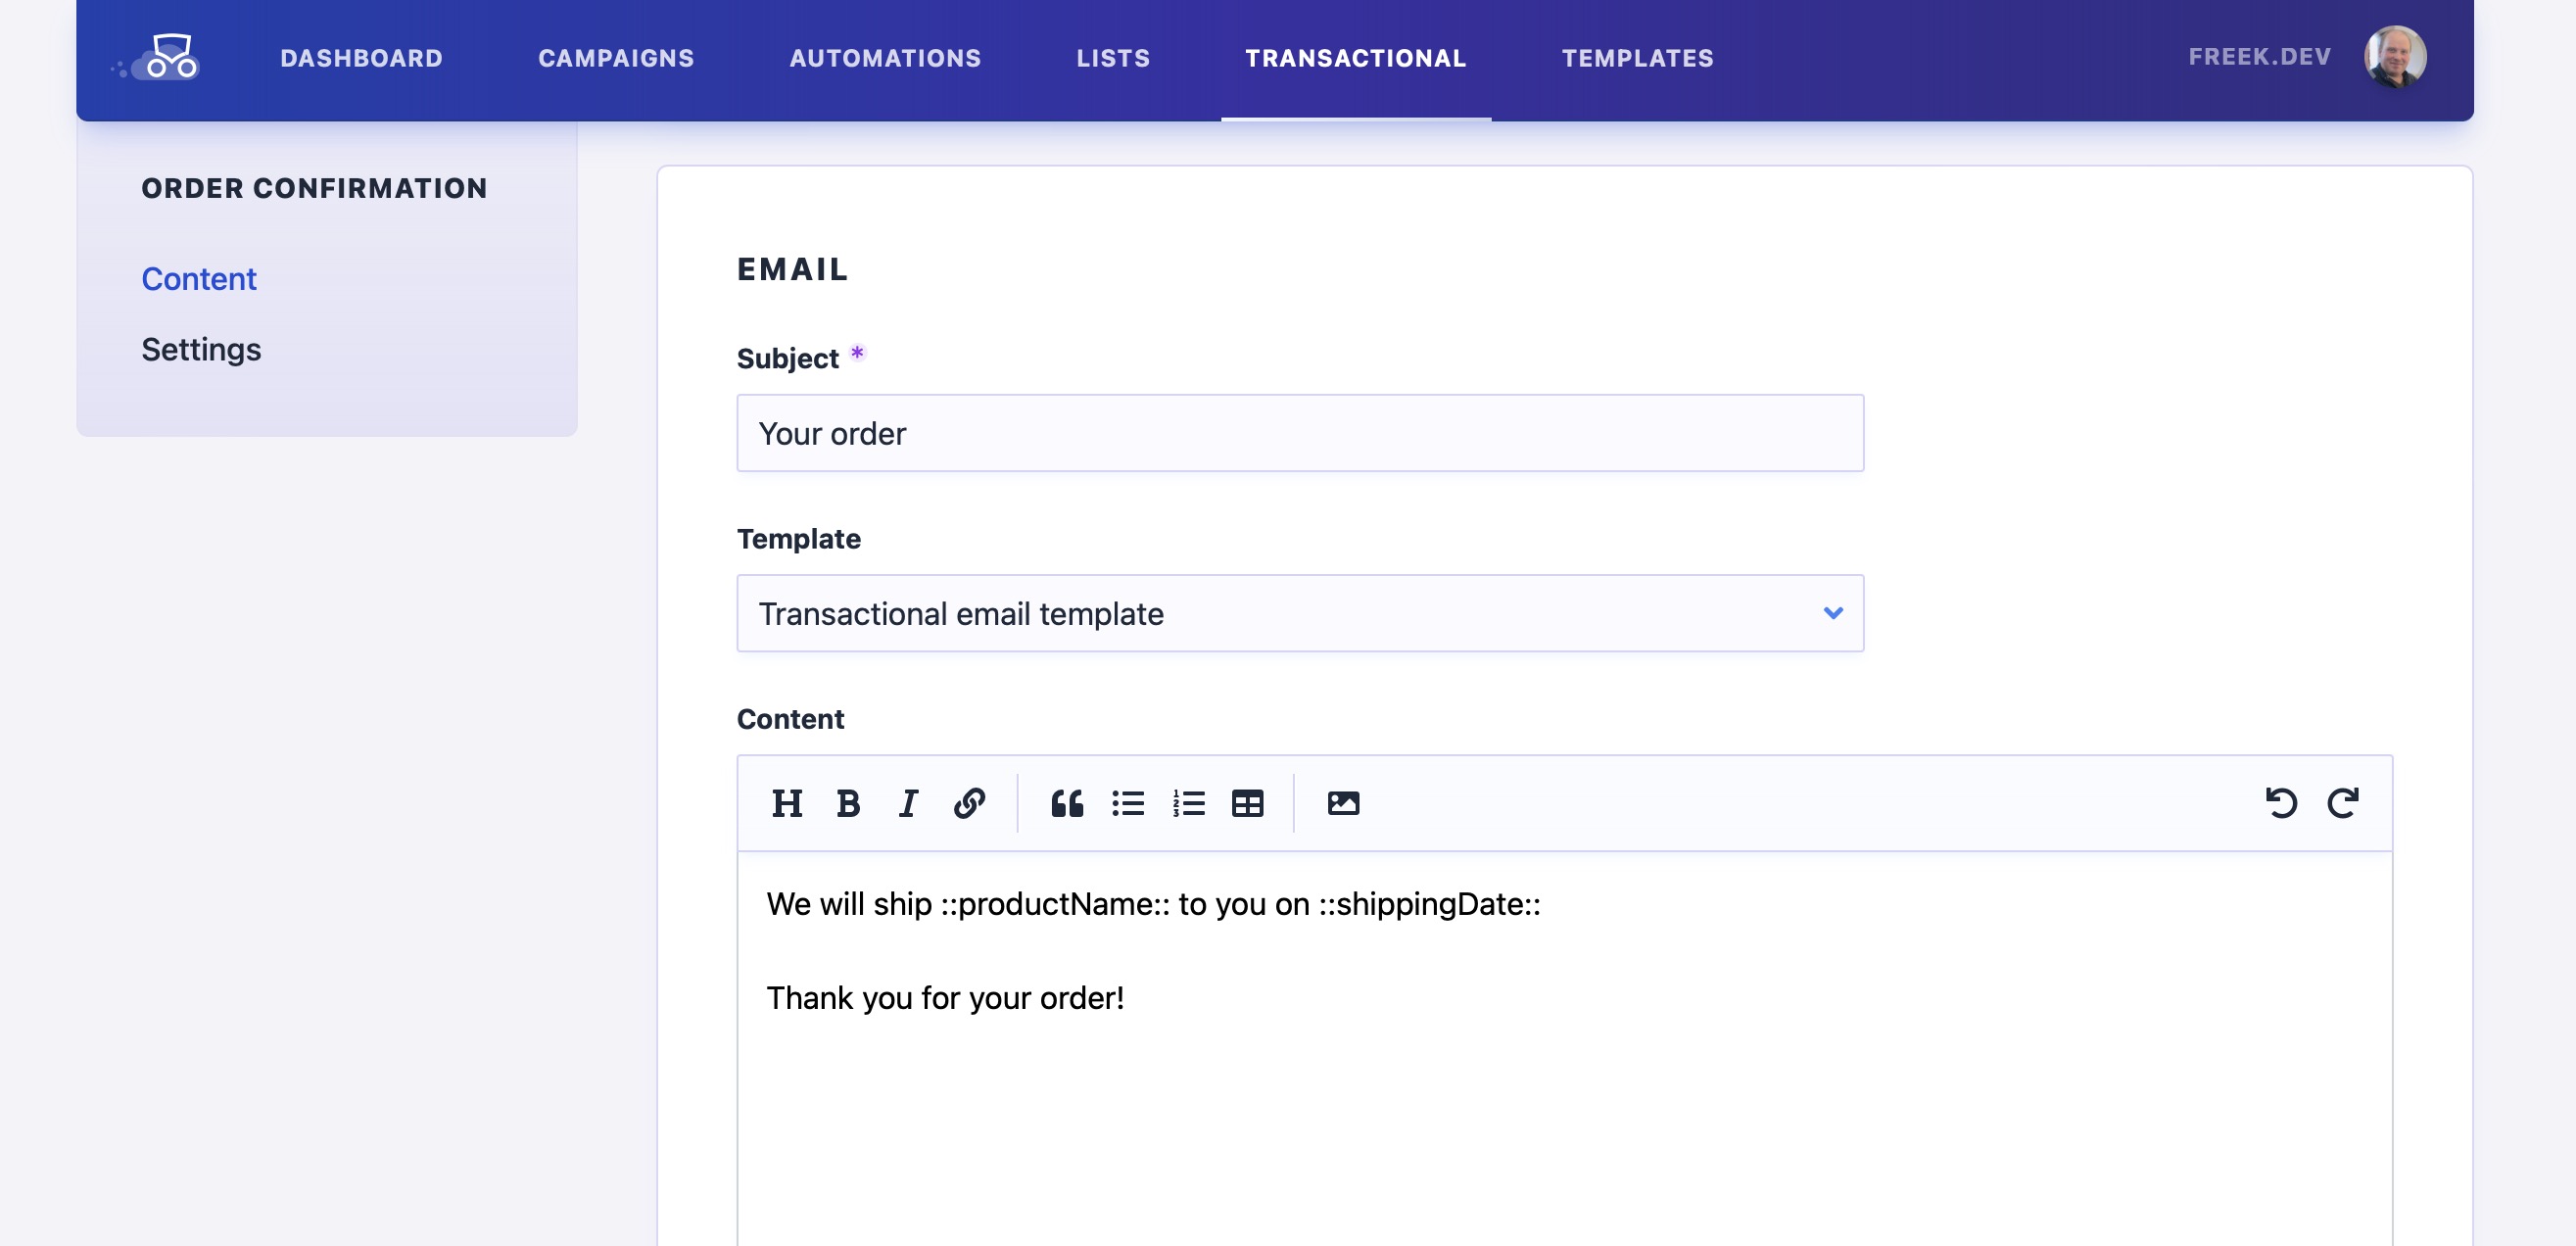
As you can see in the screenshot above, you can add placeholders to your mail, such as ::productName::.
In your Laravel app, you create a mailable that uses that order-confirmation mail. Don't forget to apply that UsesMailcoachMail on your mailable.
namespace App\Mails;

use Illuminate\Bus\Queueable;
use Illuminate\Mail\Mailable;
use Illuminate\Mail\Mailables\Envelope;
use Illuminate\Queue\SerializesModels;
use Spatie\MailcoachMailer\Concerns\UsesMailcoachMail;

class OrderConfirmationMail extends Mailable
{
    use Queueable;
    use SerializesModels;
    use UsesMailcoachMail;

    public function __construct(
        protected Product $product,
        protected Carbon $shippingDate,
    ) {}

    public function build()
    {
        $this
            ->mailcoachMail('order-confirmation', [
                'productName' => $this->productName,
                'shippingDate' => $this->shippingDate->format('Y-m-d'),
            ]);
    }
}
Now you can send that order confirmation like you're used to.
Mail::to('happy@customer.com')->send(new OrderConfirmation($product, $shippingDate));
Should any changes be needed to the copy of the order confirmation, your marketeer can edit the content of the mail on Mailcoach. No code changes are needed in your app.
How all of this works under the hood
Laravel offers a very expressive way of defining mails in your application. As the code above shows, you define a mailable class and, in most cases, use the Mail facade to send it. Behind the scenes sending a mail will transform your mailable to an API call to Mailcoach's transactional sending endpoint. Let's take a look at how that transformation works.
Behind the scenes, Laravel uses the Symfony Mailer to send out emails. That package takes care of all the nitty gritty aspects of sending emails. All email providers (SES, Postmark, Mailgun) have different APIs for sending transactional emails. Laravel Symfony is driver-based and offers drivers for each of the providers, and those providers are called transports.
In your mail.php config file, you can see these transports. Each of the configured mailers has a transport option. To send mails via Mailcoach, you also had to add a mailer using the mailcoach transport.
// in config/mail.php

'mailers' => [
    'mailcoach' => [
        'transport' => 'mailcoach',
        'domain' => '<your-mailcoach-subdomain>.mailcoach.app',
        'token' => '<your-api-token>',
],
Transports can be registered in Laravel using the Mail::extend($key, $callable) method.
The mailcoach transport is automatically registered in the service provider of the spatie/laravel-mailcoach-mailer package.
public function bootingPackage()
{
    Mail::extend('mailcoach', function (array $config) {
        $this->validateConfig($config);

        return (new MailcoachTransportFactory(
            client: $this->client,
        ))->create(
            new Dsn(
                'mailcoach',
                $config['domain'],
                options: [
                    'token' => $config['token'],
                ],
            )
        );
    });
}
The given callable to the extend method will receive the config from a mailer in the mailers key of the mail.php config file. In our case, that config contains the domain and token values we can use to set up our transport.
That callable returns an instance of a class that implements Symfony\Component\Mailer\Transport\TransportFactoryInterface, which is an interface defined by the Symfony Mailer. In our case, the MailcoachTransportFactory will create and return MailcoachApiTransport, which adheres to that TransportFactoryInterface.
That MailcoachTransportFactory and the MailcoachApiTransport it returns are not part of the Laravel-specific spatie/laravel-mailcoach-mailer package, but of the framework agnostic spatie/mailcoach-mailer.
Let's look at the doSendApi method of the MailcoachApiTransport that will send the actual API call to Mailcoach. Yeah, the naming of that method is a bit funky; we're in Symfony land here.
protected function doSendApi(
    SentMessage $sentMessage,
    Email $email,
    Envelope $envelope,
): ResponseInterface {
    $payload = $this->getPayload($email, $envelope);

    if (! $this->host) {
        throw NoHostSet::make();
    }

    $response = $this->client->request(
        'POST',
        "https://{$this->host}/api/transactional-mails/send",
        [
            'headers' => [
                'Accept' => 'application/json',
                'Authorization' => "Bearer {$this->apiToken}",
            ],
            'json' => $payload,
        ]);

    // error handling omitted for brevity

    return $response;
}
You see that the doSendApi gets passed instances of SentMessage, Email, and Enveloppe. Laravel converted all info from the mailable to these objects. They contain all the necessary info about the mail that should be sent.
In the code above, you can see that we use domain and token in the request. The meat of the Email and Enveloppe is being converted to a payload in the getPayload function.
protected function getPayload(Email $email, Envelope $envelope): array
    {
        $payload = [
            'from' => $envelope->getSender()->toString(),
            'to' => implode(',', $this->stringifyAddresses($this->getRecipients($email, $envelope))),
            'cc' => implode(',', $this->stringifyAddresses($email->getCc())),
            'bcc' => implode(',', $this->stringifyAddresses($email->getBcc())),
            'reply_to' => implode(',', $this->stringifyAddresses($email->getReplyTo())),
            'subject' => $email->getSubject(),
            'text' => $email->getTextBody(),
            'html' => $email->getHtmlBody(),
            'attachments' => $this->getAttachments($email),
        ];

        // ... header conversion omitted for brevity

        return $payload;
    }
And with that, we've seen the whole journey that a Laravel Mailable makes to our API endpoint.
At Mailcoach Cloud, we will pass on this info to the mailing service we use internally, and you'll mail be sent.
In closing
Sending transactional emails from your Laravel or PHP app through Mailcoach works excellently, and this makes Mailcoach the perfect one-stop shop for all your mail-related needs.
If you're not using Laravel or PHP, you can still use Mailcoach to send transactional emails from your app. Take a look at the docs of the transactional emails API endpoint.
Mailcoach is the best service for sending out email campaigns. We also offer email automation that allows you to quickly build a drip campaign. You can manage your content and templates via powerful HTML and Markdown editors. Start your free trial now.