How to customize Jetstream and Laravel Spark original
In this blog post, I'd like to share how we moved from classic to modern Spark for billing and Jetstream for team management. You'll also learn various ways how to customize Spark to your liking.
Why we upgraded from classic Spark to modern Spark & JetStream
Three years ago, my buddy Mattias and I launched Oh Dear, a polished service to monitor websites.
Oh Dear is a Laravel application. When we launched, we used what is now called the classic version Laravel Spark to take care of team management and billing. A few weeks ago, the Laravel team launched a modern version of Spark with a lighter footprint.
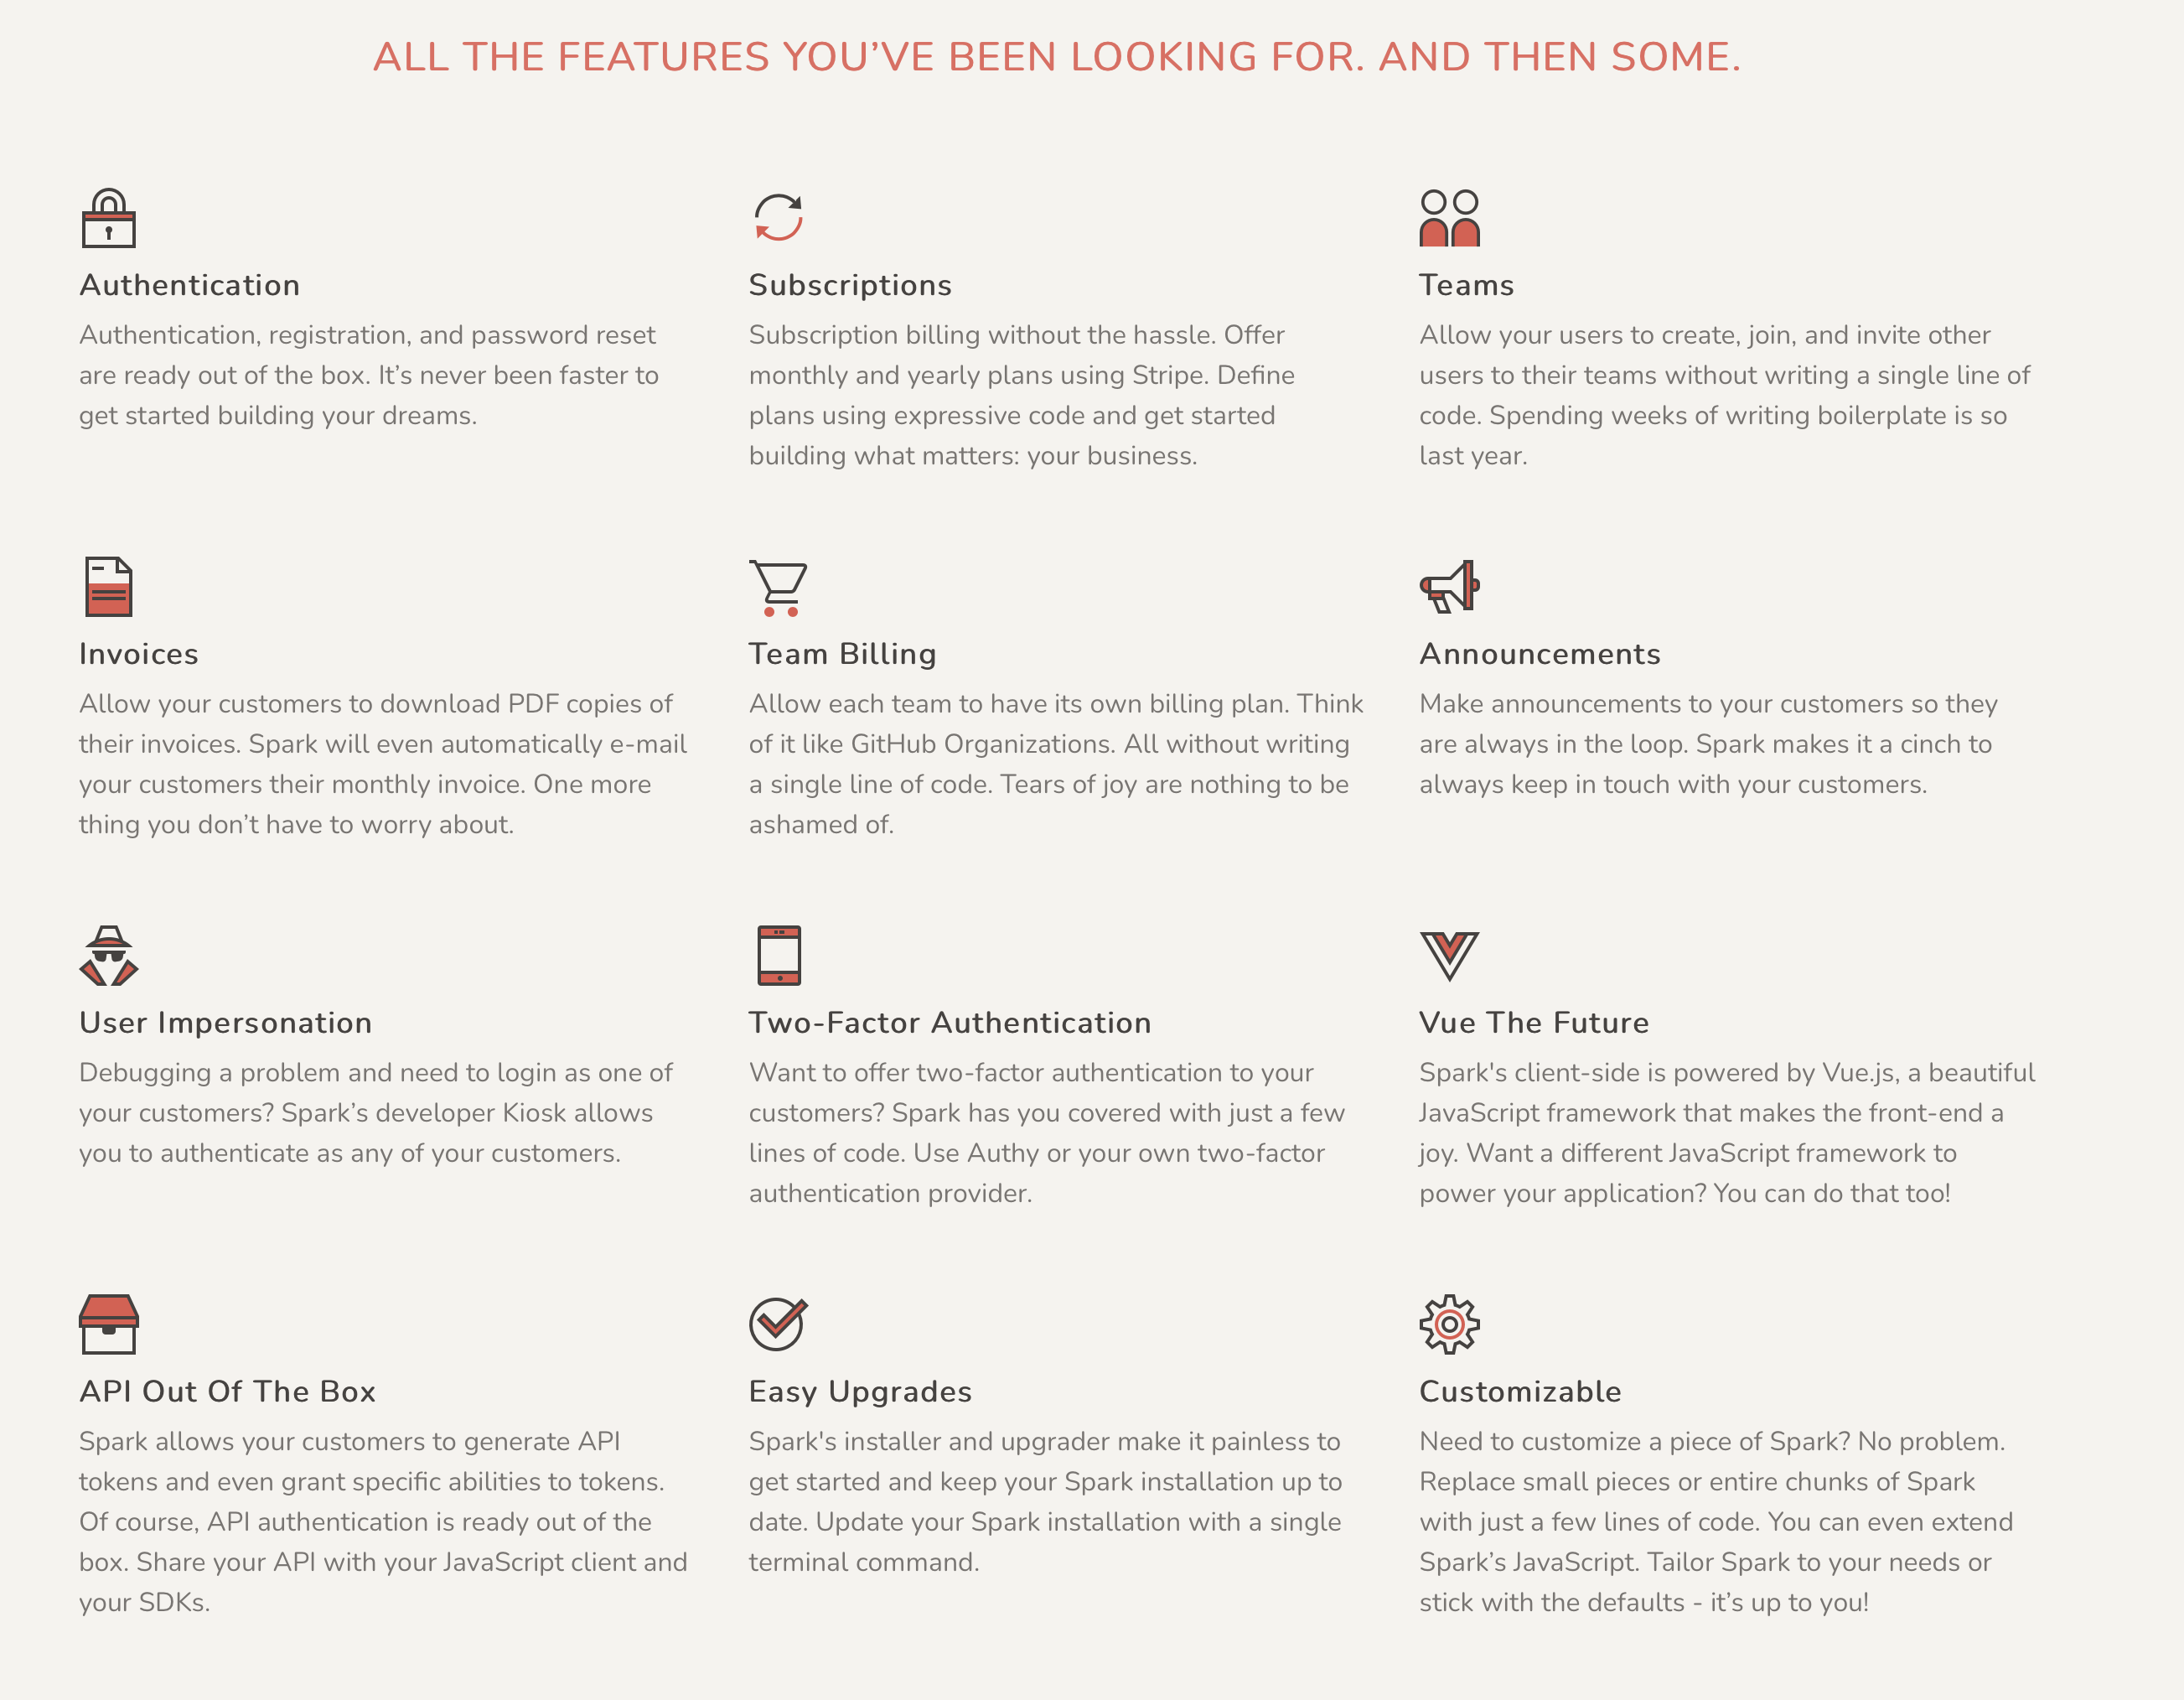
Classic Spark was, at the time when it was launched, a very convenient way of bootstrapping a SaaS. It provided billing, subscription and team management, and a few extras such as notifications and the ability to impersonate users.
It's likely that if Horizon or classic Spark didn't exist, Oh Dear probably wouldn't have happened. The existence of both these packages gave Mattias and me room to work on the core features of our app. It prevented us from losing ourselves in the intricacies of queuing, billing and subscription handling.
Besides backend functionality, classic Spark also included a UI to handle team, billing and subscription management. The UI was built entirely using Vue components. For people that at the time were already familiar with Vue, this was great! But a part of the community, Vue hadn't "clicked" yet, and Blade was the preferred way to build screens.
Even though at the time, both Mattias and I didn't have too much experience with Vue, we went ahead with using Spark because it could save us so much time. For us, the downside was that customizing the UI and certain parts of the default Spark behaviour was hard to do. Sure, you could skip using the provided Vue components and only use the backend of Spark (that what we did when building Flare), but it's time-consuming to do so.
If you want to use team billing in classic Spark, the obvious route was to use the Spark provided User and Team Eloquent models. Again, going this route saves you a lot of time, but I've always been aware that Spark was very tightly coupled to our Laravel app. I considered this as a risk because moving away from Spark could potentially prove very hard.
When we fast forward from the time that Spark classic was launched until now, we see that a lot has changed. Using Blade with Vue components isn't the predominantly way of handling the front end of a Laravel app anymore. Lots of options have emerged. I feel that the love for React and TypeScript has grown considerably over the last few years in our community. Both Inertia and Livewire are considered wonderful production-ready alternatives to sprinkling Vue components in Blade views.
In the past few years, we've been using Livewire more and more in Oh Dear's UI. Replacing WebSockets with Livewire vastly simplified our codebase. Most of our forms that need a little bit of extra behaviour were also refactored to Livewire. Because we were so happy with Livewire, there was a wish to replace all of Spark's Vue powered user screens with Livewire equivalents. We didn't do this as we wanted to invest time in such drastic customization. We decided to just live with the fact that some parts of our app were handled by Livewire and others by Vue.
A few months ago, Laravel Jetstream was released. This first party package provides an implementation for all auth related things in a Laravel Ray app: login, registration, email verification, two-factor authentication, session management, and team management. JetStream also comes with a UI. There are two flavours available: Intertia+Vue and Blade+Livewire.
Of course, I was thrilled with the fact that Jetstream had that Blade+Livewire flavour. I didn't immediately move to using those screens as Jetstream uses its own Team base model, which slightly differs from classic Spark's. And meanwhile, the next generation of Spark was already announced.
The footprint of the newest version of Spark, which was launched a few weeks ago, is much smaller than classic Spark. The new version of Spark consists only of a separate billing portal where subscriptions are handled. Which model gets billed is configurable. This means that Spark's new version doesn't reach as deep into your app as the classic version. Because the UI is separate, you aren't forced to use any particular front end stack.
At Oh Dear, we're moving from classic Spark to the modern Spark/JetStream because the pieces fell in place:
- JetStream provides Livewire powered user and team management and UI
- modern Spark can use a configurable billable (in our case, Jetstream's
Teammodel).
This allows us to remove the Vue powered screens, make our app more maintainable. It's also a good thing that our Laravel app can now use the latest and greatest things offered by the Laravel ecosystem.
Exploring the differences between classic Spark and modern Spark/JetStream
This post doesn't aim to give you a step by step formula to migrate from classic Spark to new Spark, as each spark app is slightly different.
In general, these are the steps that I took:
- Create a separate branch of the oh dear repo, so I could still refer to the
masterbranch to see how things worked - Delete all publish spark Vue components
- Remove the
spark-aureliusdependency incomposer.jsonand remove any service providers related to it - Install JetStream and
laravel/spark-stripe - Migrate the database to the new format
- Fix all problems that might arise from this.
Again, these are just high-level steps. I will however explain how I went about knowing which migrations I had to write.
To explore this, I needed to compare how the live app writes users, teams, and subscriptions with how the new Spark/Jetstream are storing this data. I created a default Laravel application and installed both Jetstream and Spark into it.
You can find that application in this repo on GitHub. To install this app, you'll need to have a Spark license.
With the application installed, I created a couple of teams with users and looked at how they are stored in the database.
To know how Spark stores subscriptions, I defined a product in my Stripe account's test environment and added that product in Spark's configuration file.
When a subscription is made, Stripe will send a confirmation to the Laravel app via a webhook. To handle incoming webhooks easily, you can use the Stripe CLI.
You can install the CLI using:
brew install stripe/stripe-cli/stripe
In the composer.json of the test app, I've added this little script that allows you to quickly start listening for webhooks and forward them to the Laravel app. With this in place, all you need to do is:
composer listen-stripe
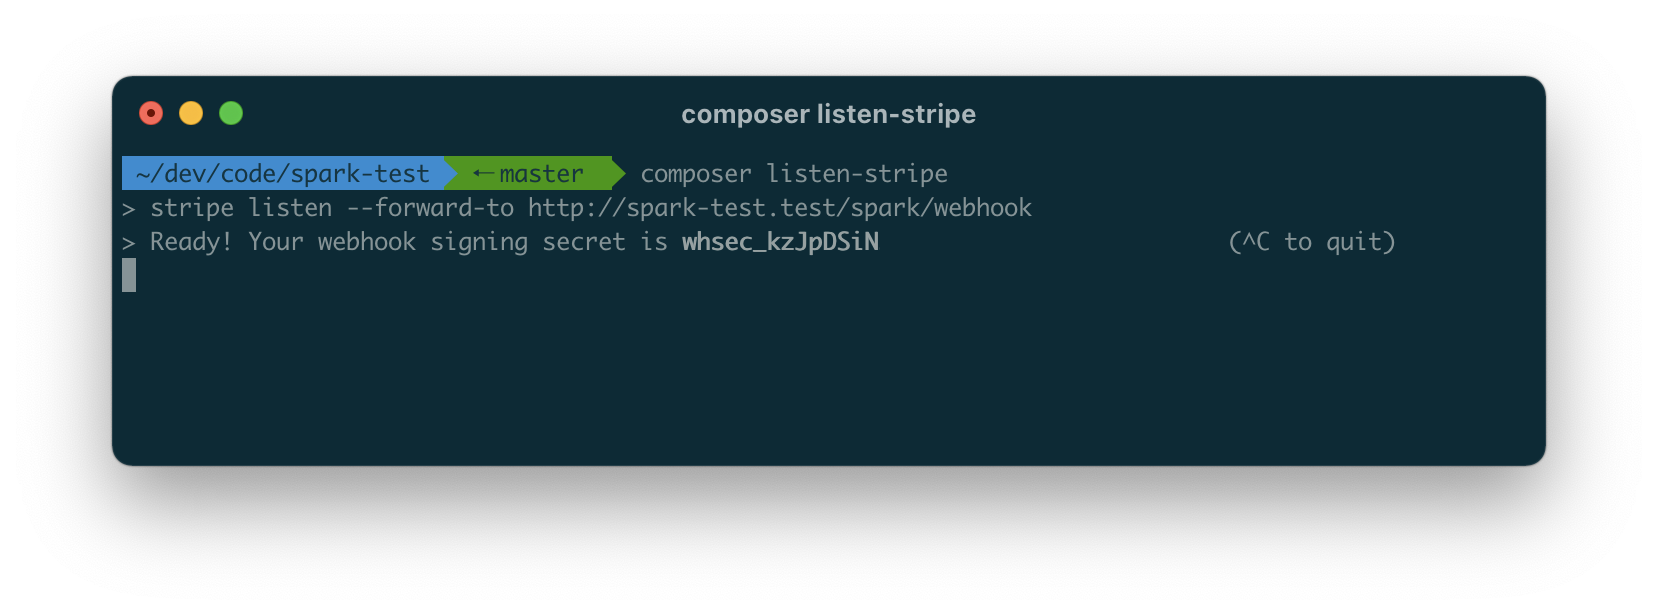
While the command is running, a subscription can be made in Spark's billing portal. Here's how it looks like when a subscription has been made.
 .
.
By comparing the tables and stored values of the live Oh Dear app and this spark test app, I could write migrations that modify the table structure towards what Spark/JetStream expect. I've also written migrations to copy the old data before any tables or columns are dropped.
You'll find the migrations that I'll use in this public gist on GitHub. I have tested this migration by copying over production data to my local Mac to verify if everything worked as expected. I highly encourage you to do the same.
Customizing the looks of the billing portal
Here's how Jetstreams team management screen looks like in Oh Dear.
 .
.
To make it look at why I published Jetstreams views and let them use our application layout, our top bar is displayed.
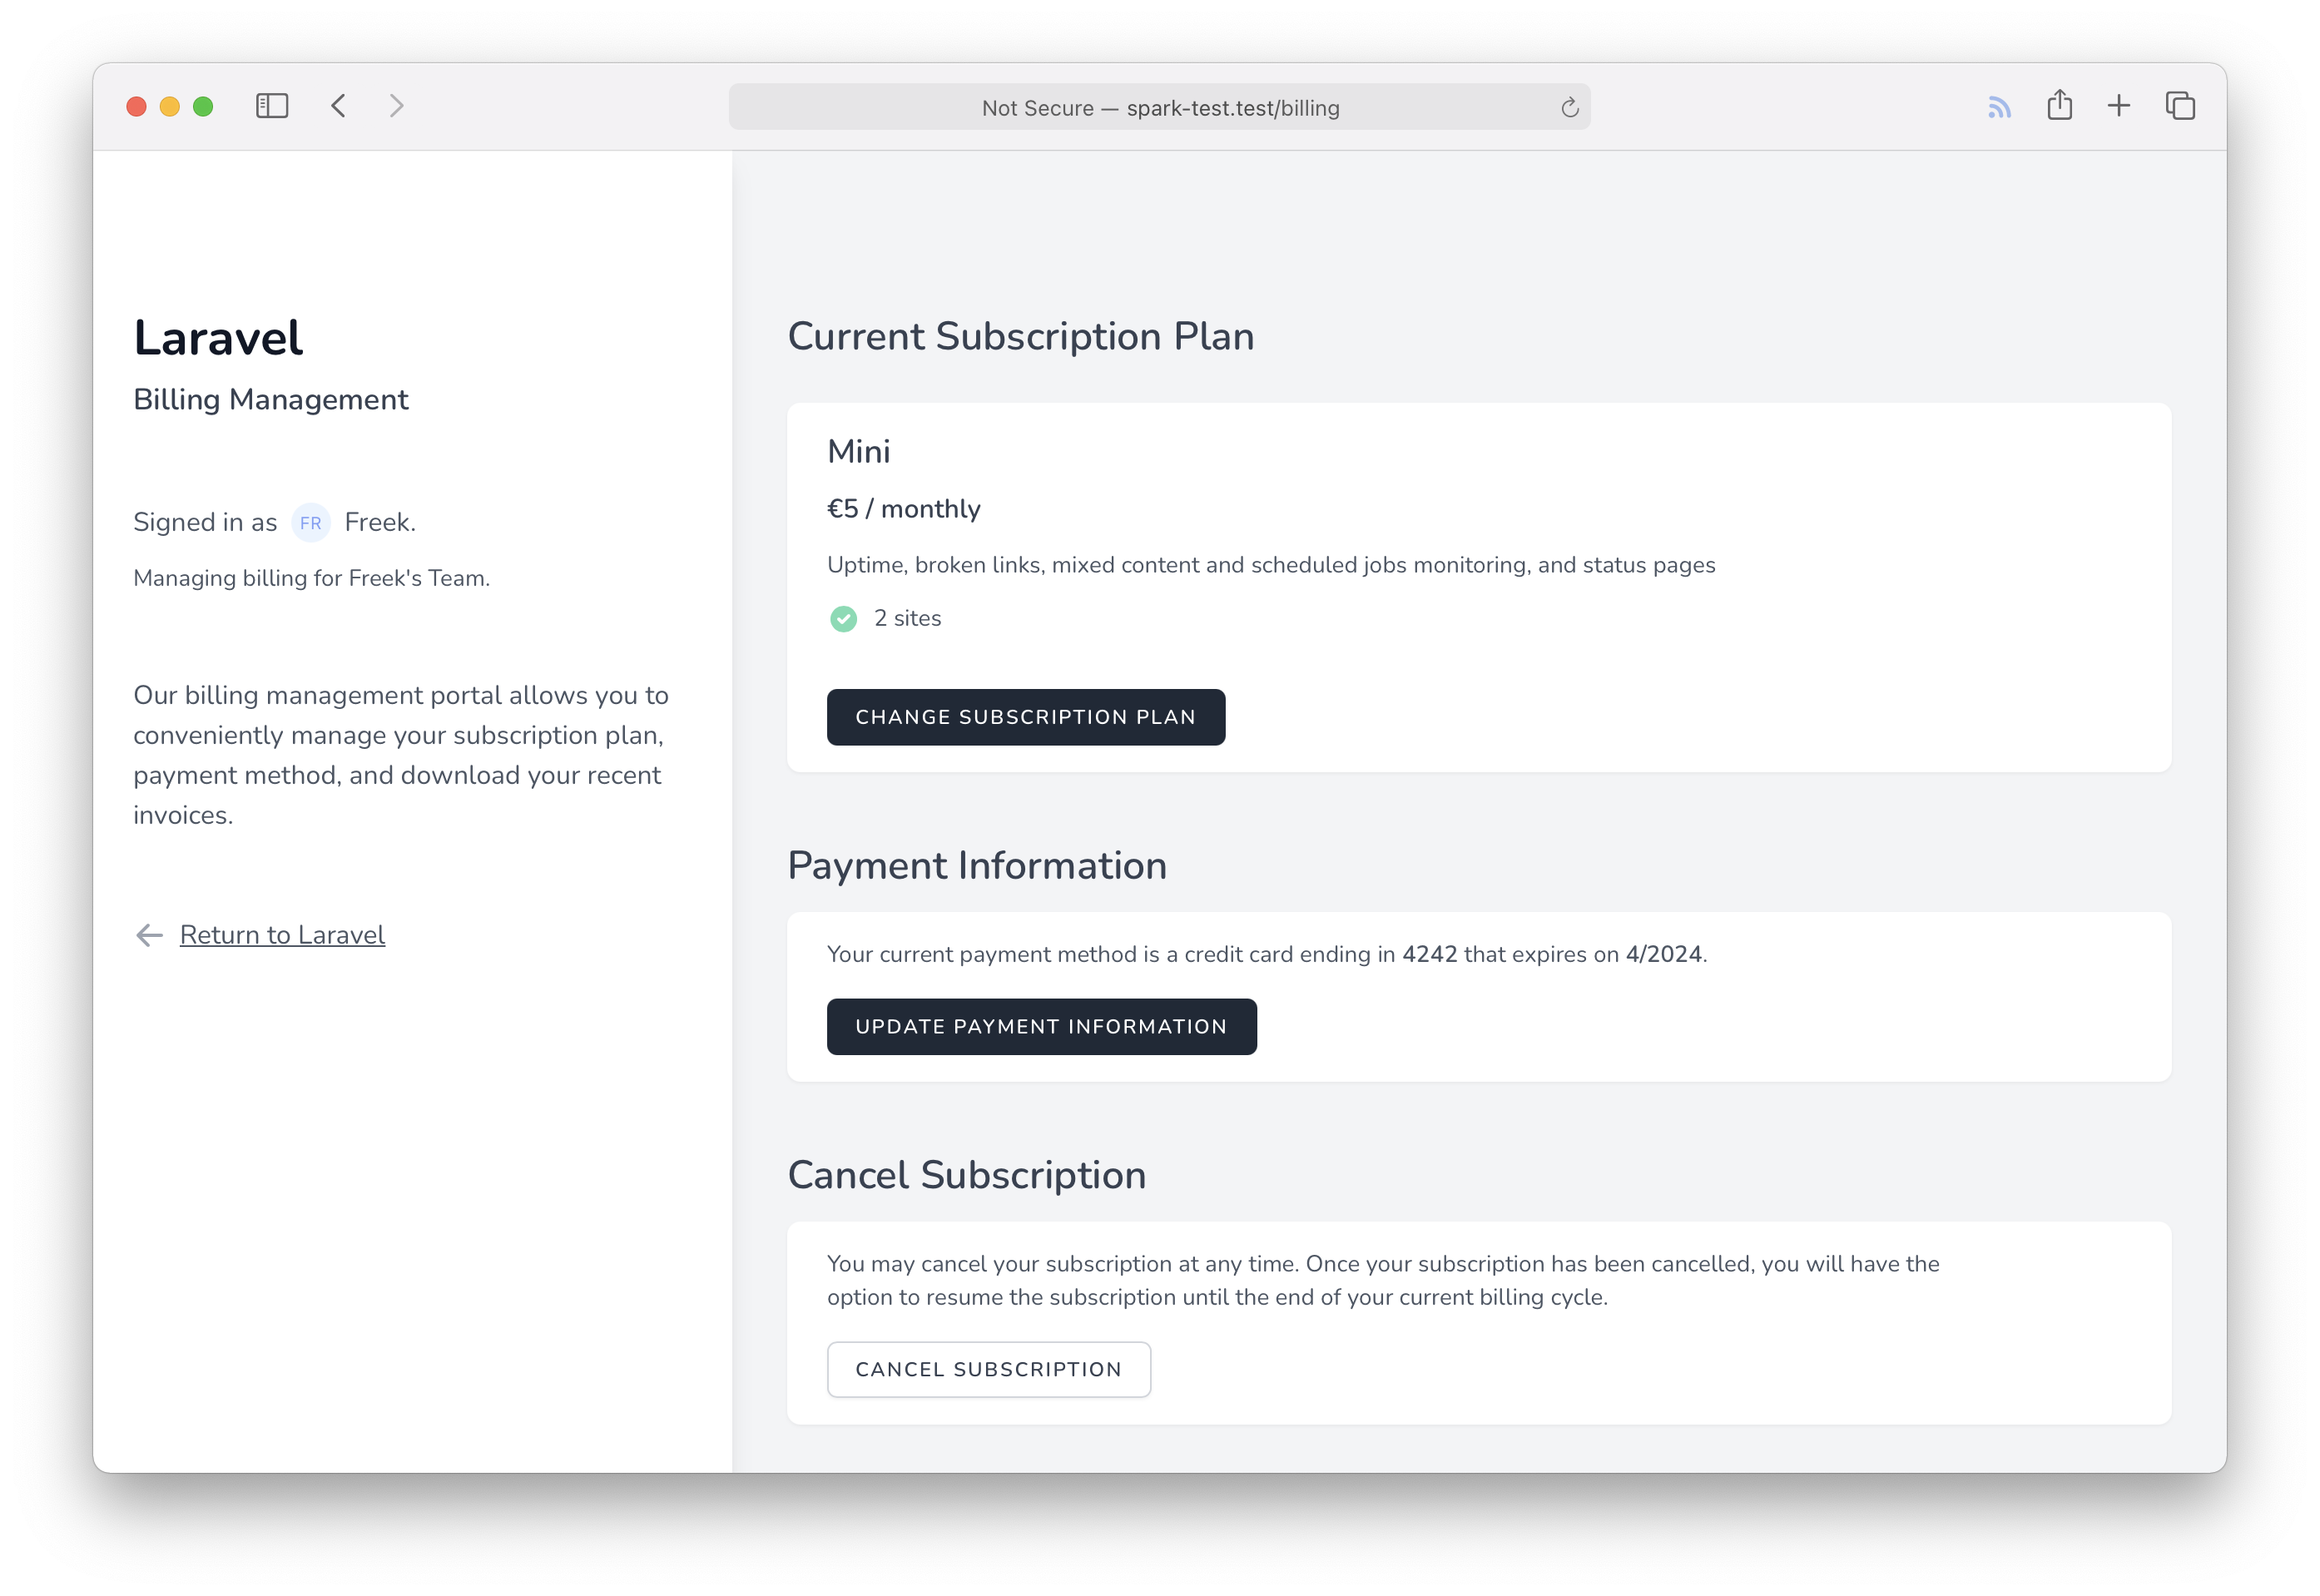
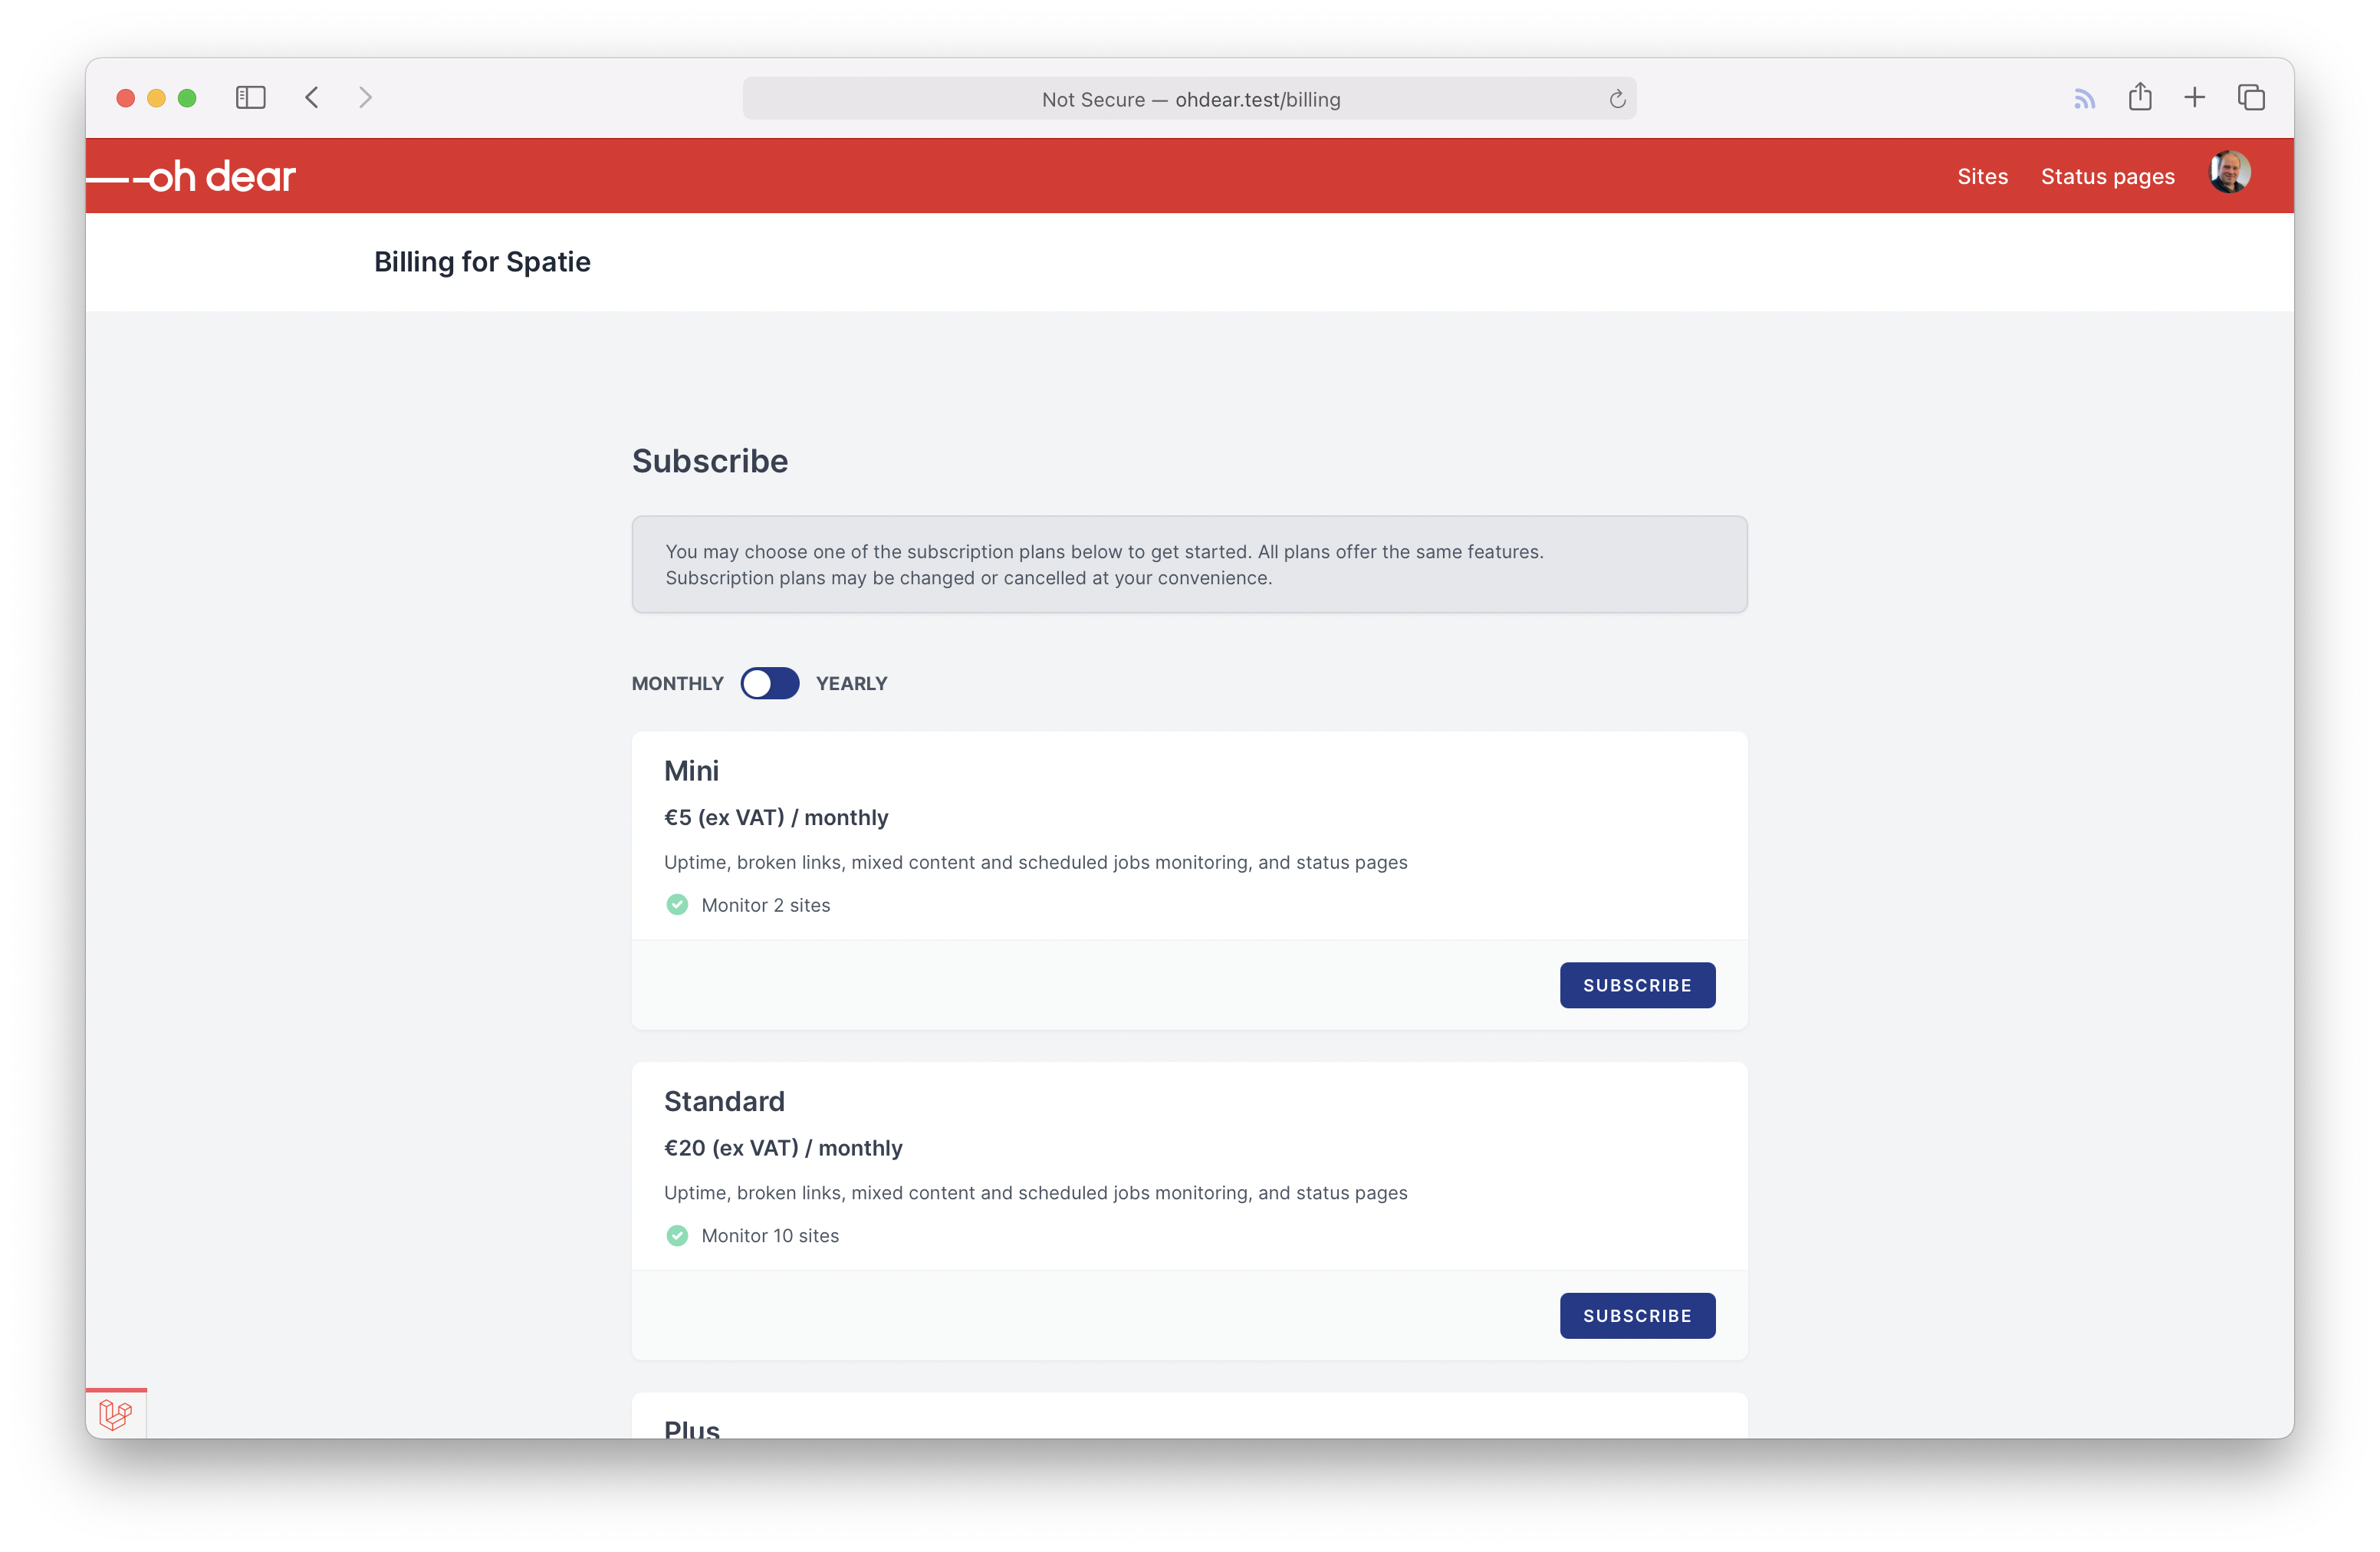
Now, if we take a look again at the Sparks default billing portal page, it's clear that it does not have the same look and feel.
.
Luckily, this can easily be solved. Sparks views are publishable. When published, you can modify the views.
First, I wanted to get rid of that prominent sidebar. That section has an id, so some extra CSS can hide it.
<!-- somewhere on the page -->

<style>
    #sideBar {
        display: none !important;
    }
</style>
That's the easiest way. You could also opt to include your compiled CSS on the page and write that #sidebar in your existing CSS files. I have gone that route, and I've also included the HTML of the top navigation bar that is displayed on every other page of Oh Dear.
<head>
   <!-- all other head stuff omitted for brevity -->
   <link rel="stylesheet" href="{{ mix('css/app.css') }}">
</head>
<body class="font-sans antialiased">
    @include('app.layouts.partials.navbar')
    <header class="bg-white shadow">
        <div class="max-w-7xl mx-auto py-6 px-4 sm:px-6 lg:px-8">
            <h2 class="font-semibold text-xl text-gray-800 leading-tight">
                Billing for {{ currentTeam()->name }}
            </h2>
        </div>
    </header>

   <!-- all other body stuff omitted for brevity -->
</body>
With this in place, the billing portal now looks as if its part of the rest of the app.
Customizing the Jetstream screens
In Oh Dear, we've recently added the ability to snooze notifications until the start of the next workday. To determine the start of the next workday, the business hours scheduled can be specified. Here's how that looks like in the Oh Dear with classic Spark.
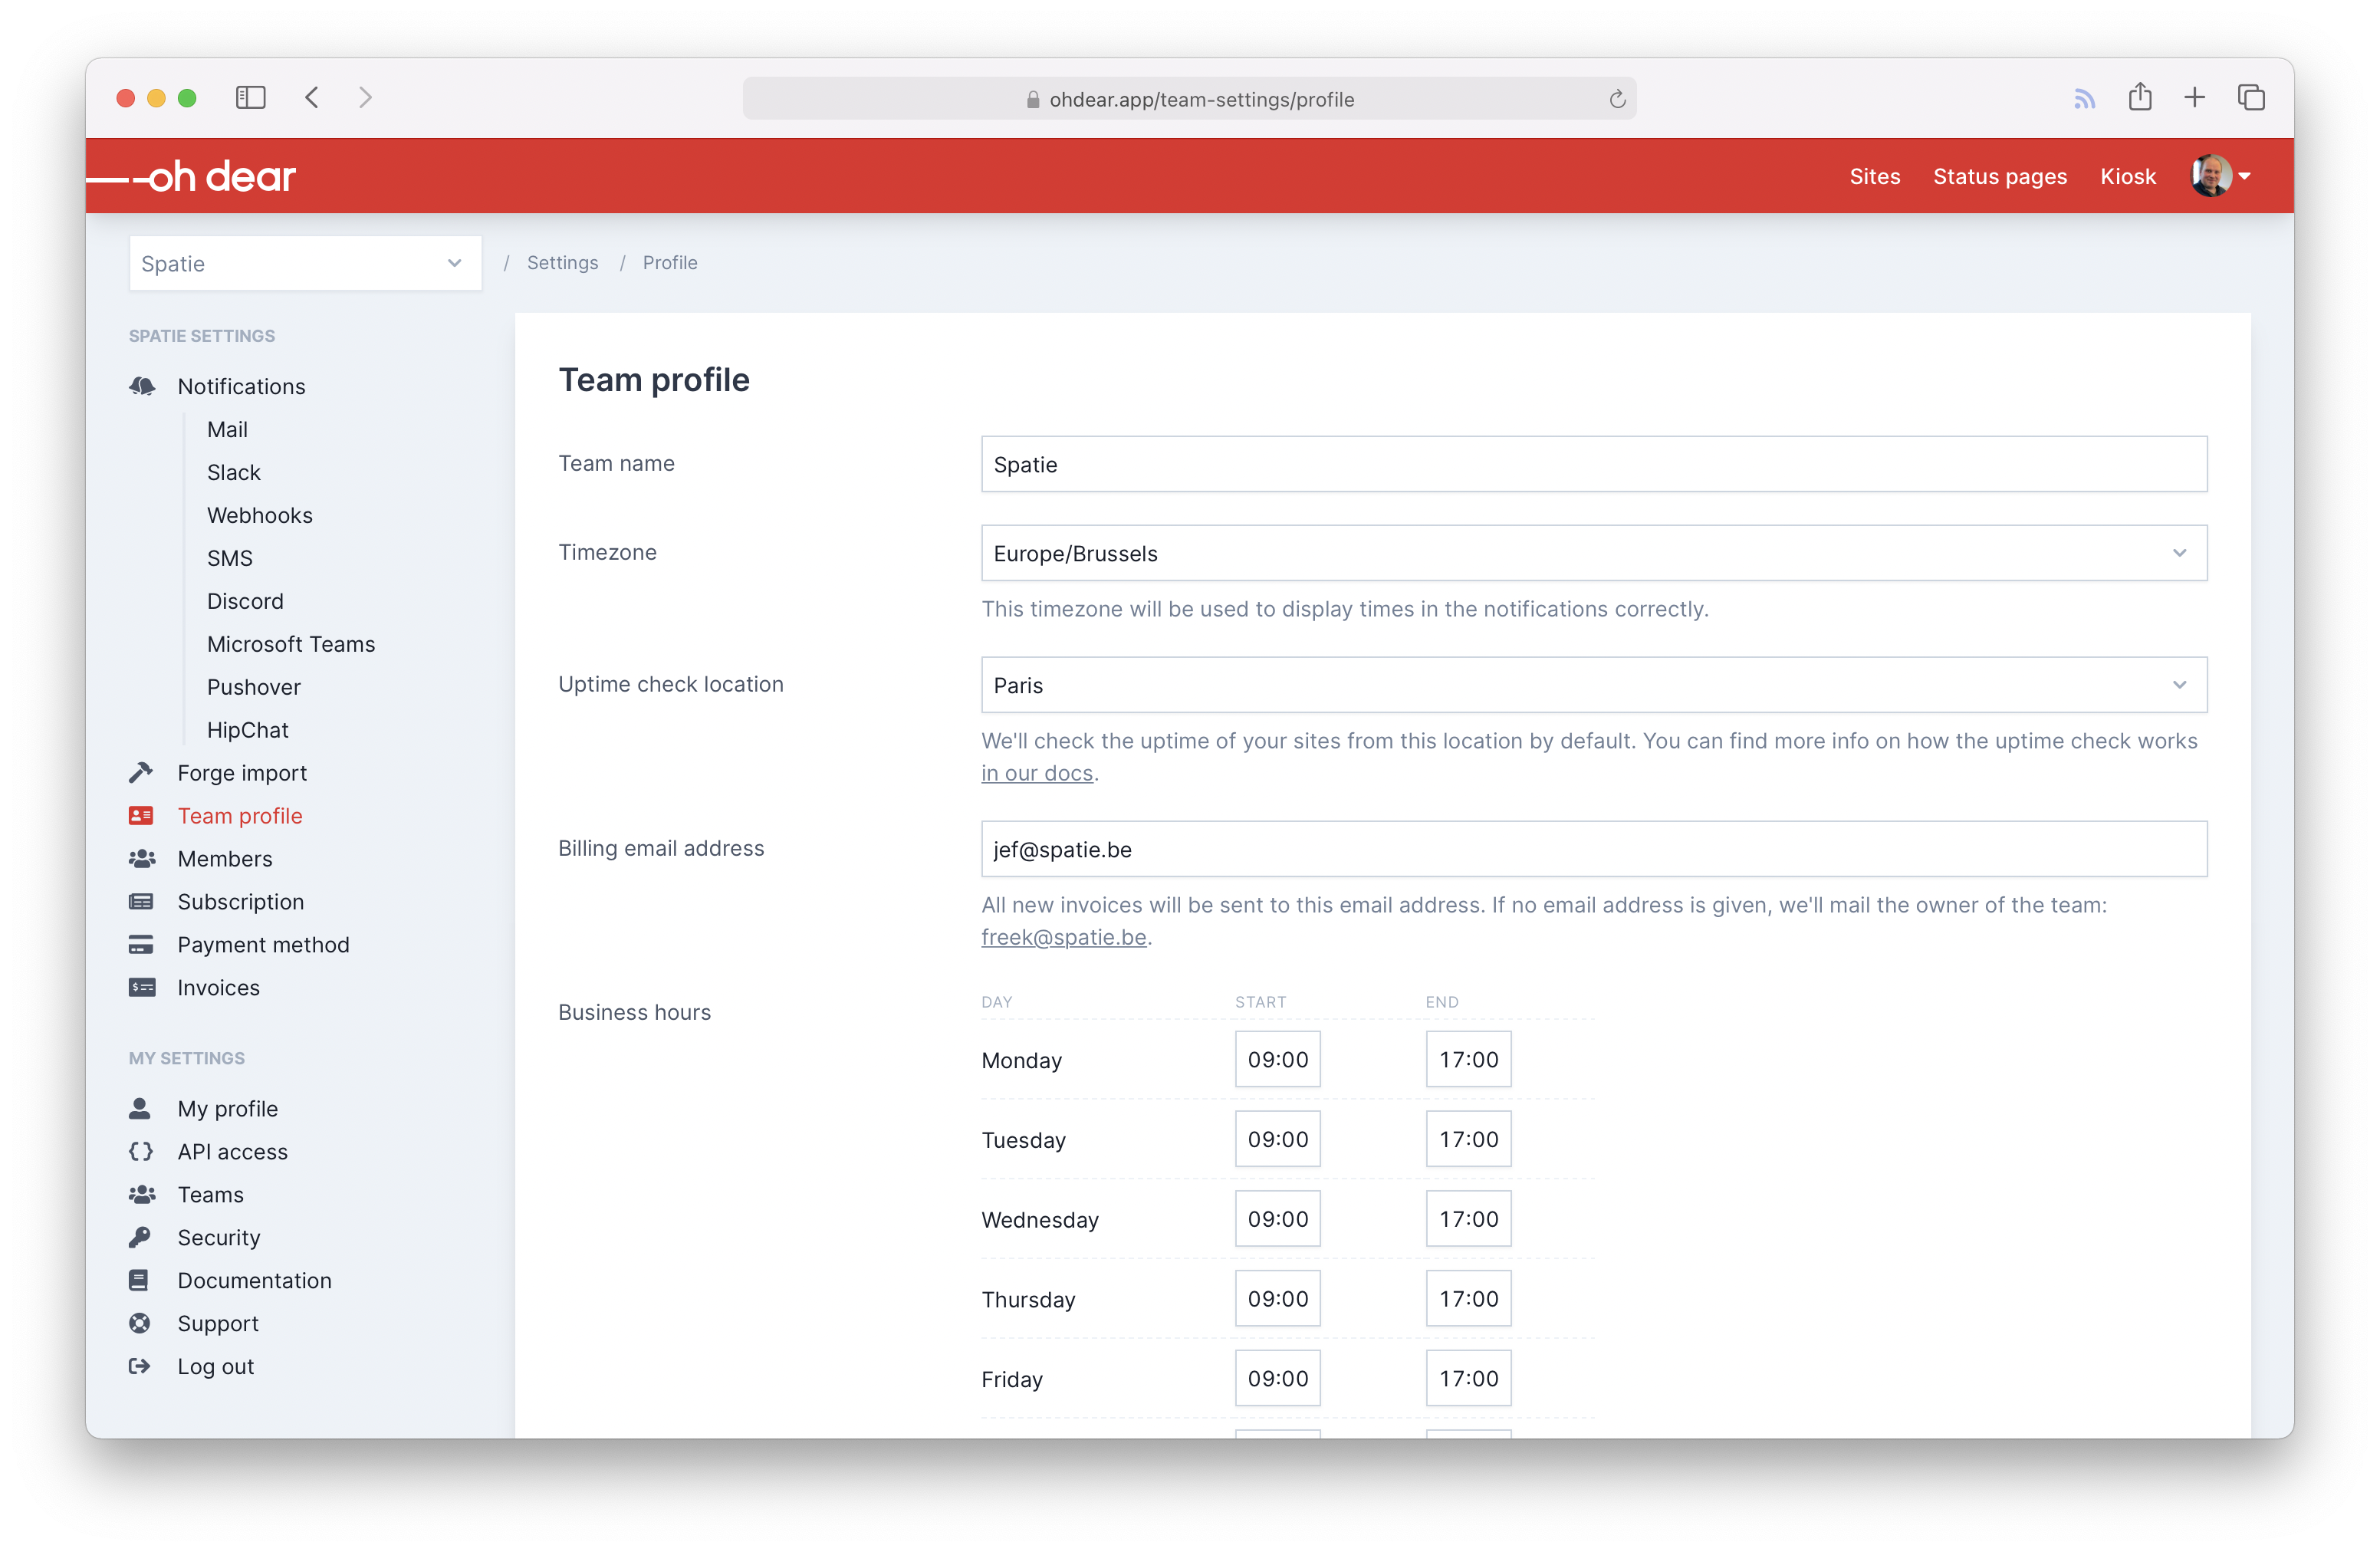 .
.
Adding a custom panel to a Jetstream screen is not difficult. Before I explain it, let's look at the result first (I had to scroll down a bit so you don't see the site header in the screenshot).
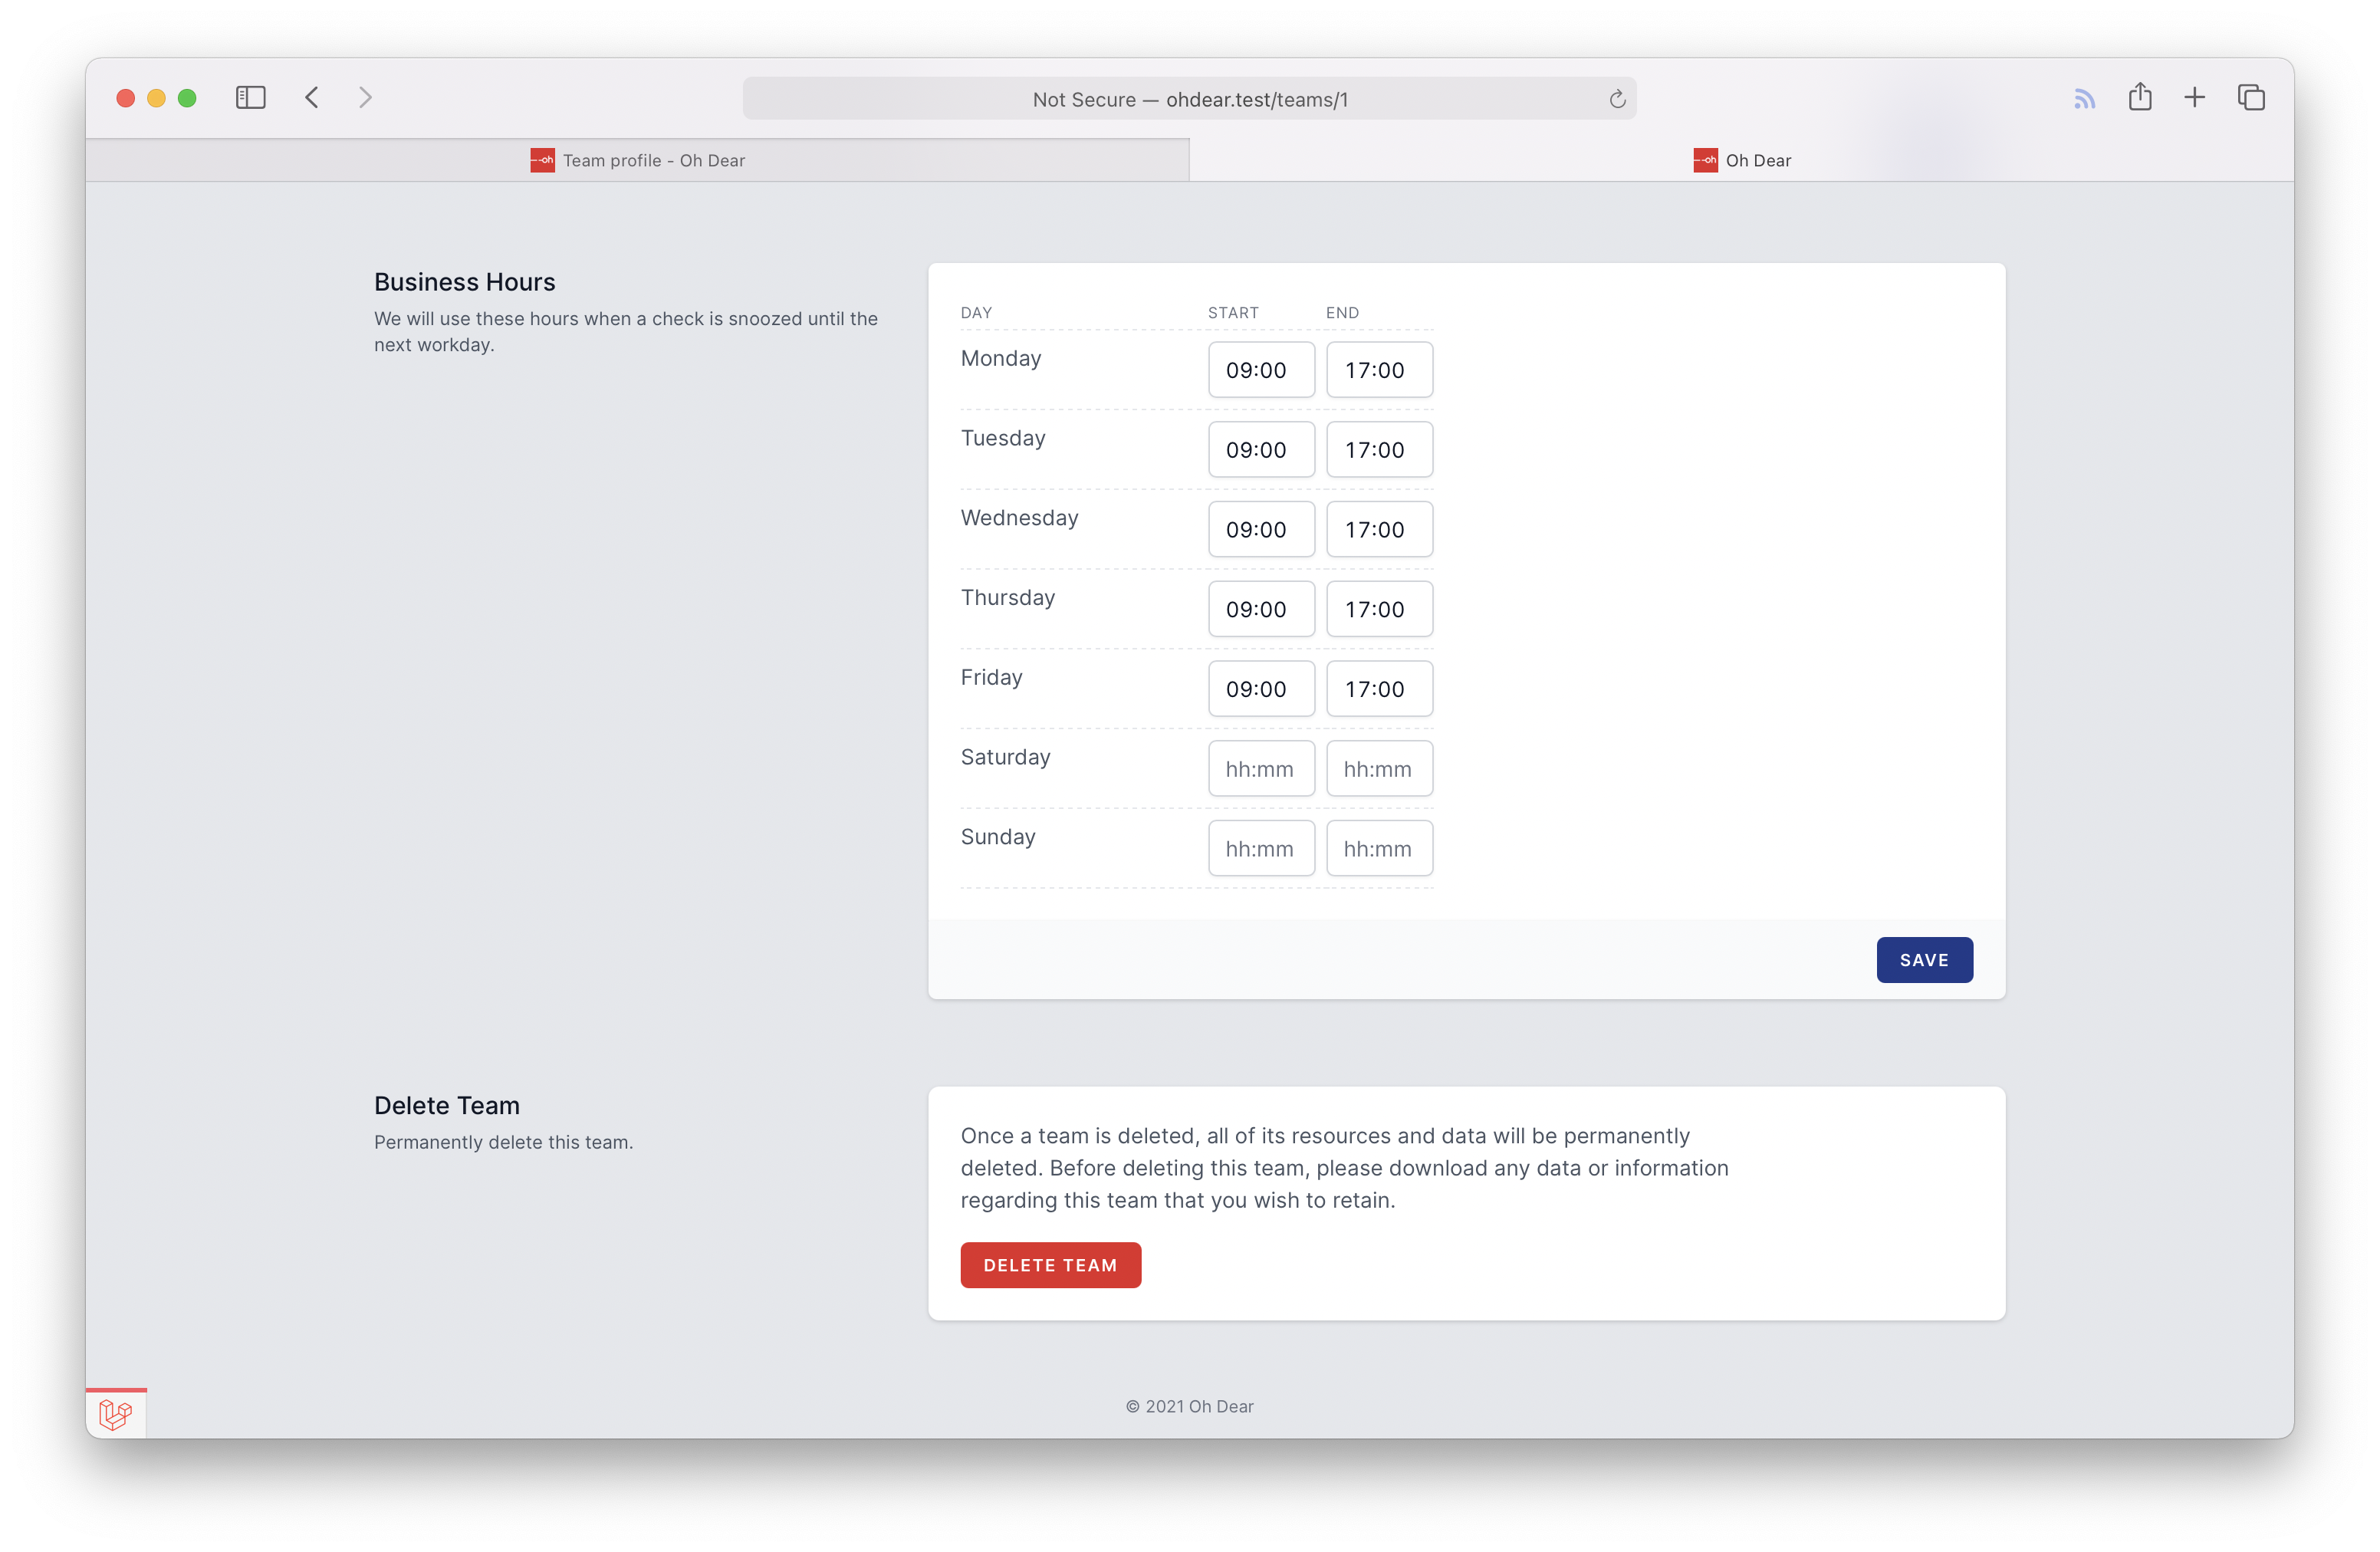
Each panel is its own Livewire component. You'll find the Blade view that renders the entire page in /resources/views/team/show.blade.php. In that view, you can make any modifications you want. Here's how the modified content of that view looks like.
<x-app-layout>
    <x-slot name="header">
        <h2 class="font-semibold text-xl text-gray-800 leading-tight">
            Team Settings for {{ currentTeam()->name }}
        </h2>
    </x-slot>

    <div>
        <div class="max-w-7xl mx-auto py-10 sm:px-6 lg:px-8">
            @livewire('teams.update-team-name-form', ['team' => $team])

            @livewire('teams.team-member-manager', ['team' => $team])

            @if (Gate::check('update', $team))
                <x-jet-section-border/>
                <livewire:business-hours :team="$team"/>
            @endif

            @if (Gate::check('delete', $team) && ! $team->personal_team)
                <x-jet-section-border/>

                <div class="mt-10 sm:mt-0">
                    @livewire('teams.delete-team-form', ['team' => $team])
                </div>
            @endif
        </div>
    </div>
</x-app-layout>
You'll notice that I've added a business-hours component to the view. It's put in a Gate check so only people that are allowed to update the team will see the business hours panel.
I'm not going to copy-paste the contents of the component or its view here. Just know that you can add any component or modification you want in the Jetstream's views.
Reusing Jetstream's components in your views
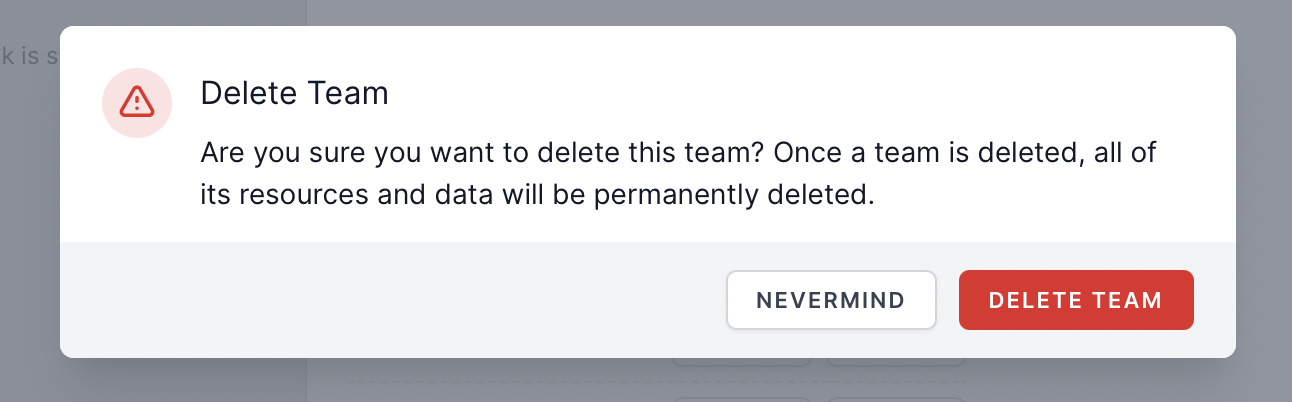
When you want to delete a team, you'll have press the "Delete Team" button display on the team settings view.

When clicking the button, Jetstream shows this beautiful modal by default.
If we take a look at the resources/views/teams/delete-team-form.blade.php, we see the HTML of both the delete button and that modal's content.
<x-jet-action-section>
    <x-slot name="title">
        {{ __('Delete Team') }}
    </x-slot>

    <x-slot name="description">
        {{ __('Permanently delete this team.') }}
    </x-slot>

    <x-slot name="content">
        <div class="max-w-xl text-gray-600">
            {{ __('Once a team is deleted, all of its resources and data will be permanently deleted. Before deleting this team, please download any data or information regarding this team that you wish to retain.') }}
        </div>

        <div class="mt-5">
            <x-jet-danger-button wire:click="$toggle('confirmingTeamDeletion')" wire:loading.attr="disabled">
                {{ __('Delete Team') }}
            </x-jet-danger-button>
        </div>

        <!-- Delete Team Confirmation Modal -->
        <x-jet-confirmation-modal wire:model="confirmingTeamDeletion">
            <x-slot name="title">
                {{ __('Delete Team') }}
            </x-slot>

            <x-slot name="content">
                {{ __('Are you sure you want to delete this team? Once a team is deleted, all of its resources and data will be permanently deleted.') }}
            </x-slot>

            <x-slot name="footer">
                <x-jet-secondary-button wire:click="$toggle('confirmingTeamDeletion')" wire:loading.attr="disabled">
                    {{ __('Nevermind') }}
                </x-jet-secondary-button>

                <x-jet-danger-button class="ml-2" wire:click="deleteTeam" wire:loading.attr="disabled">
                    {{ __('Delete Team') }}
                </x-jet-danger-button>
            </x-slot>
        </x-jet-confirmation-modal>
    </x-slot>
</x-jet-action-section>
This view uses the x-jet-confirmation-modal component. Strings are passed to the various slots. In the Livewire component class that backs this view, the open state is tracked with the $confirmingTeamDeletion. When "Delete" is clicked, the deleteTeam function on the Livewire component class will be executed.
We can easily reuse the view code of the code snippet above to create deletion modals that can be used outside of Jetstream's user and team views.
Here's how the button to delete a site from Oh Dear looks like.
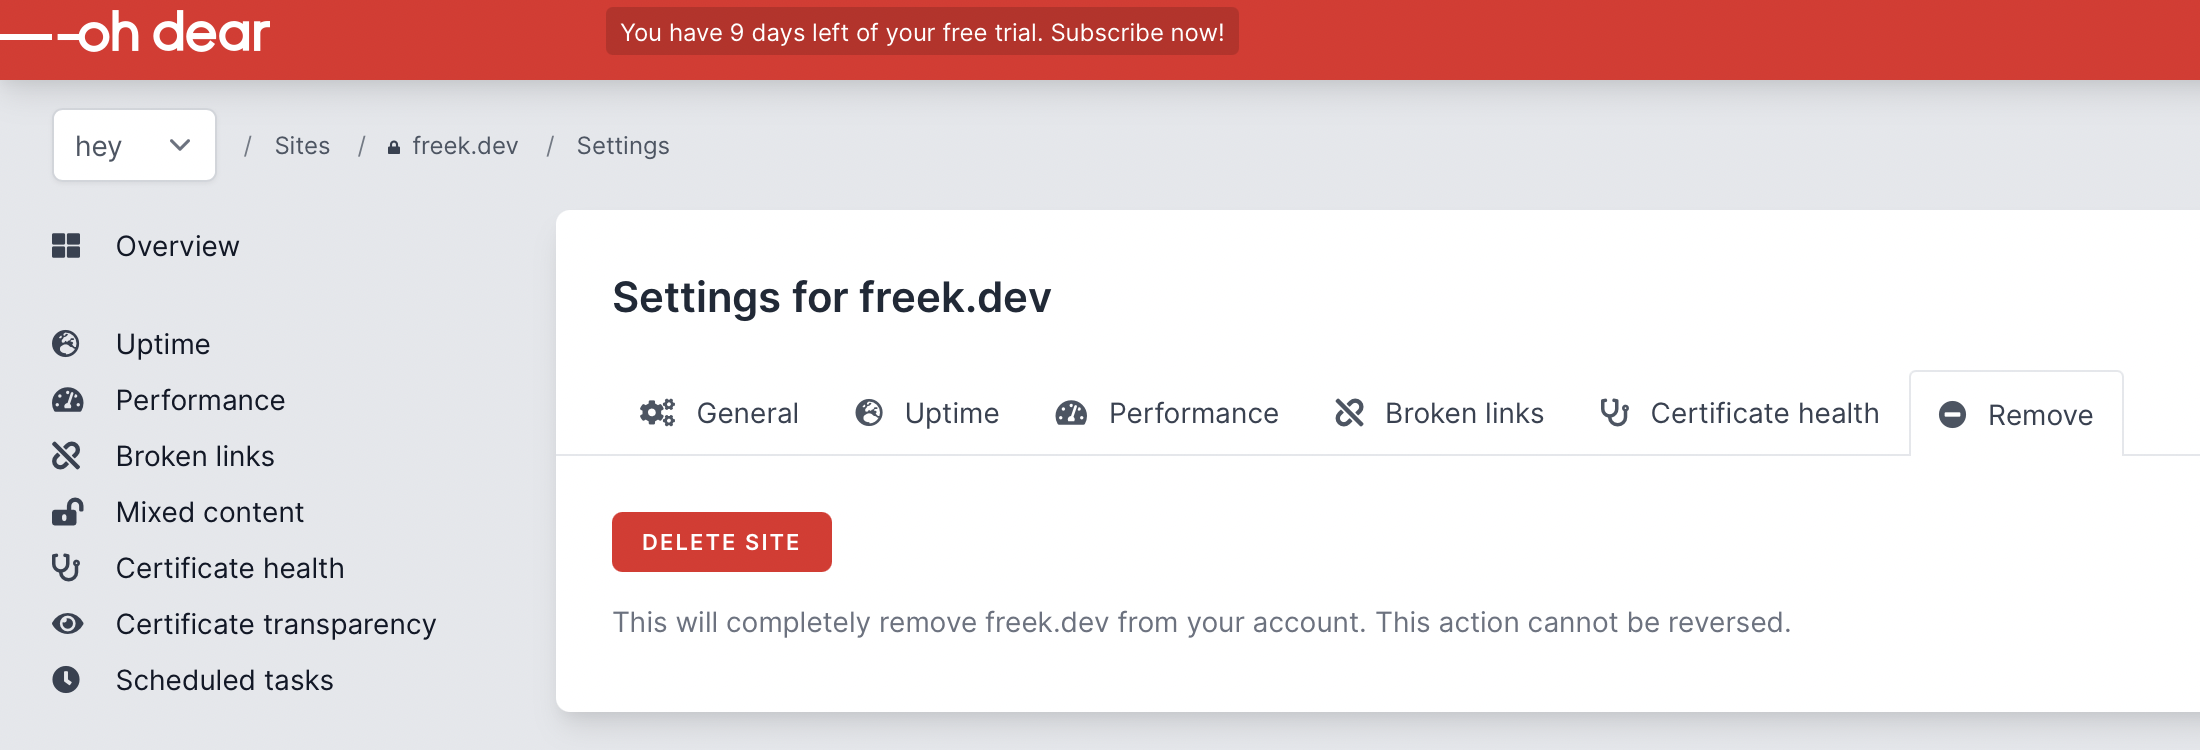
When clicking the button, this model is shown.
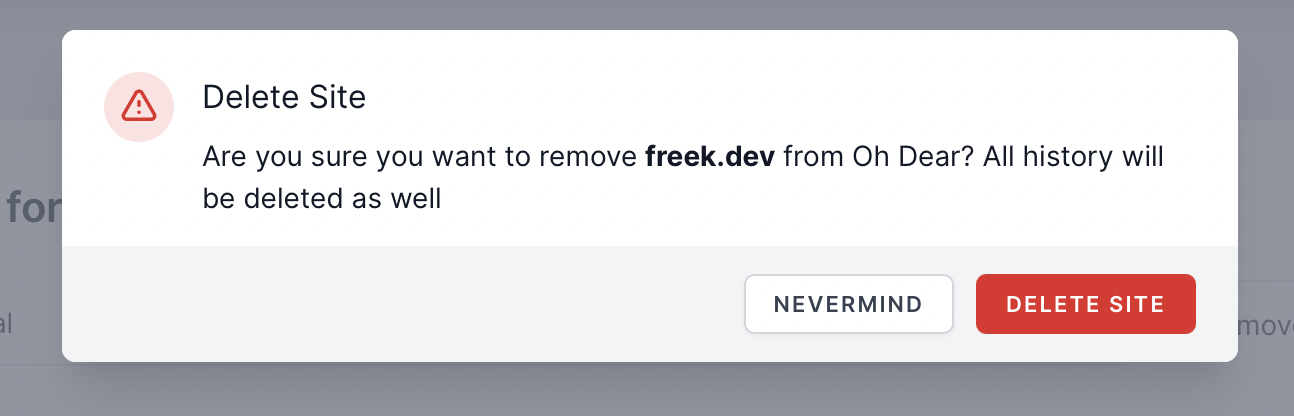
That button and model uses code copied from Jetstream. Here's the code that renders the button and modal.
<div>
    <div class="mt-5">
        <x-jet-danger-button wire:click="$toggle('confirming')" wire:loading.attr="disabled">
            Delete Site
        </x-jet-danger-button>

        <div class="help mt-4">
            This will completely remove {{ $site->label }} from your account. This action cannot be reversed.
        </div>
    </div>

    <x-jet-confirmation-modal wire:model="confirming">
        <x-slot name="title">
            Delete Site
        </x-slot>

        <x-slot name="content">
            Are you sure you want to remove <b>{{ $site->label }}</b> from Oh Dear?
            All history will be deleted as well
        </x-slot>

        <x-slot name="footer">
            <x-jet-secondary-button wire:click="$toggle('confirming')" wire:loading.attr="disabled">
                Nevermind
            </x-jet-secondary-button>

            <x-jet-danger-button class="ml-2" wire:click="confirmed" wire:loading.attr="disabled">
                Delete site
            </x-jet-danger-button>
        </x-slot>
    </x-jet-confirmation-modal>
</div>
When clicking the delete button, the "confirmed" function is executed. Here is the Livewire component that controls that view.
namespace App\Http\App\Components\ConfirmComponents;

use App\Domain\Site\Models\Site;

class DeleteSiteComponent extends ConfirmComponent
{
    public Site $site;

    public function confirmed()
    {
		    // delete everything using a queued job
        $this->site->markForDeletion();

        flash()->success("{$this->site->label} has been removed from your account");

        $this->redirectRoute('sites');
    }

    public function render()
    {
        return view('app.sites.components.confirm.delete-site');
    }
}
Here is the code of the parent class ConfirmComponent.
namespace App\Http\App\Components\ConfirmComponents;

use Livewire\Component;

abstract class ConfirmComponent extends Component
{
    public $confirming = false;

    abstract public function confirmed();
}
You see that variable that determines the open/close state of the model is set on the parent, so DeleteSiteComponent doesn't need to bother with it itself.
Here is the Livewire component that handles the deletion of another model. You see that it is also very small and also extends ConfirmComponent.
namespace App\Http\App\Components\ConfirmComponents;

use App\Domain\StatusPage\Models\StatusPage;

class DeleteStatusPageComponent extends ConfirmComponent
{
    public StatusPage $statusPage;

    public function confirmed()
    {
        $this->statusPage->delete();

        flash()->success("{$this->statusPage->title} has been deleted");

        $this->redirectRoute('statusPages');
    }

    public function render()
    {
        return view('app.sites.components.confirm.delete-status-page');
    }
}
And that's how you can reuse Jetstream's confirmation modals.
Bringing back impersonating users
In classic spark, you could impersonate users. Because Spark now focuses on only being a billing portal and nothing else, that the impersonation functionality was removed.
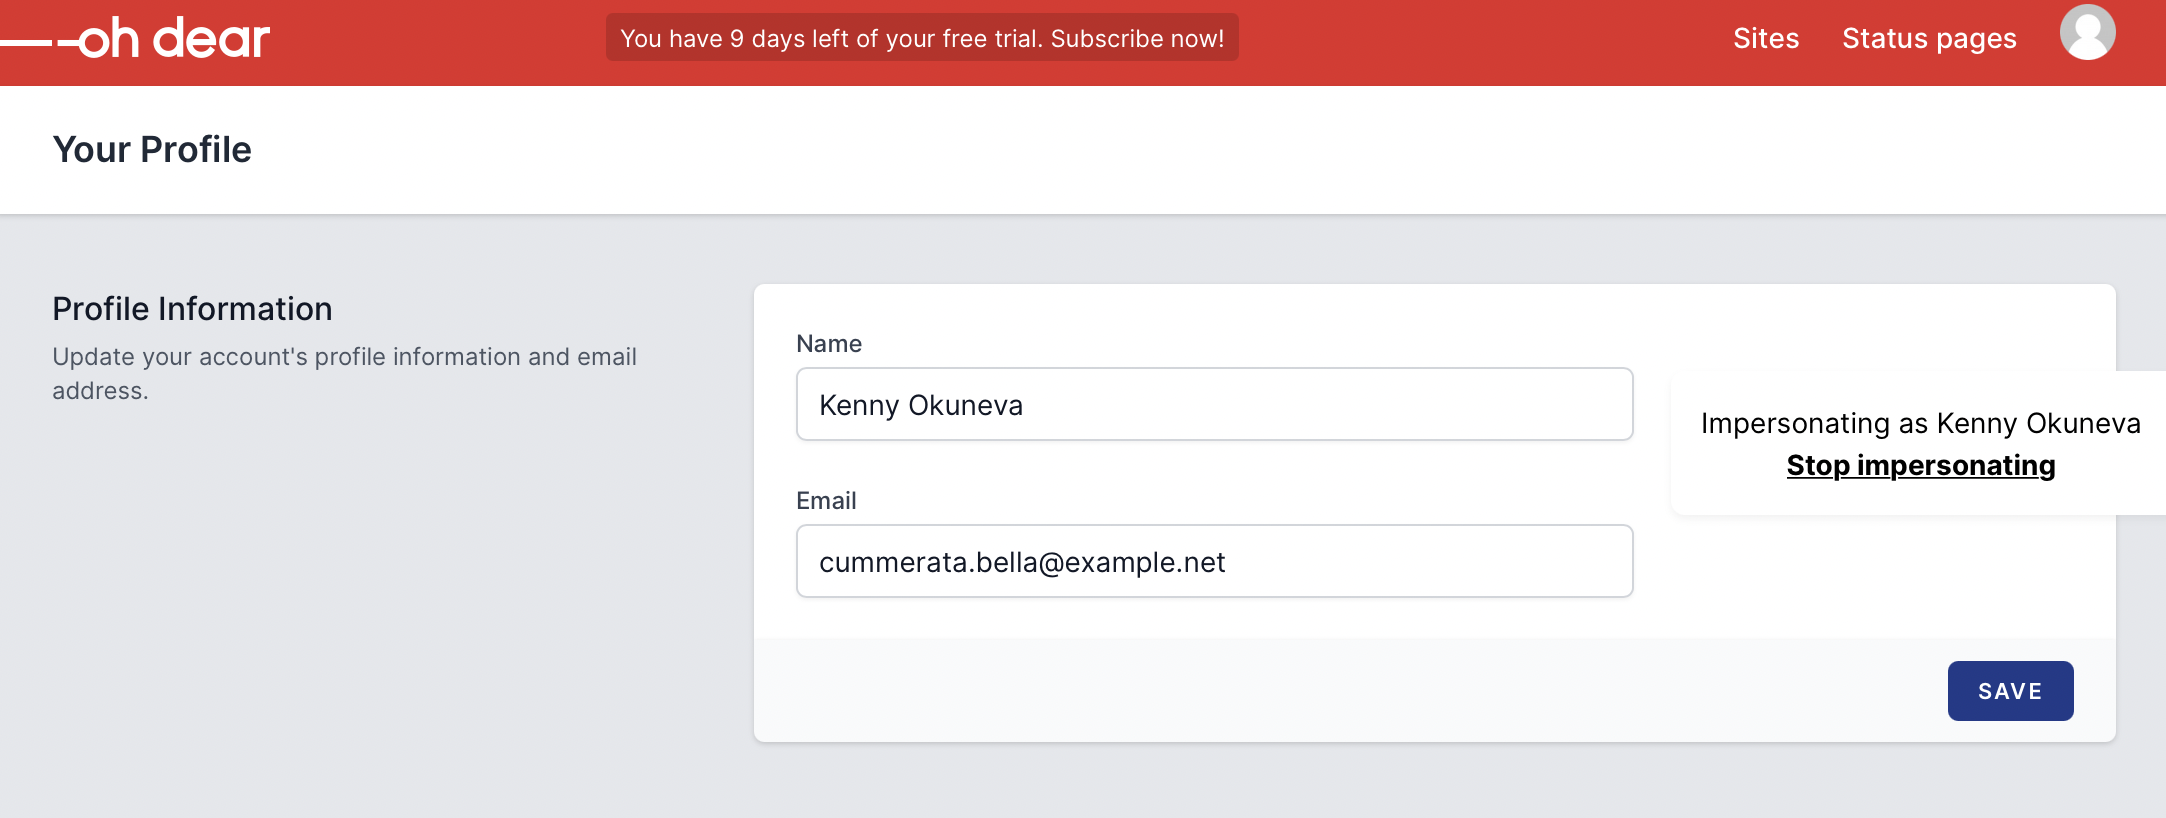
Luckily, you can bring it back quickly. For Oh Dear, we're using Laravel Nova. The kabbouchi/nova-impersonate package can display an impersonate button next to each user in a Nova module.
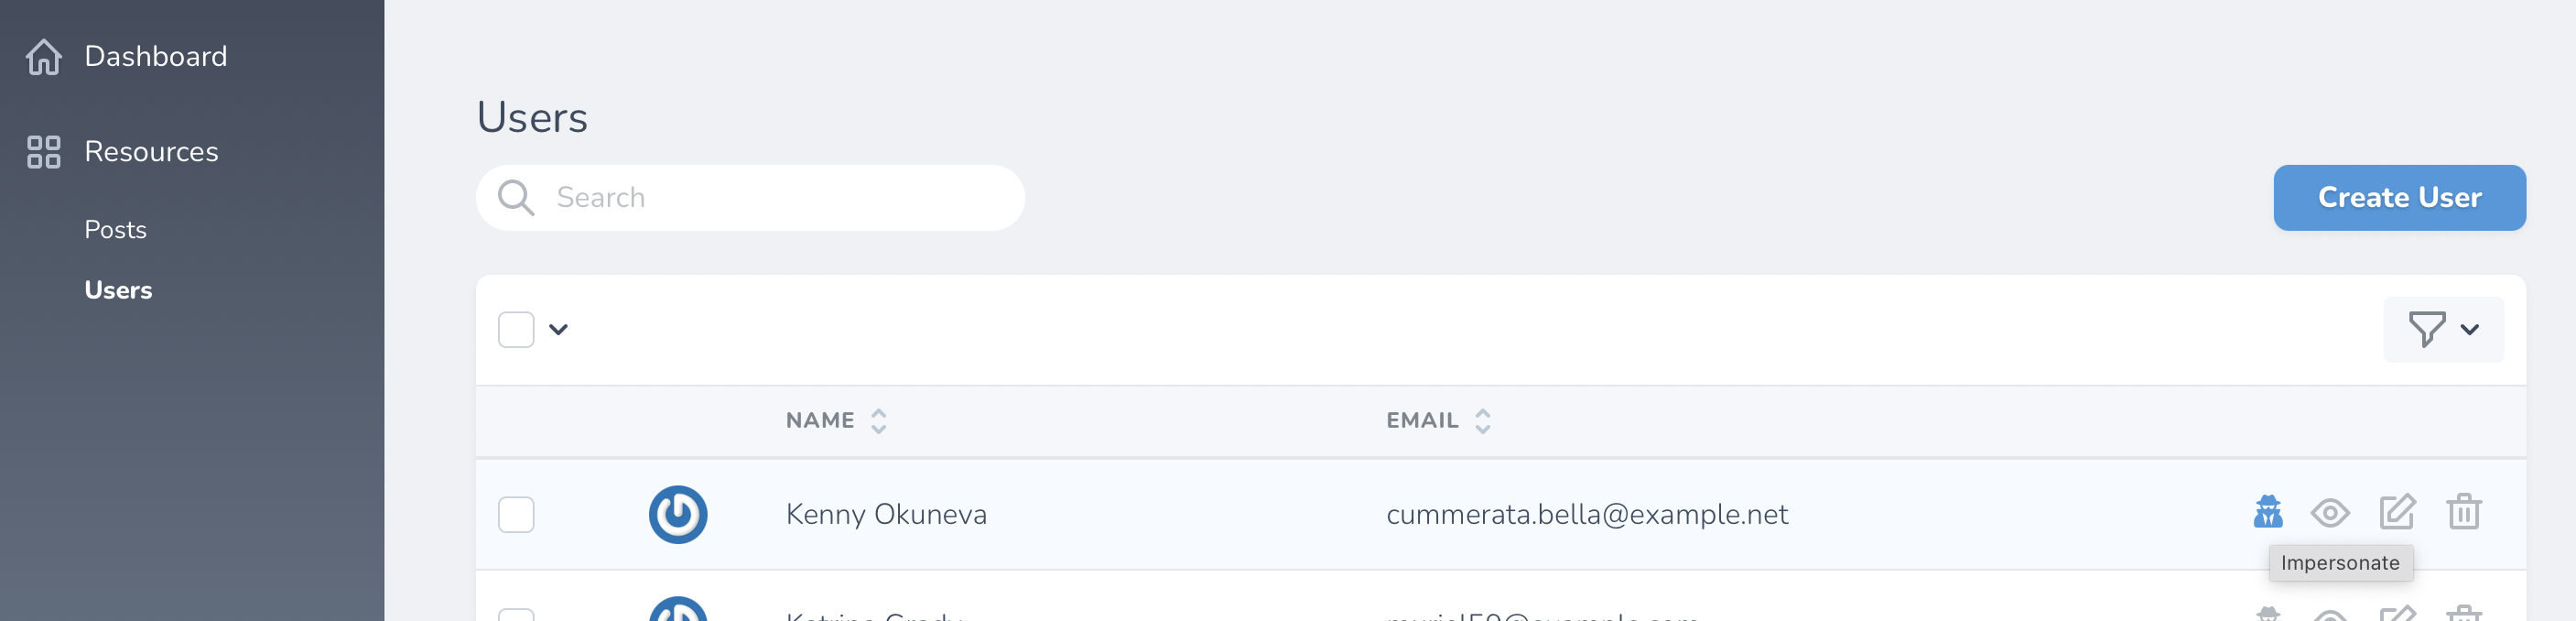
When you click it, you can see use Oh Dear as if you are that user. That's pretty handy when working on support tickets: you can see what the user sees.
Avoid using Jetstream's personal teams
By default, Jetstream has a concept that is called "personal teams". Whenever a user registers, a team will be created for that user. This is called their personal team. A user can not leave or delete that team. This ensures that each user will always have at least one team.
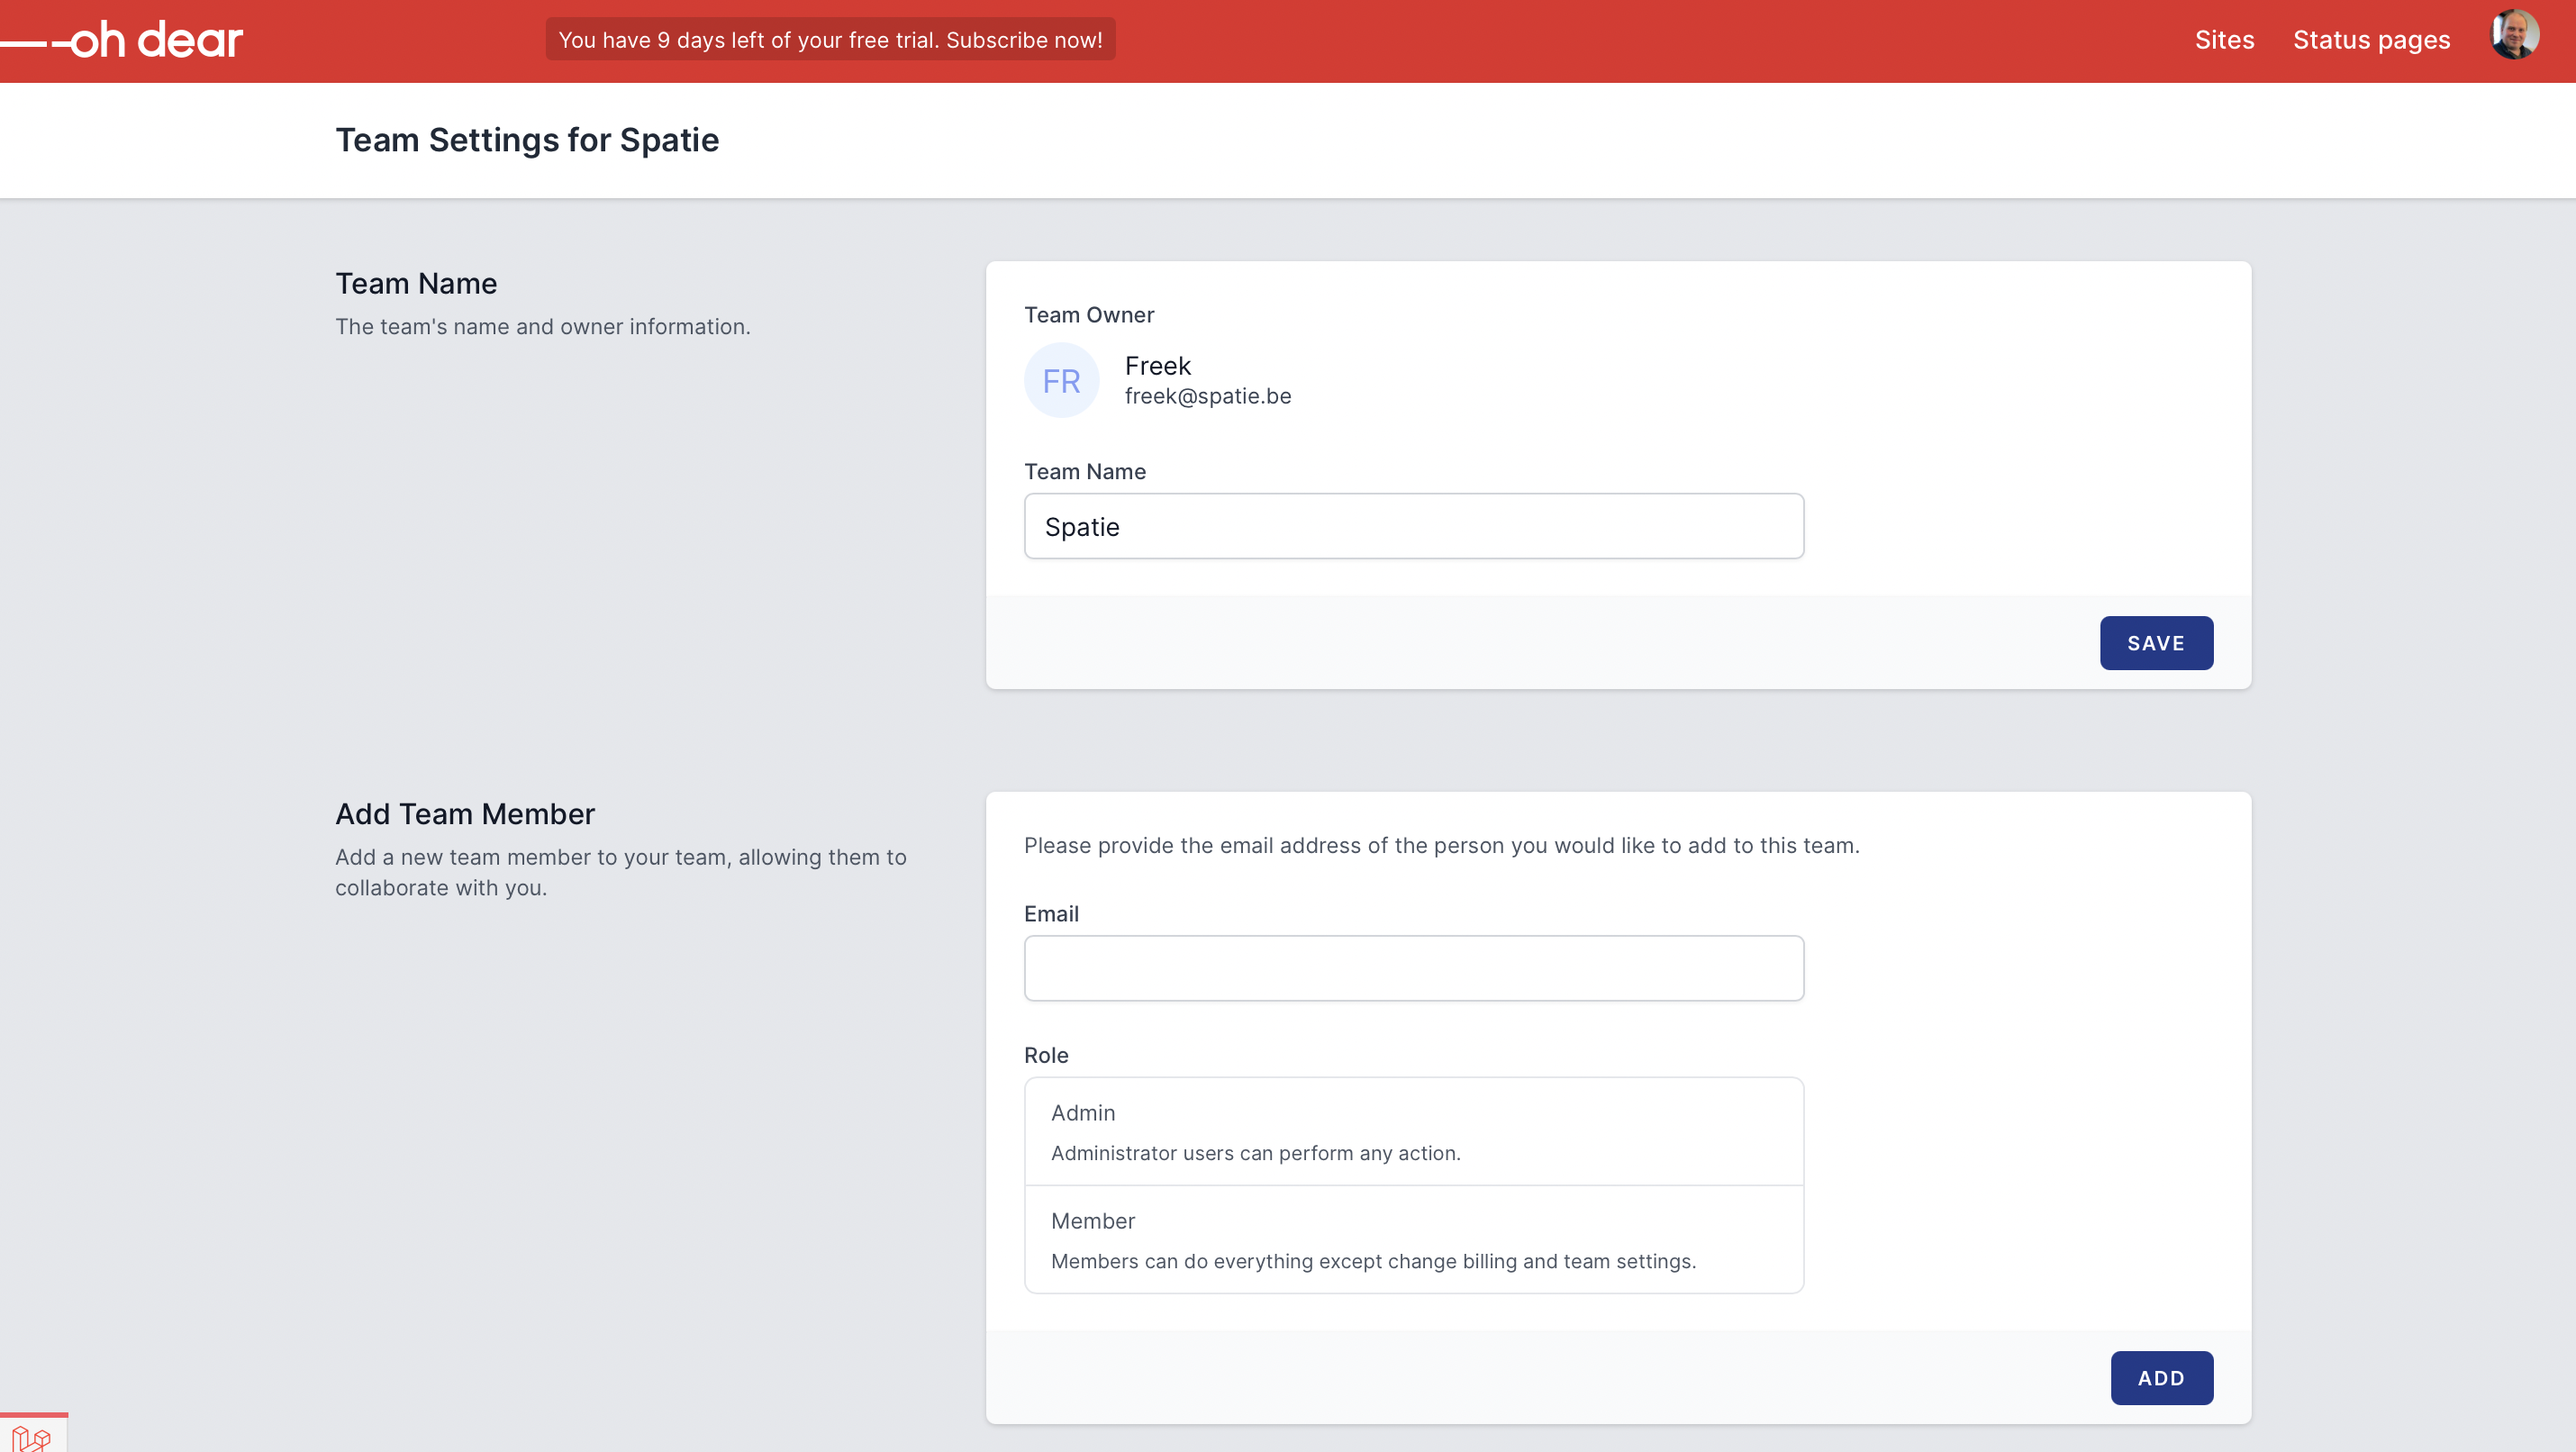
Though there certainly will be use cases for this behaviour, it could also create many unneeded teams. A registered user can invite other people into a team using their email address.
Here, I've invited "john@spatie.be" to the Spatie team.
This is the mail that will be sent to John.
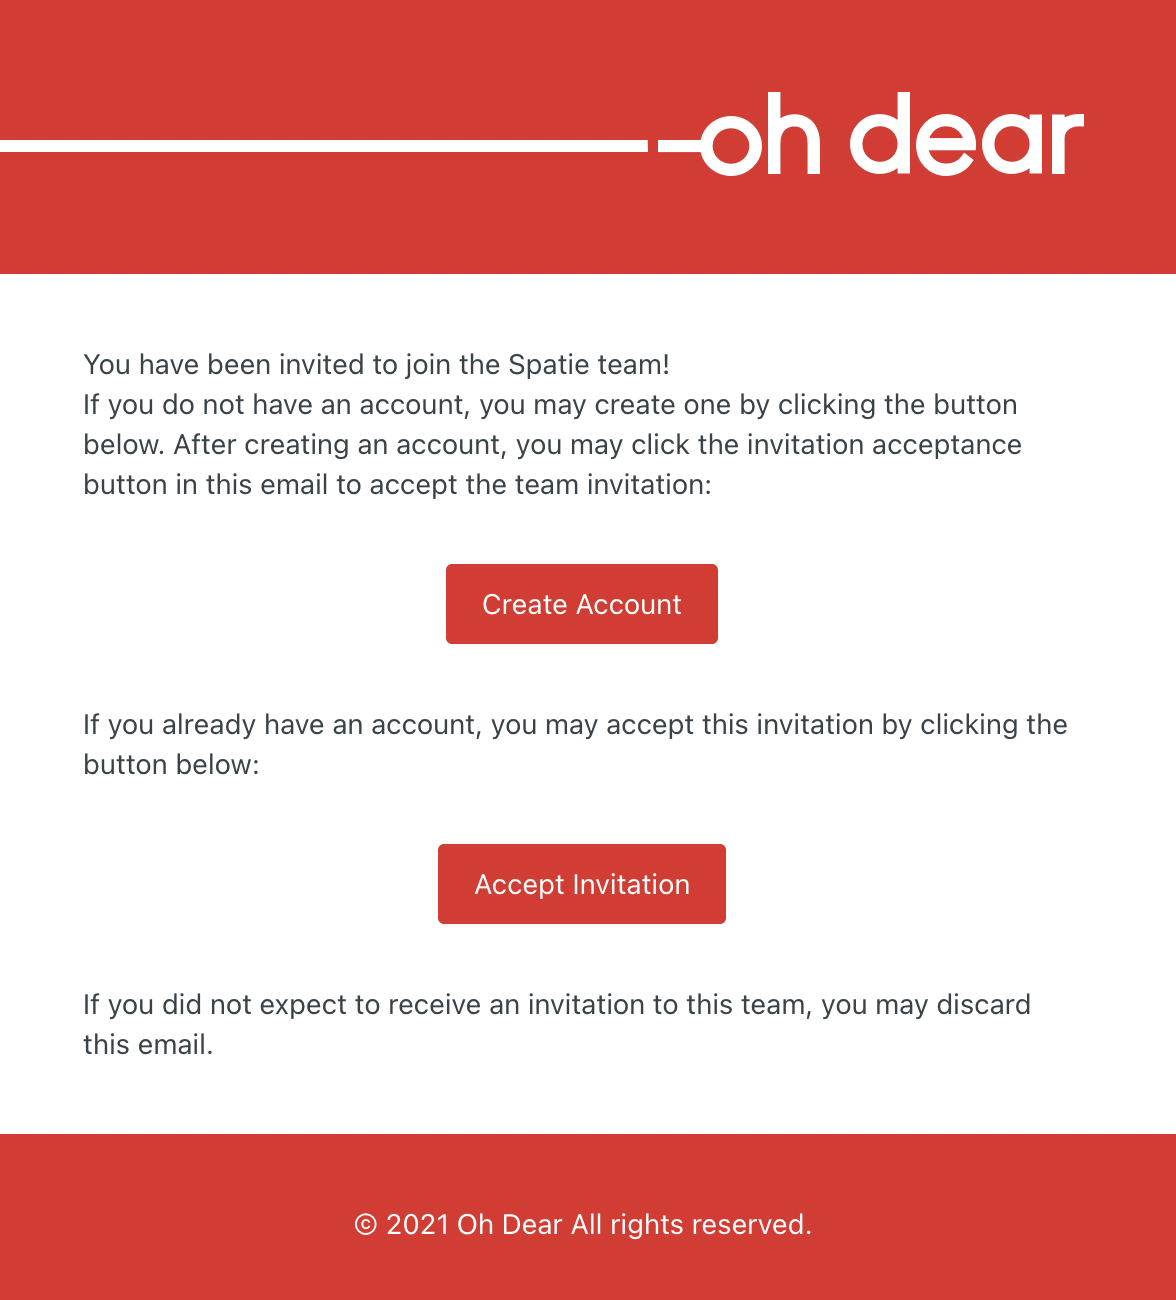
So, John is instructed to create an account. After John creates the account, a personal team (that cannot be deleted by default) will automatically have been created. After that, John clicks the "Accept Invitation" button in the mail and joins the Spatie team. Now John belongs to two teams: his personal team (that he probably doesn't need) and the Spatie team.
I'm confident that, for Oh Dear, using Jetstream's default behaviour would result in many unneeded teams being created. I'm not worried about the amount of storage that takes (it's probably negligible compared to all other stuff in the DB), but this behaviour might confuse users who expect to be in one team.
Luckily, customizing this behaviour is straightforward. Jetstream puts so-called action classes in your project. The class that will get executed when a new user registers is App\Actions\Fortify\CreateNewUser.
This is the default implementation.
namespace App\Actions\Fortify;

use App\Models\Team;
use App\Models\User;
use Illuminate\Support\Facades\DB;
use Illuminate\Support\Facades\Hash;
use Illuminate\Support\Facades\Validator;
use Laravel\Fortify\Contracts\CreatesNewUsers;
use Laravel\Jetstream\Jetstream;

class CreateNewUser implements CreatesNewUsers
{
    use PasswordValidationRules;

    /**
     * Create a newly registered user.
     *
     * @param  array  $input
     * @return \App\Models\User
     */
    public function create(array $input)
    {
        Validator::make($input, [
            'name' => ['required', 'string', 'max:255'],
            'email' => ['required', 'string', 'email', 'max:255', 'unique:users'],
            'password' => $this->passwordRules(),
            'terms' => Jetstream::hasTermsAndPrivacyPolicyFeature() ? ['required', 'accepted'] : '',
        ])->validate();

        return DB::transaction(function () use ($input) {
            return tap(User::create([
                'name' => $input['name'],
                'email' => $input['email'],
                'password' => Hash::make($input['password']),
            ]), function (User $user) {
                $this->createTeam($user);
            });
        });
    }

    /**
     * Create a personal team for the user.
     *
     * @param  \App\Models\User  $user
     * @return void
     */
    protected function createTeam(User $user)
    {
        $user->ownedTeams()->save(Team::forceCreate([
            'user_id' => $user->id,
            'name' => explode(' ', $user->name, 2)[0]."'s Team",
            'personal_team' => true,
        ]));
    }
}
You clearly see the personal team being created too. In the Oh Dear codebase, we've customized that class like this:
namespace App\Actions\Fortify;

use App\Domain\Team\Models\User;
use Illuminate\Support\Facades\Hash;
use Illuminate\Support\Facades\Validator;
use Laravel\Fortify\Contracts\CreatesNewUsers;
use Laravel\Jetstream\Jetstream;

class CreateNewUser implements CreatesNewUsers
{
    use PasswordValidationRules;

    public function create(array $input)
    {
        Validator::make($input, [
            'name' => ['required', 'string', 'max:255'],
            'email' => ['required', 'string', 'email', 'max:255', 'unique:users'],
            'password' => $this->passwordRules(),
            'terms' => Jetstream::hasTermsAndPrivacyPolicyFeature() ? ['required', 'accepted'] : '',
        ])->validate();

        /** @var User $user */
        $user = User::create([
            'name' => $input['name'],
            'email' => $input['email'],
            'password' => Hash::make($input['password']),
        ]);

        return $user;
    }
}
After this action is executed, the calling code in Jetstream will redirect the user to the home route. In Oh Dear, the home route is defined in the RouteServiceProvider to point to /sites.
class RouteServiceProvider extends ServiceProvider
{
    public const HOME = '/sites';

    // ...
}
Most application routes in our app have the EnsureHasTeam middleware applied to them.
This is the code of that middleware.
<?php

namespace App\Http\Middleware;

use Closure;
use Illuminate\Http\Request;

class EnsureHasTeam
{
    public function handle(Request $request, Closure $next)
    {
        if (! currentUser()->isMemberOfATeam()) {
            return redirect()->route('create-first-team');
        }

        $this->ensureOneOfTheTeamsIsCurrent();

        return $next($request);
    }

    protected function ensureOneOfTheTeamsIsCurrent(): void
    {
        if (! is_null(currentUser()->current_team_id)) {
            return;
        }

        $firstTeamId = currentUser()->allTeams()->first()->id;
        currentUser()->update(['current_team_id' => $firstTeamId]);

    }
}
This middleware will redirect any user that doesn't have a team to the create-first-team route. This route displays a form that allows the logged-in user to create a team. This is how that form looks like in the browser.
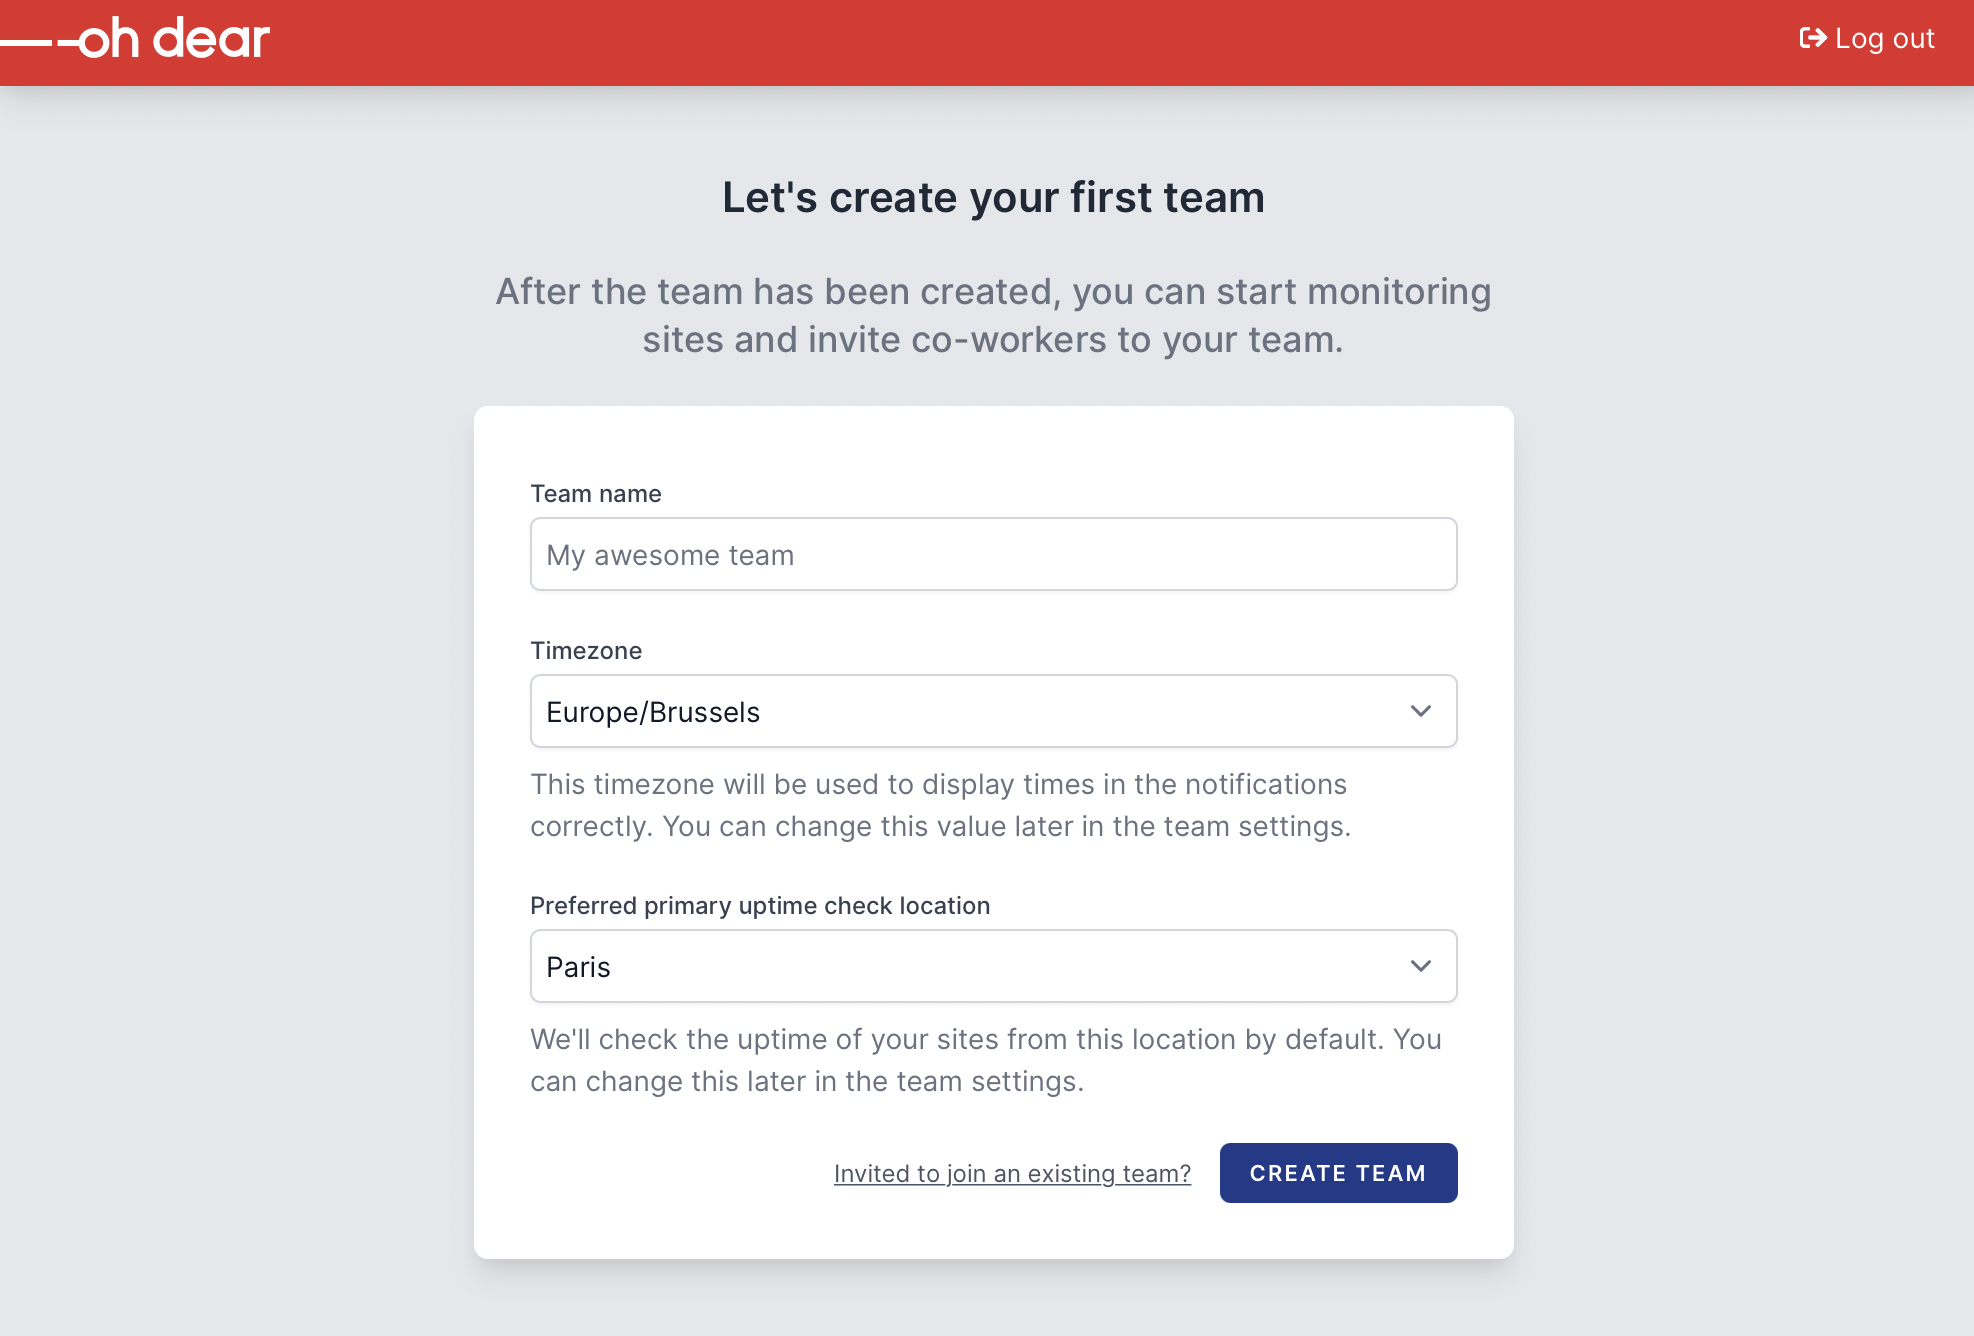 .
.
At this point, no team has been created yet. Notice that "Invited to join an existing team?" link at the bottom of the form? Let's click it!
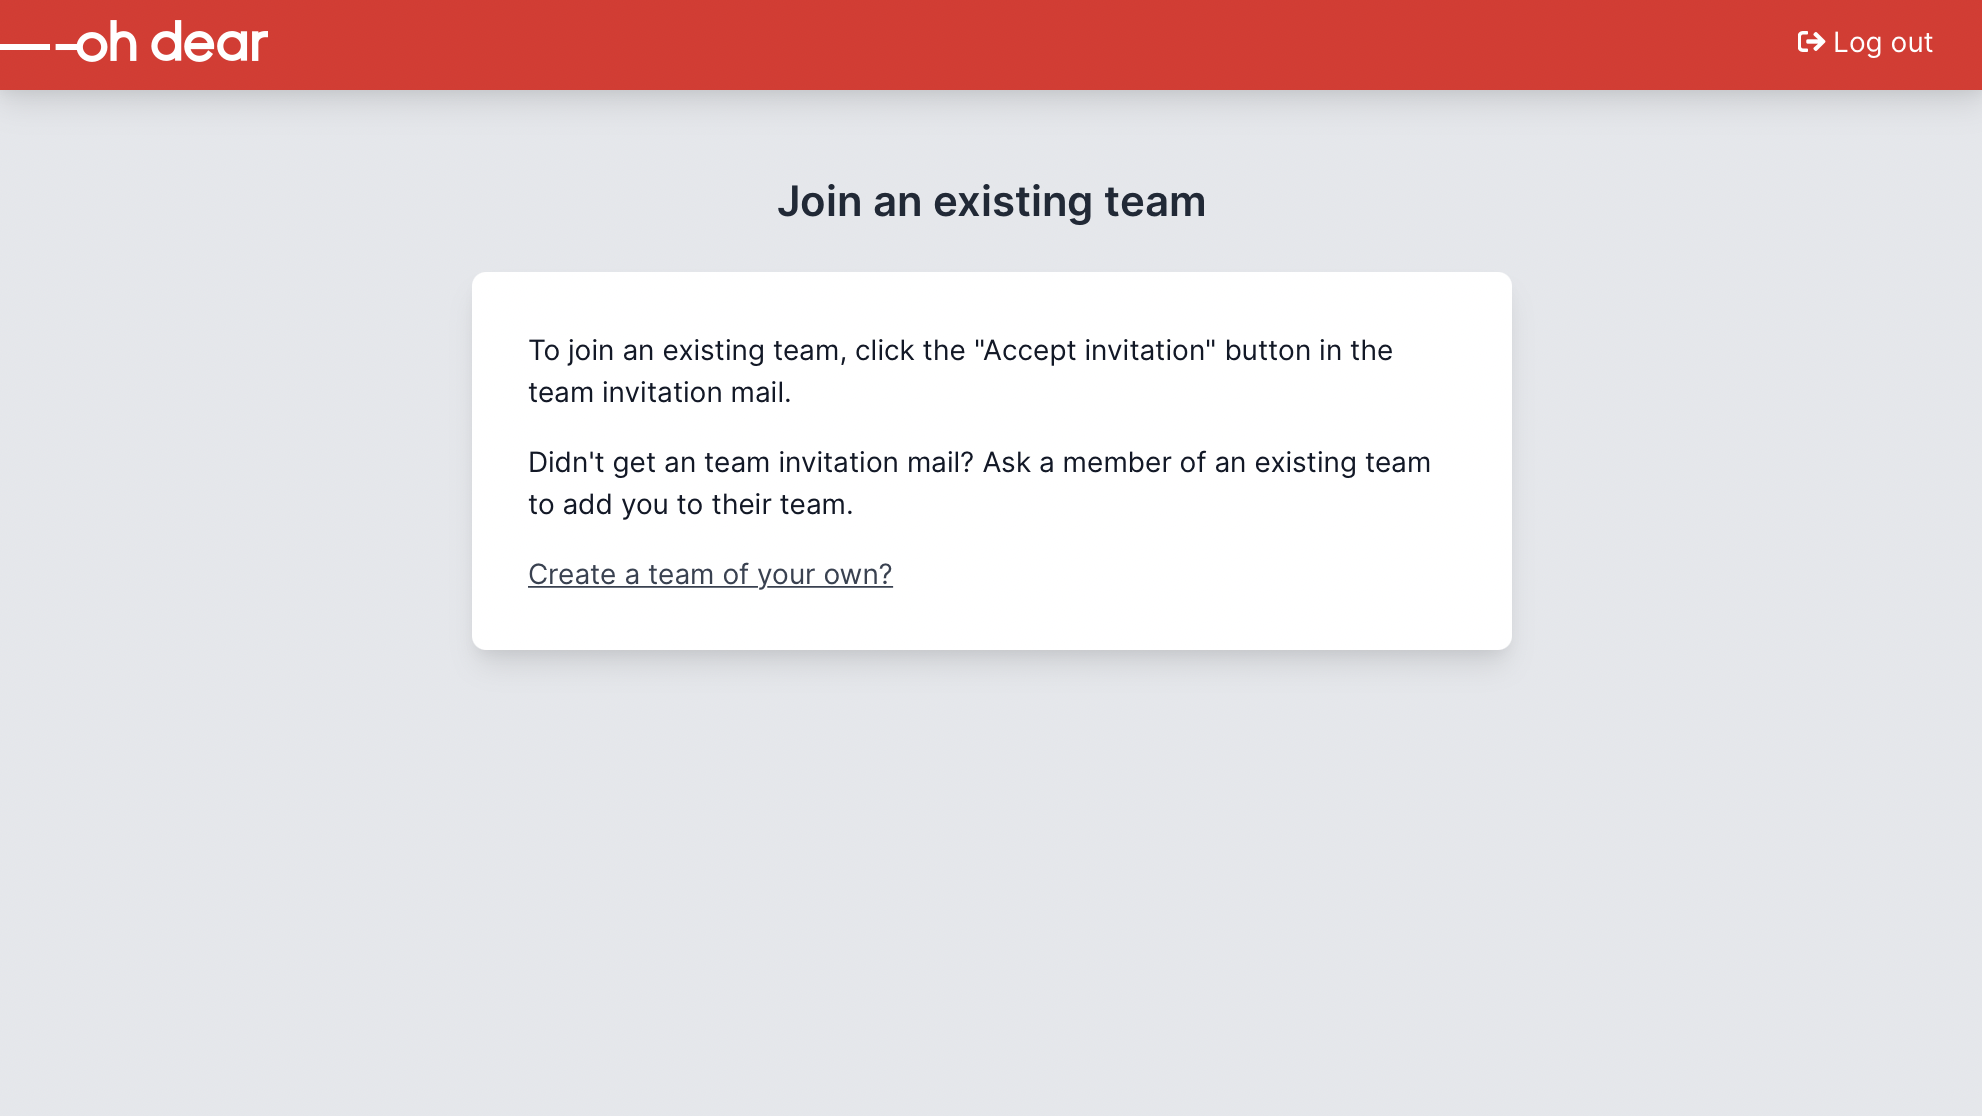 .
.
Here we instruct the user to click auth "Accept Invitation" button in the mail. When that button is clicked, the user will be joining that team.
On the route that displays the "Create first team" form, there's a middleware applied called EnsureHasNoTeam. Here is the code.
namespace App\Http\Middleware;

use App\Providers\RouteServiceProvider;
use Closure;
use Illuminate\Http\Request;

class EnsureHasNoTeam
{
    public function handle(Request $request, Closure $next)
    {
        if (currentUser()->isMemberOfATeam()) {
            return redirect()->route(RouteServiceProvider::HOME);
        }

        return $next($request);
    }
}
This middleware ensures that only users without any team can see the "Create first team" form.
And with all of this in plans, we don't rely on "personal teams". People that get invited into a team won't be forced to belong to multiple teams.
Creating a fixed invoices table
When Spark receives a webhook from Stripe signalling that a payment has been made, Spark will create store a new row in the receipts table and mail a PDF version of the receipt.
In the receipts table, these fields are stored.
Schema::create('receipts', function (Blueprint $table) {
    $table->id();
    $table->foreignId('team_id')->index();
    $table->string('provider_id')->index();
    $table->string('amount');
    $table->string('tax');
    $table->timestamp('paid_at');
    $table->timestamps();
});
That's all wonderful, but for Belgian (and I guess most European countries, this is not enough. The problem is that the table only holds a reference to the team id. If someone in the team changes the team's billing address, this will also change any previous receipts. For Belgian law, you must always use the address when a receipt/invoice is made.
Luckily, this is easily solved. When Spark handles a payment, it will fire an event Spark\Events\PaymentSucceeded that holds a reference to the billable (in our case, a team) and the created invoice. We can use that event to build up a table invoices that holds the team's data when a payment was made.
Here is the code of the listener that writes to the invoices table.
namespace App\Domain\Subscription\Listeners;

use App\Domain\Subscription\Models\Invoice;
use Laravel\Cashier\Invoice as CashierInvoice;
use Spark\Events\PaymentSucceeded;

class CreateInvoice
{
    public function handle(PaymentSucceeded $event)
    {
        /** @var \App\Domain\Team\Models\Team $team */
        $team = $event->billable;

        /** @var CashierInvoice $invoice */
        $cashierInvoice = $event->invoice;

        $stripeInvoice = $cashierInvoice->asStripeInvoice();

        if (Invoice::findByStripeId($stripeInvoice->id)) {
            return;
        }

        Invoice::create([
            'team_id' => $team->id,
            'stripe_id' => $cashierInvoice->id,
            'total' => $cashierInvoice->rawTotal(),
            'tax' => $stripeInvoice->tax,
            'card_country' => $team->card_country,
            'billing_address' => $team->billing_address,
            'billing_address_line_2' => $team->billing_address_line_2,
            'billing_postal_code' => $team->billing_postal_code,
            'billing_state' => $team->billing_state,
            'billing_country' => $team->billing_country,
            'vat_id' => $team->vat_id,
        ]);
    }
}
And with that date both the tax authorities and our accountant is happy.
In closing
Even though I needed to customize some behaviour of the new Spark, I'm thrilled with it. All these customizations were easily achievable; no dirty hacks were needed. The Laravel team did a good job making both Jetstream and Spark customizable out of the box.
In general, I think the new Spark is a significant step forwards compared to the classic version. The Oh Dear Laravel app doesn't have any special foundation (classic Spark) now, but it's more a regular Laravel app with some add-ons (Jetstream and Spark). This feels much lighter. We could remove Vue from the code base and can now solely rely on Livewire, making our app more maintainable.
I'd like to thank Mohamed Said for answering questions around some of the implementation details and adding small niceties to Spark when I needed them..
If you want to see all of this in action, register for an account at Oh Dear. There's a free trial period of 10 days so that you can toy around with all the new user, team and billing settings screen.