Using the 1-click-installer to set up Mailcoach in no time original
A couple of weeks ago, we released Mailcoach: an affordable, self-hosted solution to send out newsletters. Installing it into an existing Laravel application is quite easy if you have experience with Laravel.
We wanted to make getting started with Mailcoach easier for those without experience with Laravel or PHP. Using our a 1-click-installer on the Digital Ocean marketplace you can set up an entire Mailcoach installation in a couple of minutes.
In this blogpost I'd like to show you how you can use the installer and how we built it.
Using the 1-click-installer
Here's a video where the 1-click installer is used to set up fully functioning Mailcoach installation.
Creating the image
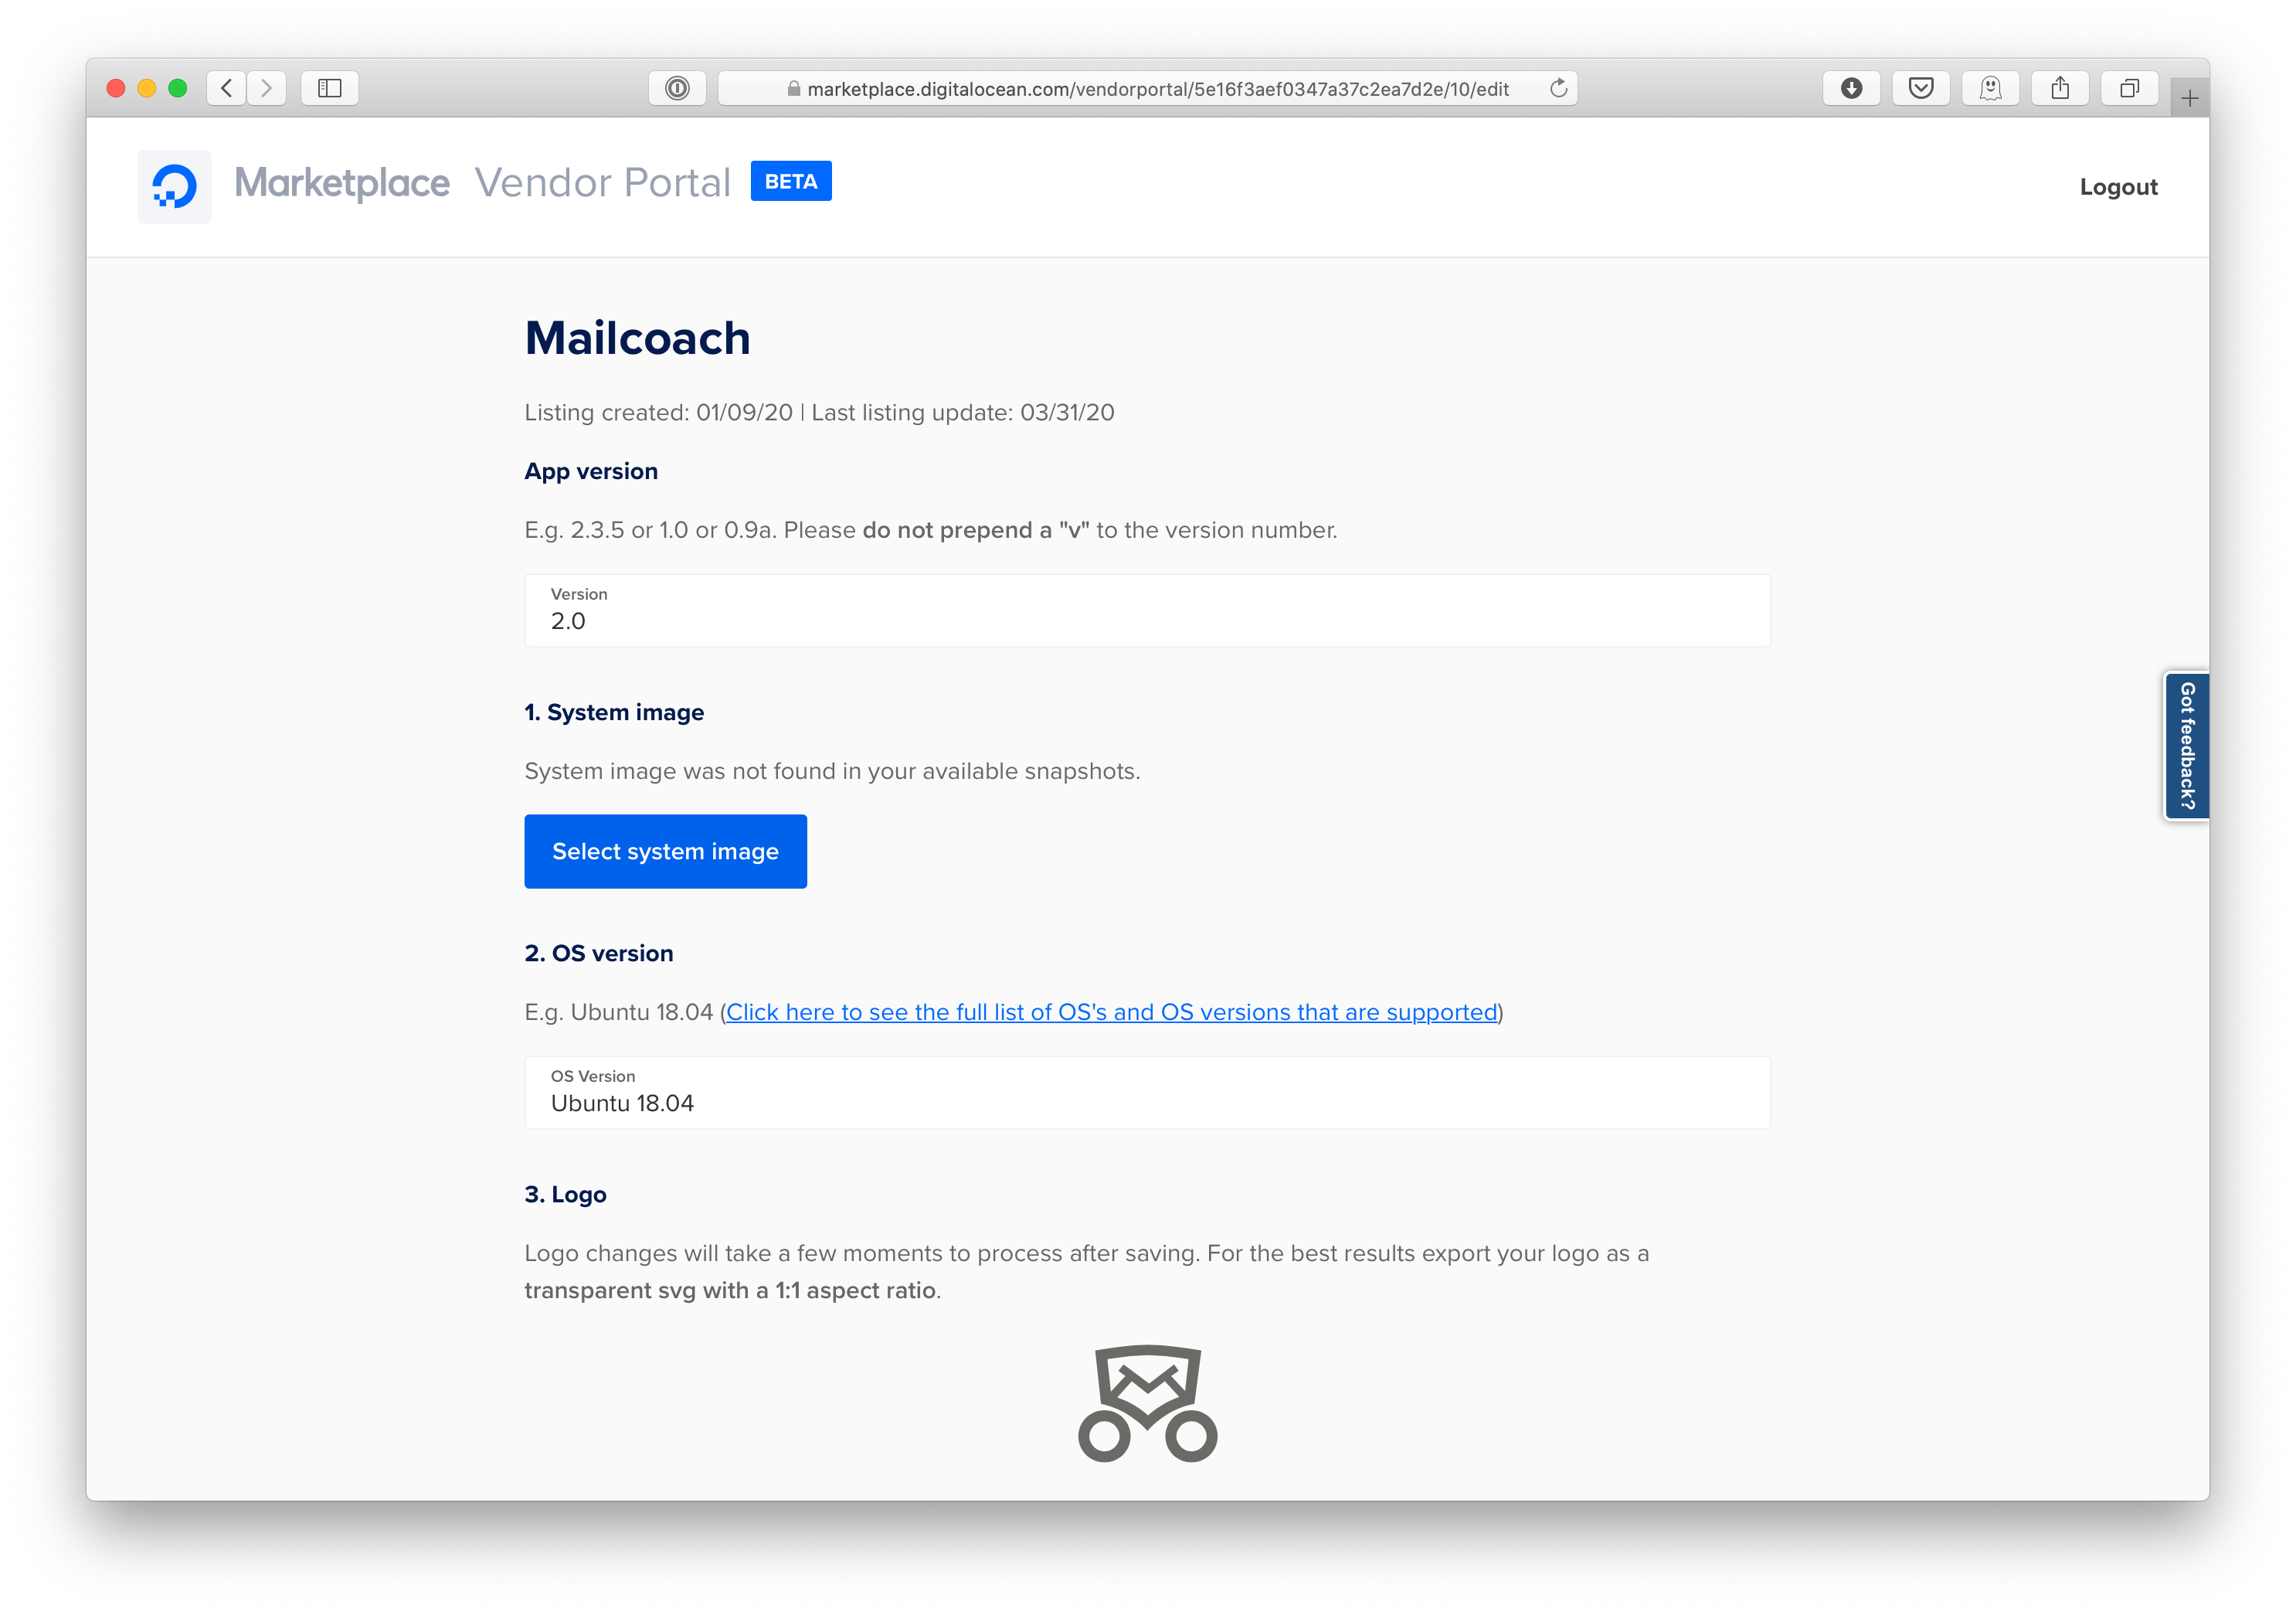
To be listed on the DigitalOcean market place you must submit a snapshot image to the vendor portal. The image must first be verified and approved by DigitalOcean before it becomes publicly available.
We use Packer to build the snapshot of the server. This free, open source tool creating by HashiCorp can create snapshots for multiple platforms using a single source configuration. Right now, we only target DigitalOcean, but we might also add a image to AWS in the near future.
You'll find our Packer configuration in this repo on GitHub. This is the main configuration stored inside mailcoach-one-click.json.
{
  "variables": {
    "token": "{{env `DIGITALOCEAN_TOKEN`}}",
    "image_name": "mailcoach-one-click-{{timestamp}}"
  },
  "builders": [
    {
      "type": "digitalocean",
      "api_token": "{{user `token`}}",
      "image": "ubuntu-18-04-x64",
      "region": "fra1",
      "size": "s-1vcpu-1gb",
      "ssh_username": "root",
      "snapshot_name": "{{user `image_name`}}"
    }
  ],
  "provisioners": [
    {
      "type": "file",
      "source": "files/etc/",
      "destination": "/etc/"
    },
    {
      "type": "file",
      "source": "files/var/",
      "destination": "/var/"
    },
    {
      "type": "ansible",
      "playbook_file": "./playbook.yml"
    },
    {
      "type": "shell",
      "scripts": [
        "scripts/90-cleanup.sh",
        "scripts/99-img_check.sh"
      ]
    }
  ]
}
You notice that, under the hood, Ansible is used to provision the server. Using Ansible we execute, amongst others, scripts to install nginx, certbot, and ..., and configure PHP and Horizon.
This is the script that is executed as soon as somebody logs in to a server provisioned with this snapshot for the first time.
#!/bin/bash
#
# Mailcoach activation script
#
# This script will configure Apache with the domain
# provided by the user and offer the option to set up
# LetsEncrypt as well.

# Enable Mailcoach on firstlogin
echo "This script will copy the Mailcoach installation into"
echo "your web root and move the existing one to /var/www/html.old"
echo "--------------------------------------------------"
echo "This setup requires a domain name and a license key."
echo "If you do not have one yet, you may cancel this setup, press Ctrl+C."
echo "This script will run again on your next login"
echo "--------------------------------------------------"
echo "Enter the domain name for your new Mailcoach site."
echo "(ex. example.org or test.example.org) do not include www or http/s"
echo "--------------------------------------------------"
a=0
while [ $a -eq 0 ]
do
 read -p "Domain/Subdomain name: " dom
 if [ -z "$dom" ]
 then
  a=0
  echo "Please provide a valid domain or subdomain name to continue or press Ctrl+C to cancel"
 else
  a=1
fi
done

# Set some default zero values
license=""
validLicense=""
email="0"
username="0"
pass="0"

echo -en "Enter your license key for Mailcoach."

while [[ $license == "" && $validLicense == "" ]]
do
 echo -en "\n"
 read -p "Your License key: " license

 if [ -z "$license" ]
 then
  validLicense=""
  echo "Please provide a valid license to continue or press Ctrl+C to cancel"
 else
  response=$(curl --write-out %{http_code} --silent --output /dev/null "https://mailcoach.app/is-valid-license/$license")
  if [ $response == "200" ]
  then
   validLicense="true"
  else
   echo "Please provide a valid license to continue or press Ctrl+C to cancel"
   validLicense=""
   license=""
  fi
 fi
done

sed -i "s/\$domain/$dom/g"  /etc/nginx/nginx.conf

echo -en "\n\n"
echo "Next, you have the option of configuring LetsEncrypt to secure your new site."
echo "Before doing this, be sure that you have pointed your domain or subdomain to this server's IP address."
echo "You can also run LetsEncrypt certbot later with the command 'certbot --nginx'"
echo "--------------------------------------------------"
echo -en "\n\n"

validYn="0"
while [ $validYn == "0" ]
do
  read -p "Would you like to use LetsEncrypt (certbot) to configure SSL(https) for your new site? (y/n): " yn
      case $yn in
          [Yy]* ) certbot --nginx; echo "Mailcoach has been enabled at https://$dom.";validYn=1;break;;
          [Nn]* ) echo "Skipping LetsEncrypt certificate generation";validYn=1;break;;
          * ) echo "Please answer y or n.";;
      esac
done

echo -en "Please provide the credentials for your admin user of Mailcoach."
while [ $email == "0" ]
do
 echo -en "\n"
 read -p "Email Address: " email
done
while [ $username == "0" ]
do
 echo -en "\n"
 read -p  "Name: " username
done

while [ $pass == "0" ]
do
  echo -en "\n"
  read -s -p "Password: " pass
done

echo "Finalizing installation..."

echo -en "Completing the configuration for Mailcoach..."
echo -en "\n\n"
echo -en "Setting composer auth."
export COMPOSER_ALLOW_SUPERUSER=1
composer config http-basic.satis.mailcoach.app user $license --global --quiet

if [ ! -f "/var/www/mailcoach/composer.json" ]; then
  echo -en "Installing Mailcoach..."
  echo -en "\n\n"
  composer create-project spatie/mailcoach /var/www/mailcoach --no-dev --no-progress --prefer-dist --repository=https://satis.mailcoach.app
else
  echo -en "Project already created. Skipping."
  echo -en "\n\n"
fi

cd /var/www/mailcoach

echo -en "Setting env files..."
echo -en "\n\n"
export $(cat /root/.digitalocean_password | xargs)

# populate the Mailcoach .env file
sed -e "s/DB_USERNAME=root/DB_USERNAME=mailcoach/g" \
    -e "s/DB_PASSWORD=/DB_PASSWORD=\"${mailcoach_mysql_pass}\"/g" \
    -e "s/APP_URL=.*/APP_URL=\"https:\/\/${dom}\"/g" \
    -i .env

chown -Rf www-data:www-data /var/www/mailcoach

echo -en "Migrating database..."
echo -en "\n\n"
php artisan migrate --force

echo -en "Creating user..."
echo -en "\n\n"
php artisan make:user --username="$username" --email="$email" --password="$pass"

echo -en "Moving files..."
echo -en "\n\n"
mv /var/www/html /var/www/html.old
mv /var/www/mailcoach /var/www/html
chown -Rf www-data:www-data /var/www/html
composer link-mailcoach-assets
cd /var/www/html
php artisan storage:link

service nginx restart

echo -en "Starting Horizon..."
echo -en "\n\n"
supervisorctl restart horizon

chown -Rf www-data.www-data /var/www/
cp /etc/skel/.bashrc /root
source /root/.bashrc
echo "Installation complete. Access your new Mailcoach site in a browser to continue. Database credentials can be found in /root/.digitalocean_password"
A big thank you to my colleague Rias, who figured out the bulk part of this and made it all work using some trial and error.
In closing
Our 1-click installer provides an easy way to get started with Mailcoach. If you want to try it out, here's a coupon code that gives you a discount of $20 when registering a Mailcoach license.
1-CLICK-INSTALL