Creating beautiful status pages using Oh Dear! original
My buddy Mattias and I are running an uptime checker service called Oh Dear. Earlier this week, we've launched a new major feature: status pages.
In this blog post, I'd like to walk you through what status pages have to offer. We'll also dive deep in some technical details of the underlying Laravel app.
Introducing status pages
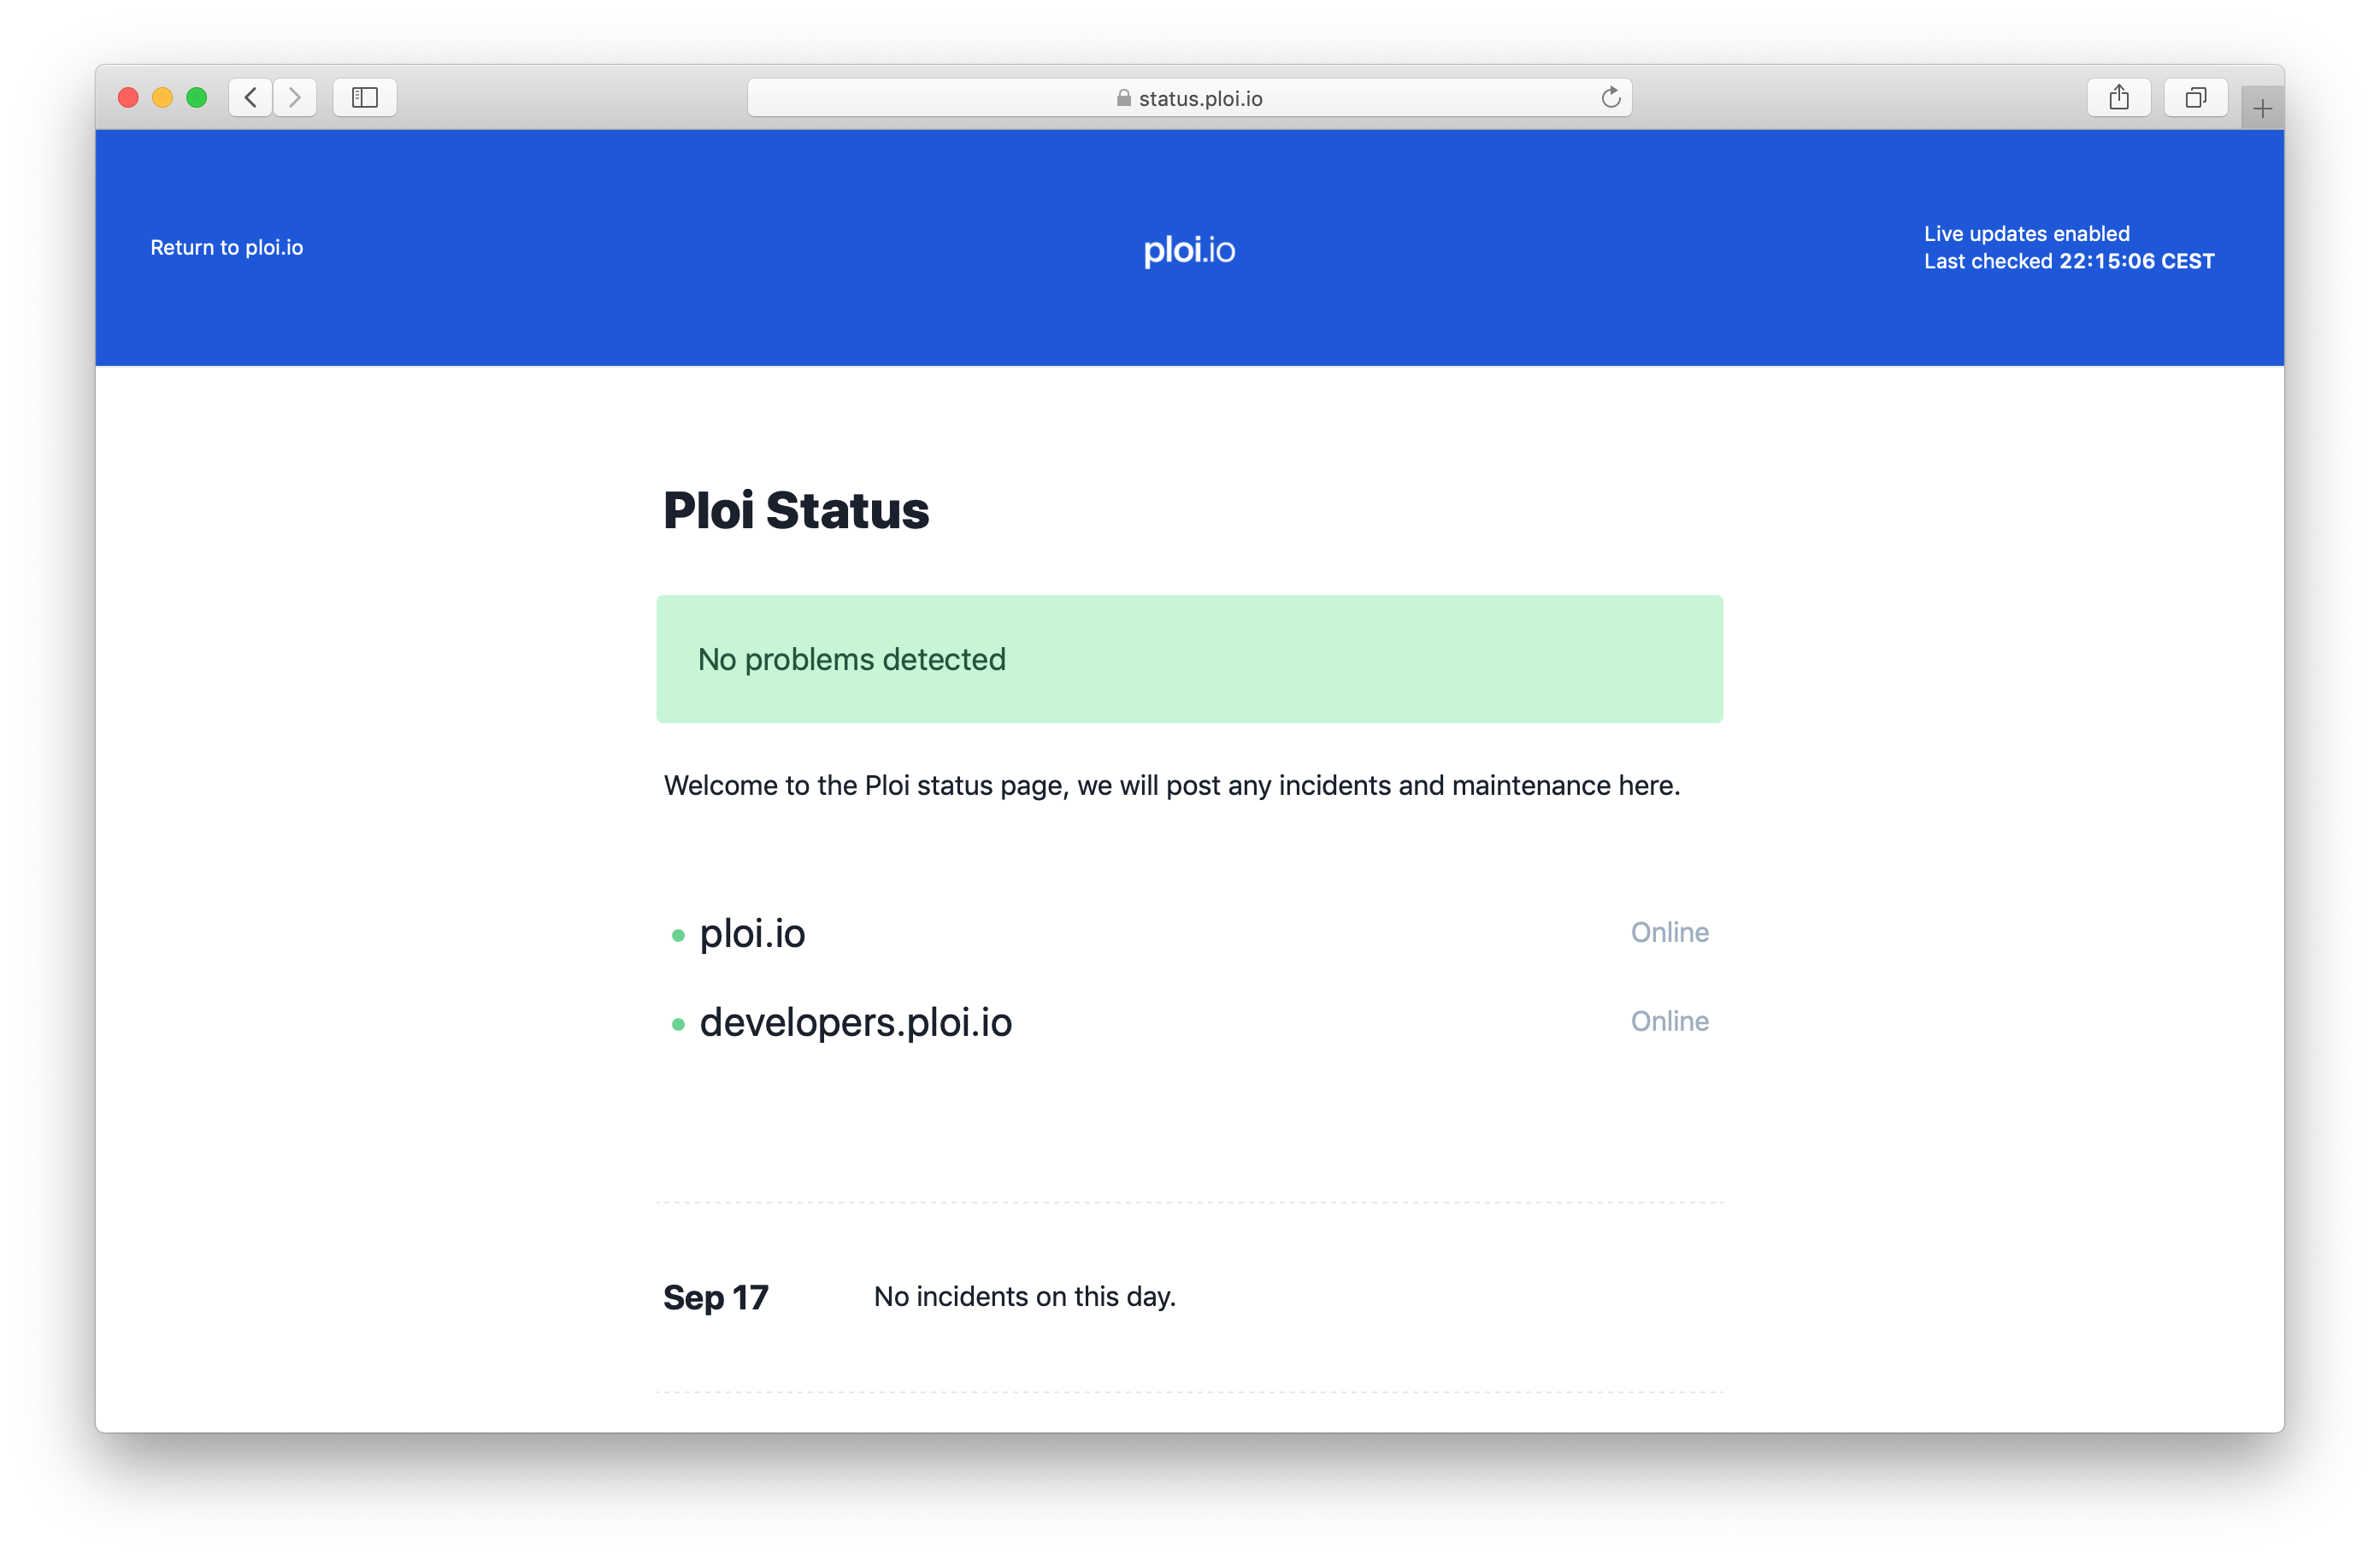
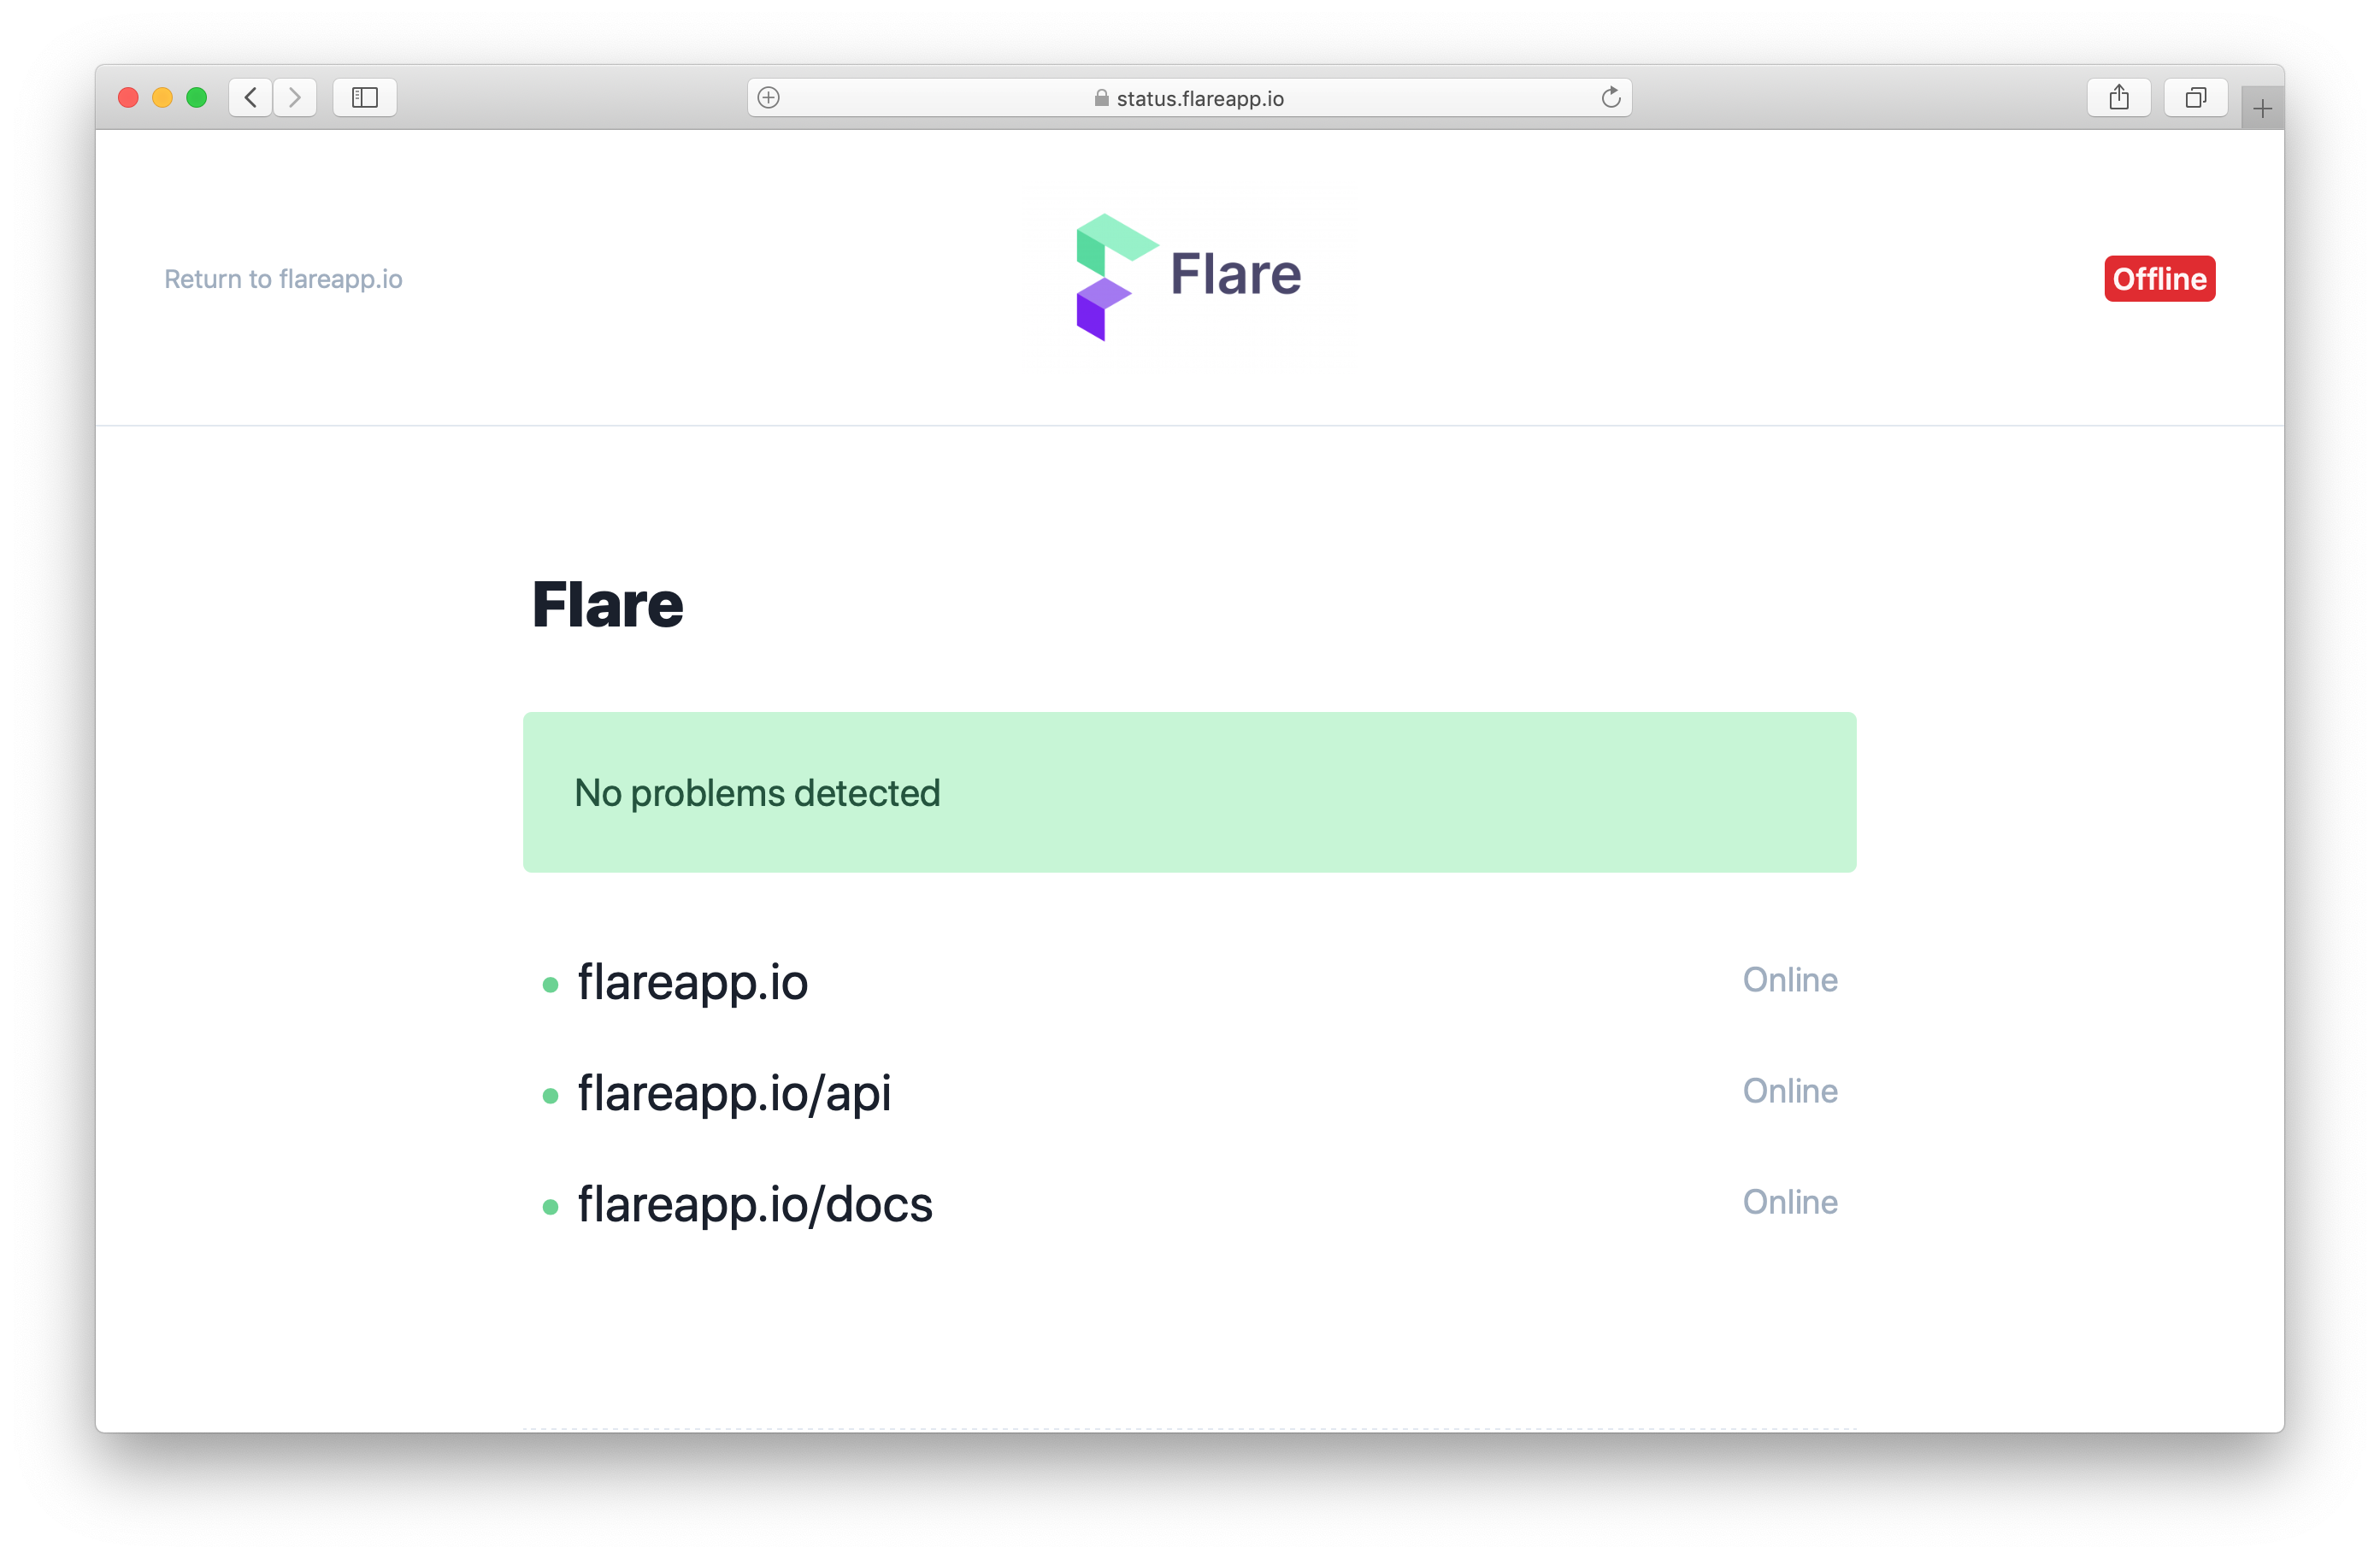
Let's first take a look at status page. We're already using it for Flare (which is an exception tracker for Laravel apps I built together with Marcel and our teams). This is how the Oh Dear! powered status page looks like.
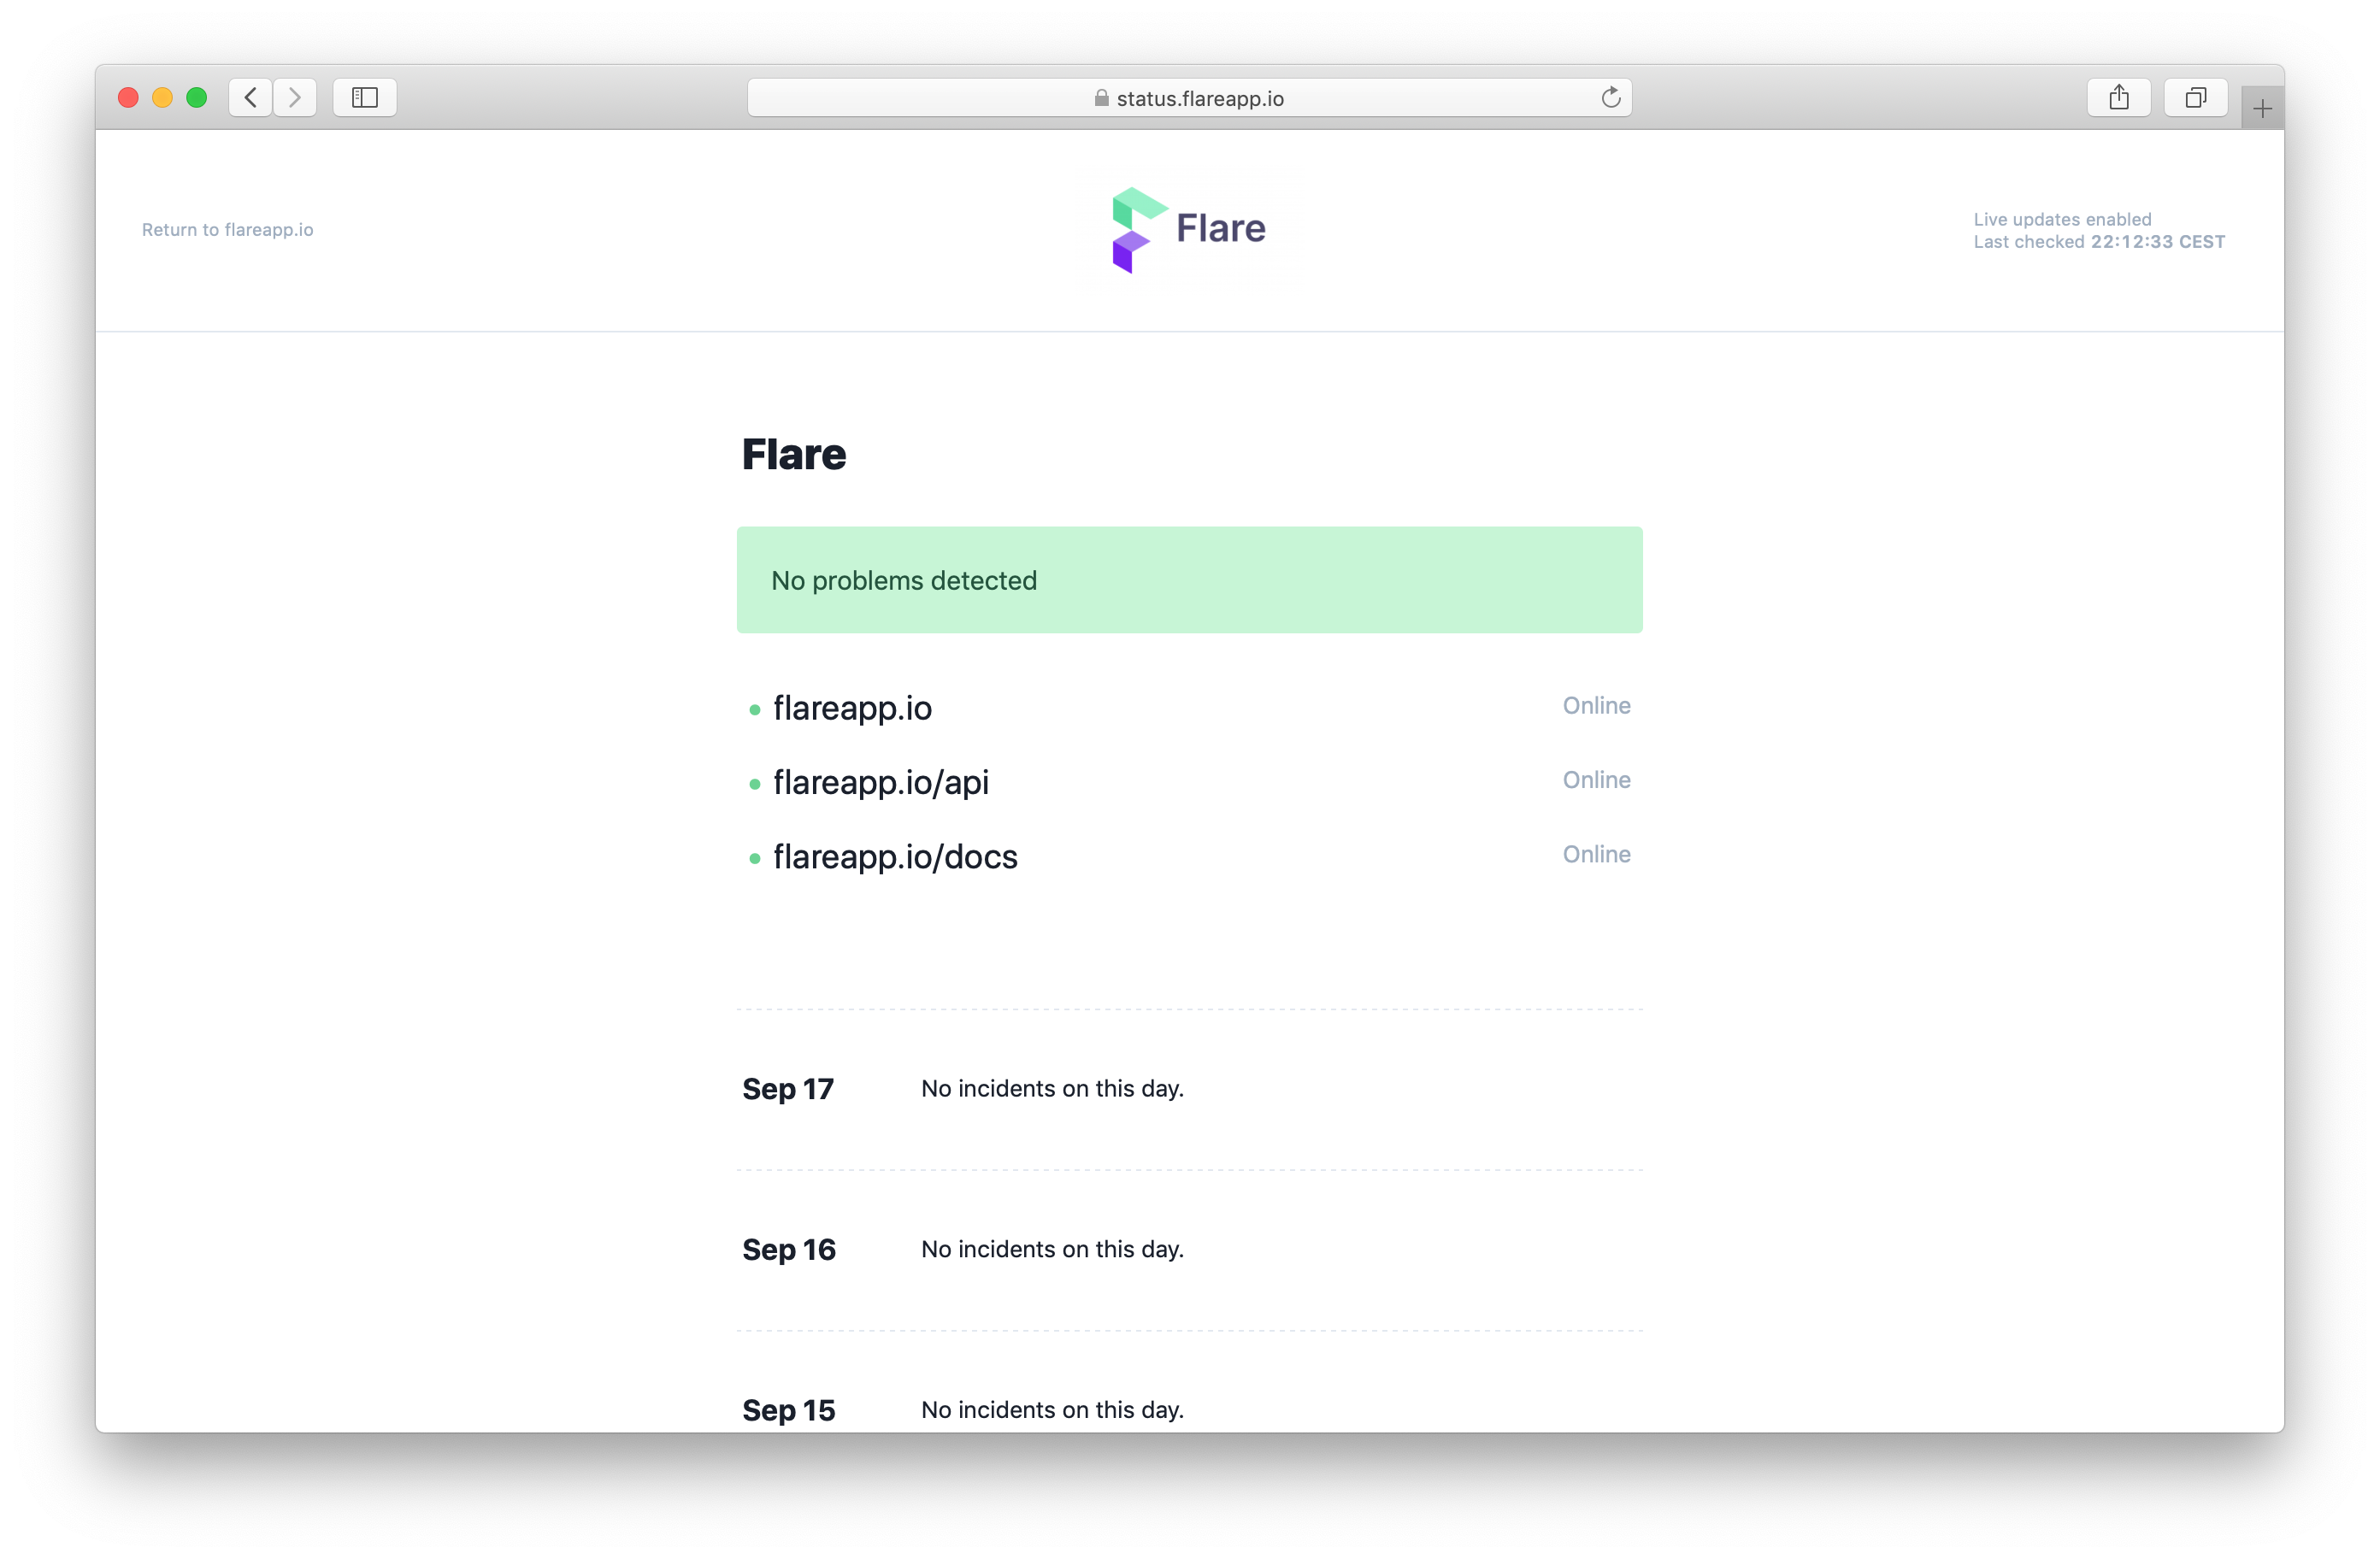
Doesn't that look beautiful? My colleague Sebastian did an excellent job designing the page.
Don't let the URL fool you, even though it's a subdomain on flareapp.io, the underlying page is rendered by Oh Dear.
Setting up a status page
Let's walk through everything status pages have to offer by looking at the screens to set them up. Here's the first screen you see when setting up status pages.
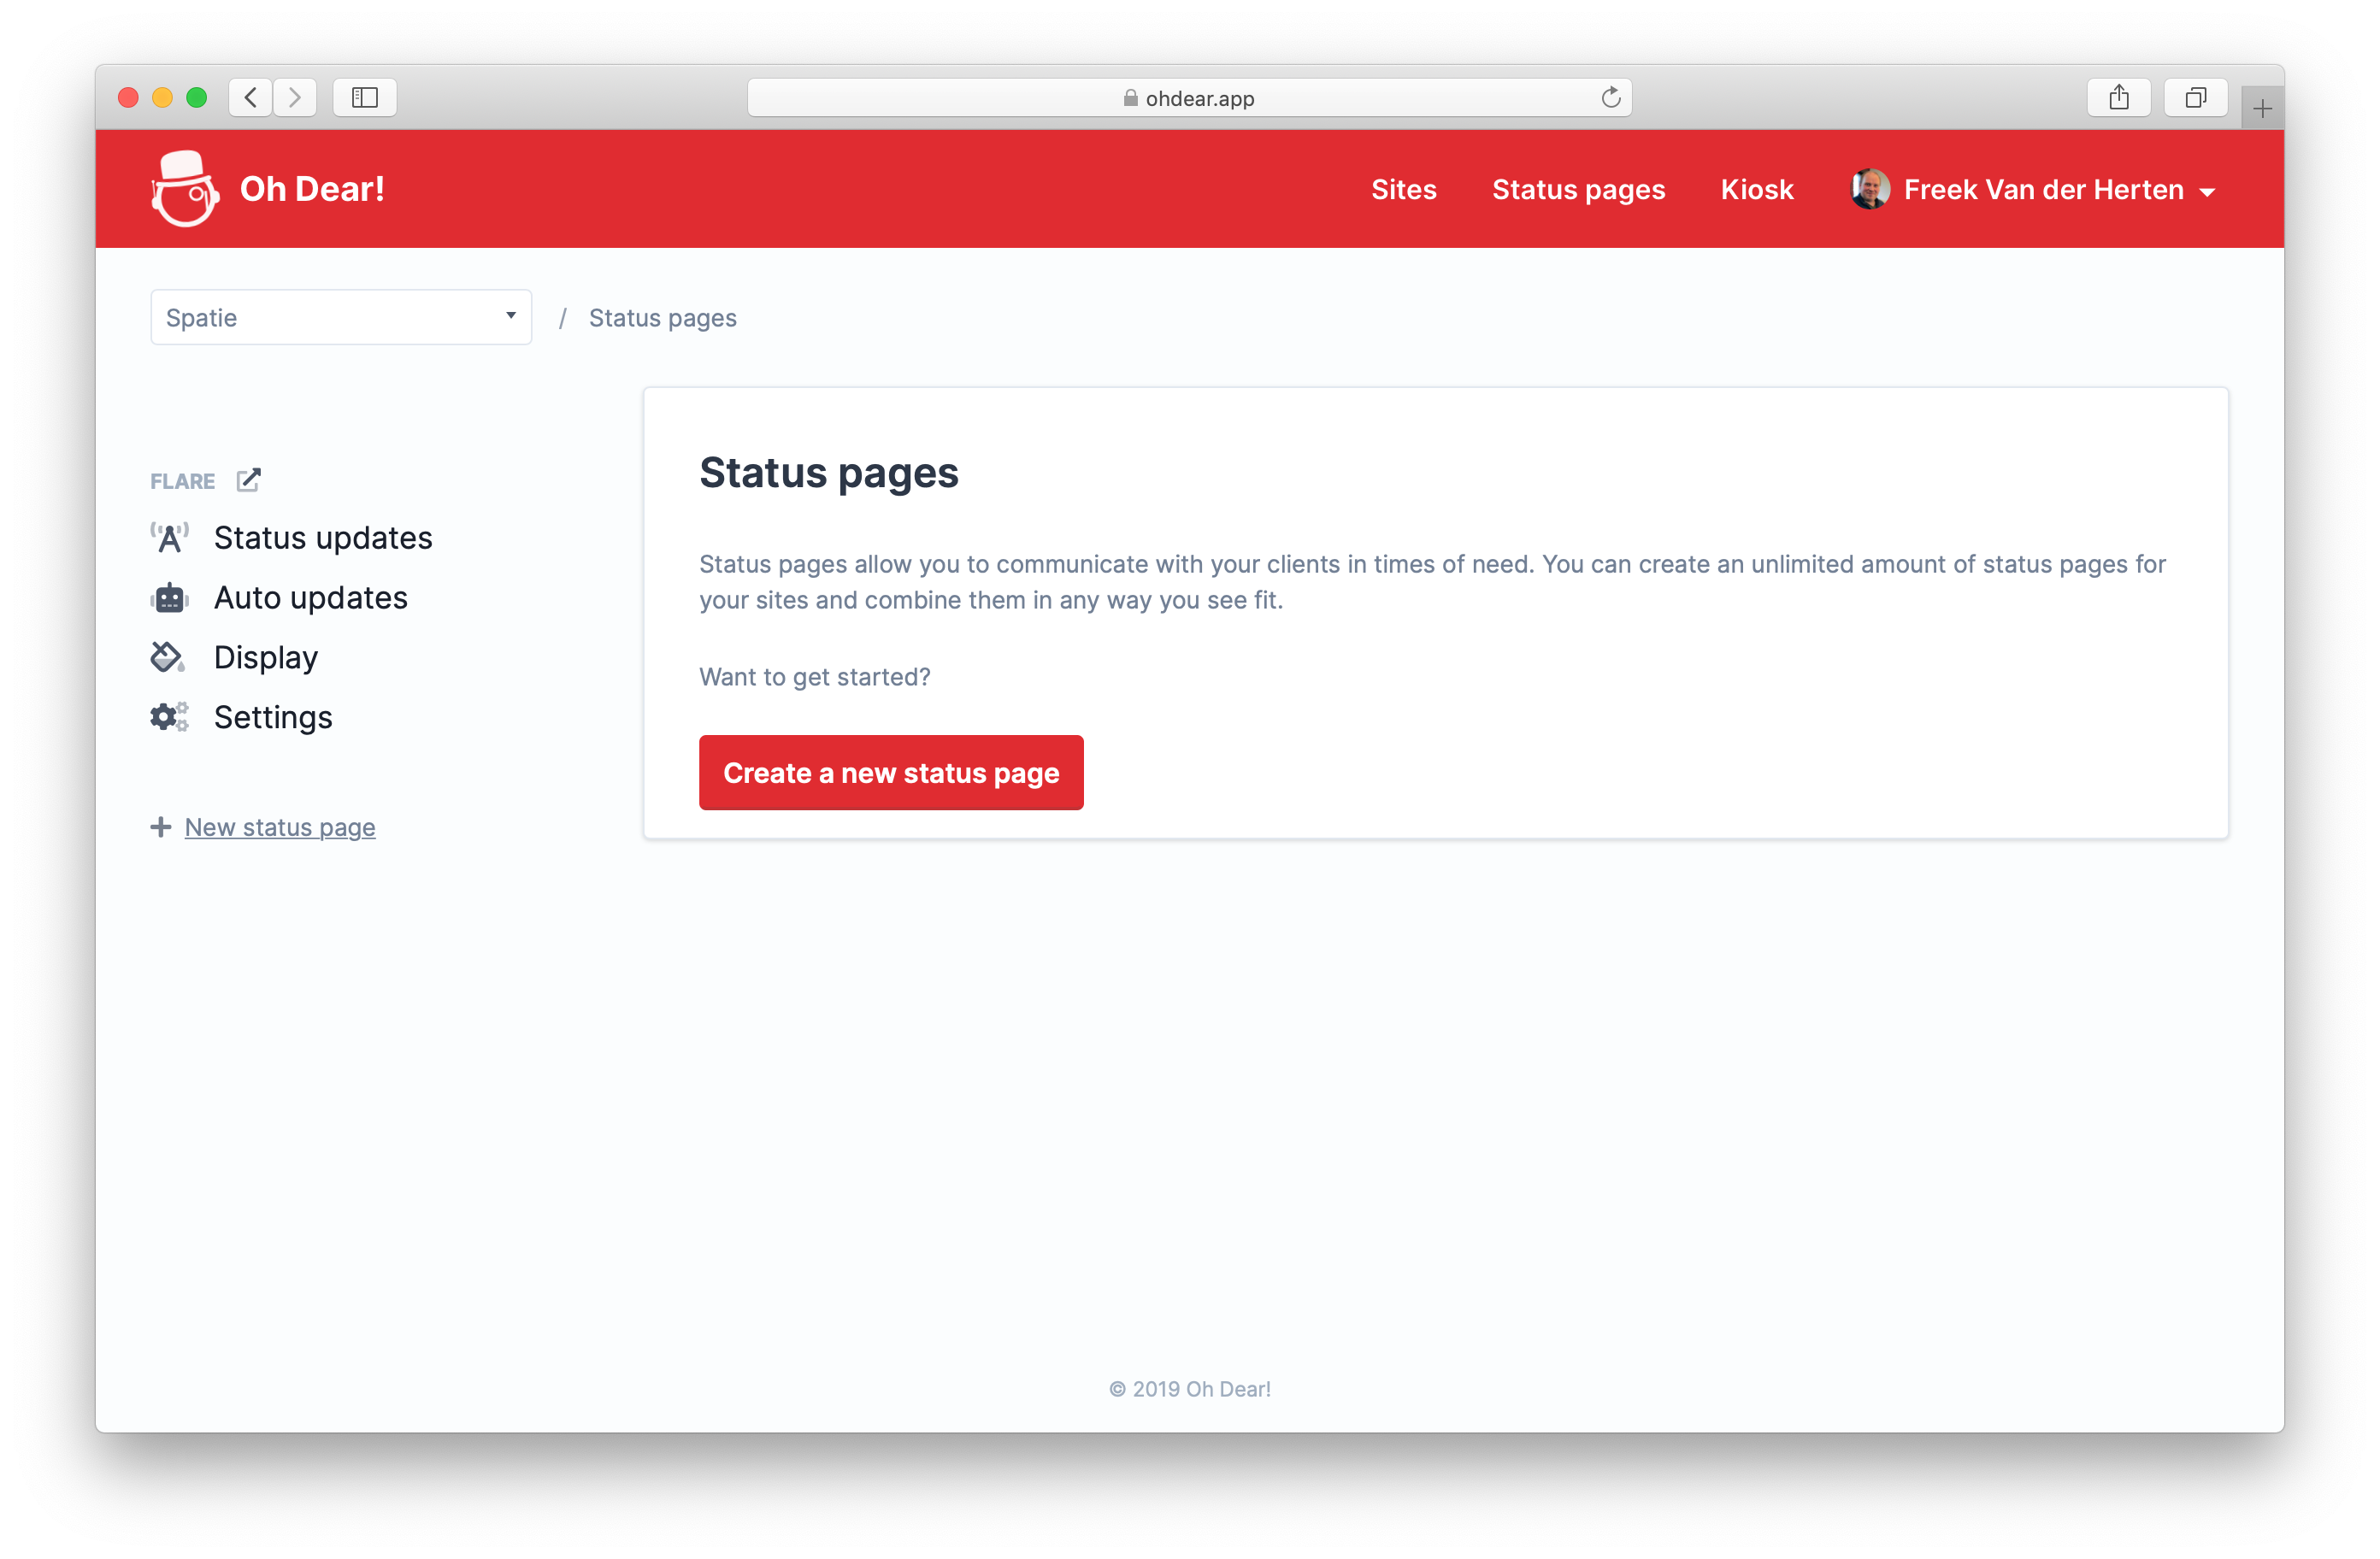
You can create as many status pages as you like. After clicking on the create button. You'll get taken to this settings screen.
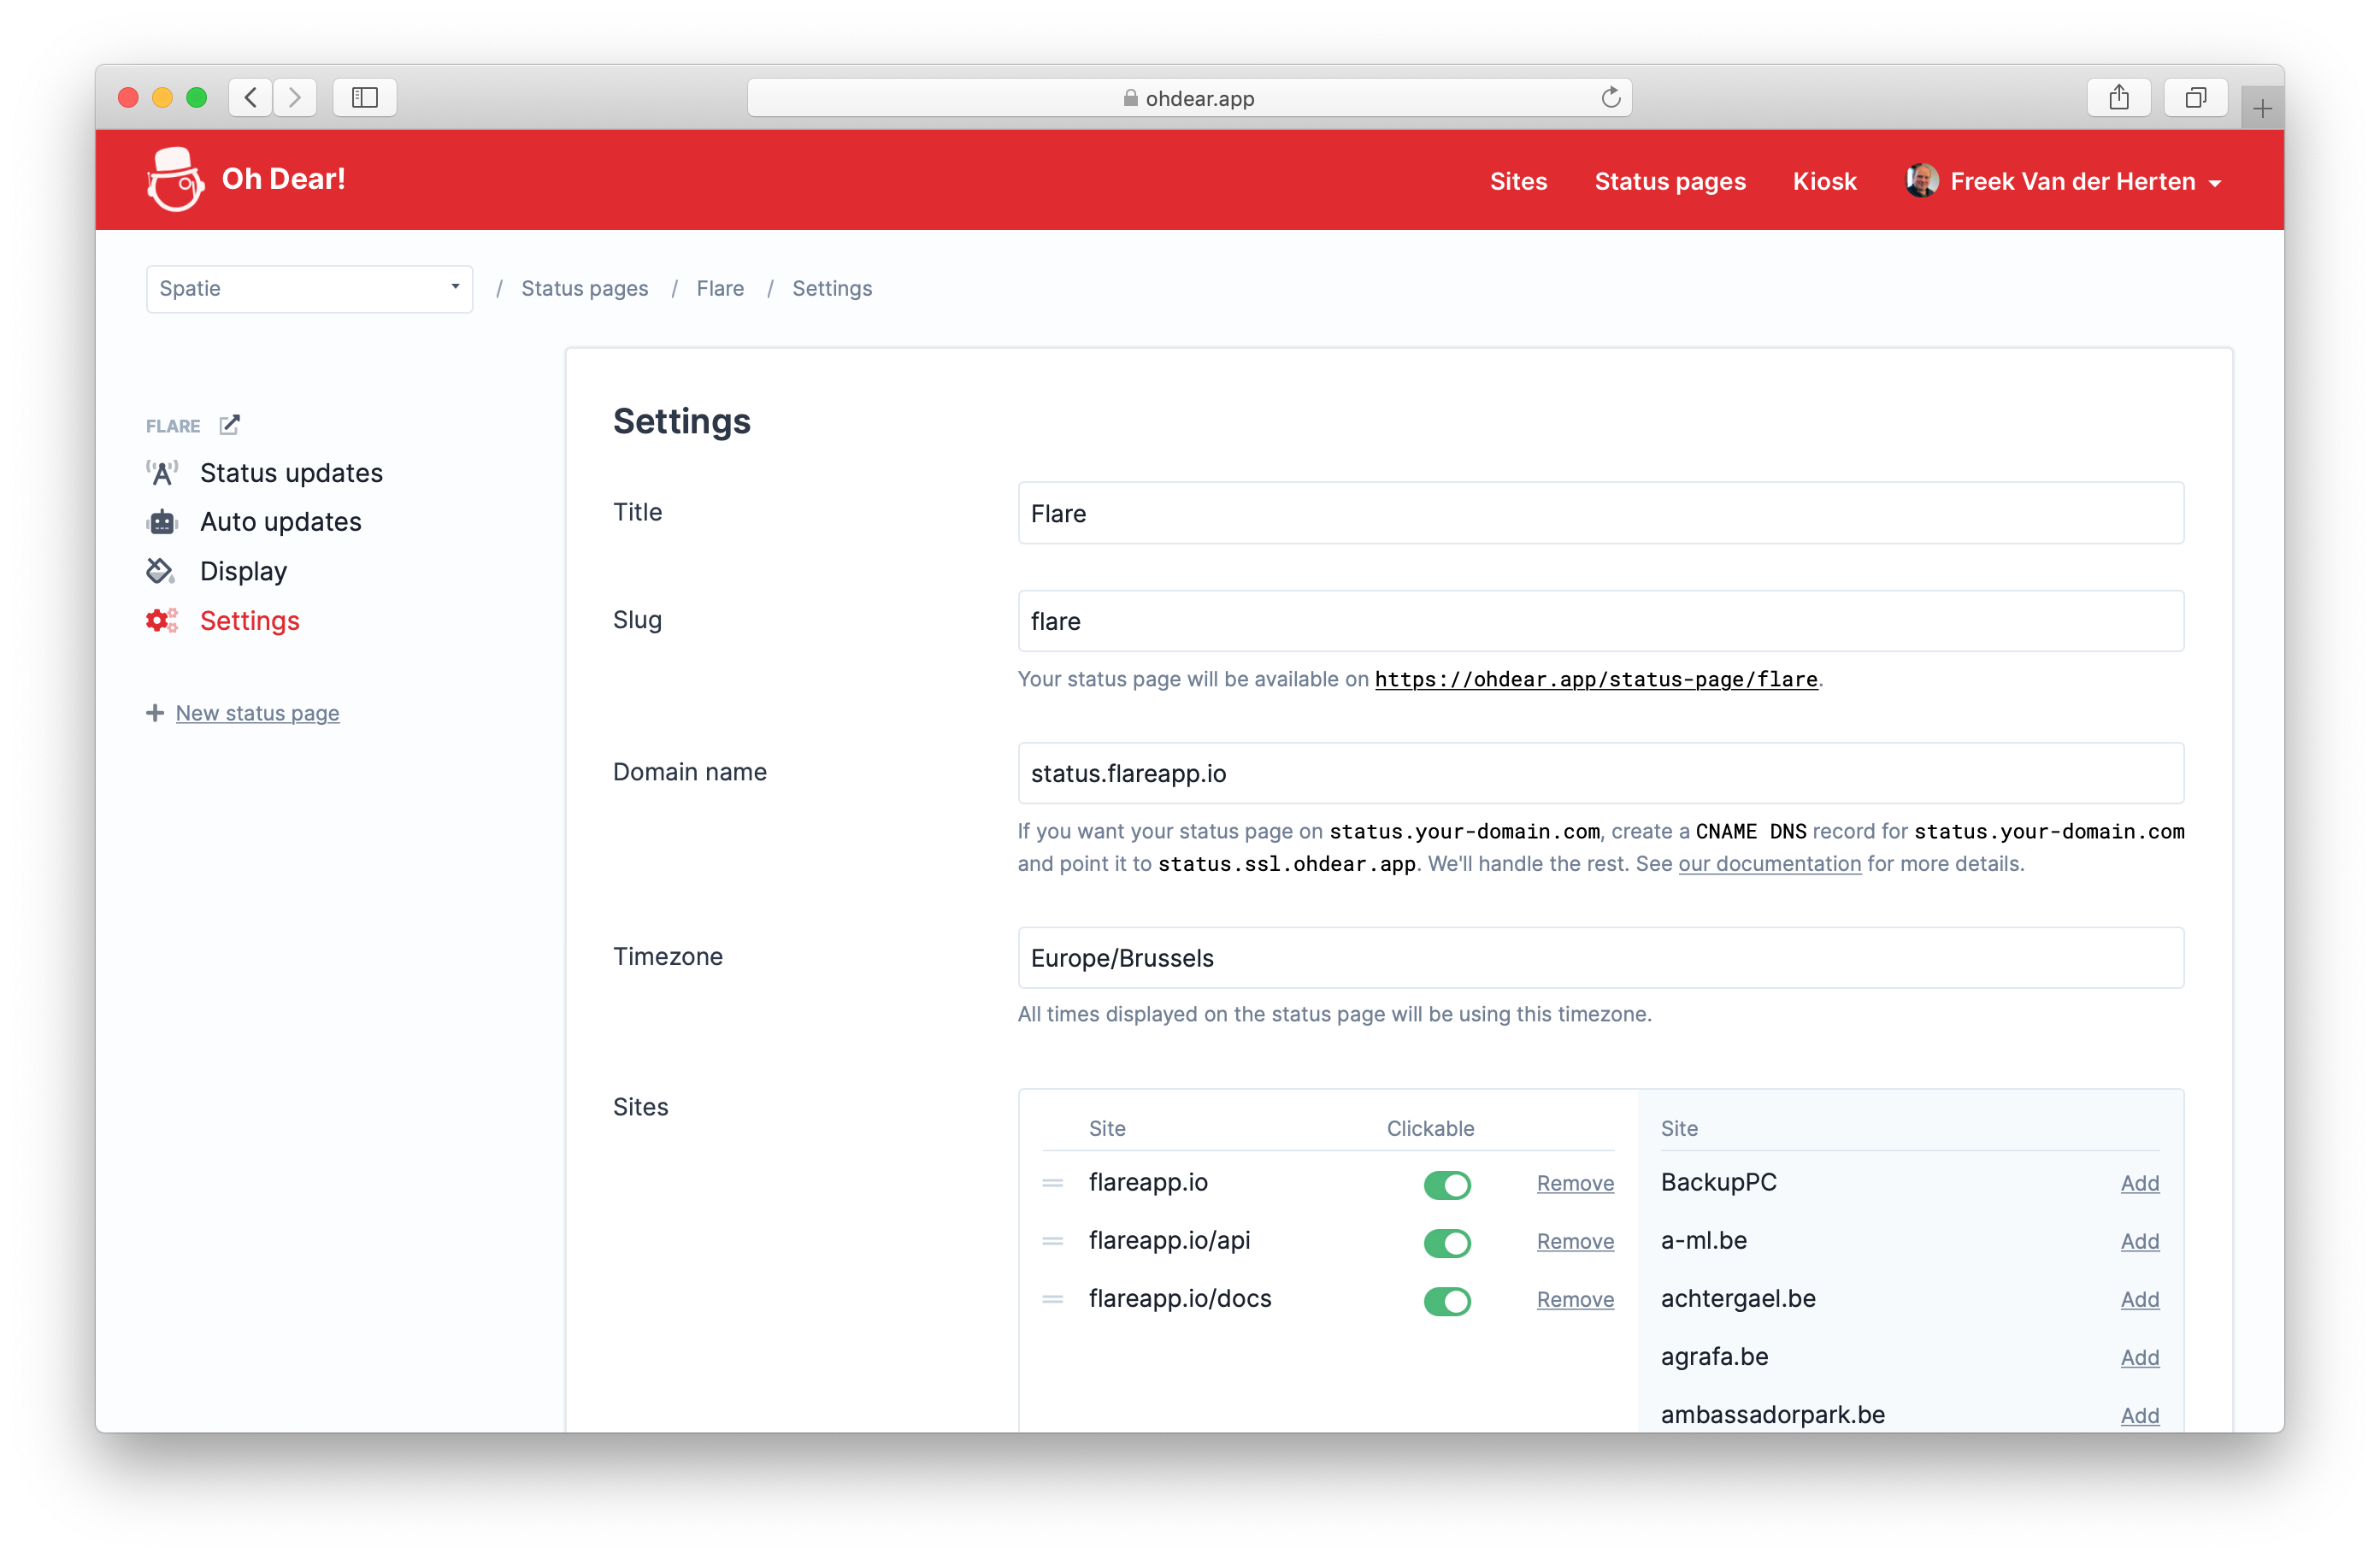
You can set the name and slug of the status page and also add any of the sites you're monitoring to the status board.
By default, your status page will live on an Oh Dear! URL like https://ohdear.app/status-page/<slug-of-your-status-page. However, I suspect that most users would want to have the status page live on a subdomain of their own, for example status.your-cool-service.com.
When you've specified a domain name and took care of setting the right CNAME DNS record, our web server will allow incoming traffic for the chosen subdomain. We have a Caddy webserver running that automatically will provide a certificate so we can serve your status page on https. If you want to know more about how that works under the hood, check out this blogpost by my colleague Mattias.
Customizing the looks of the status page
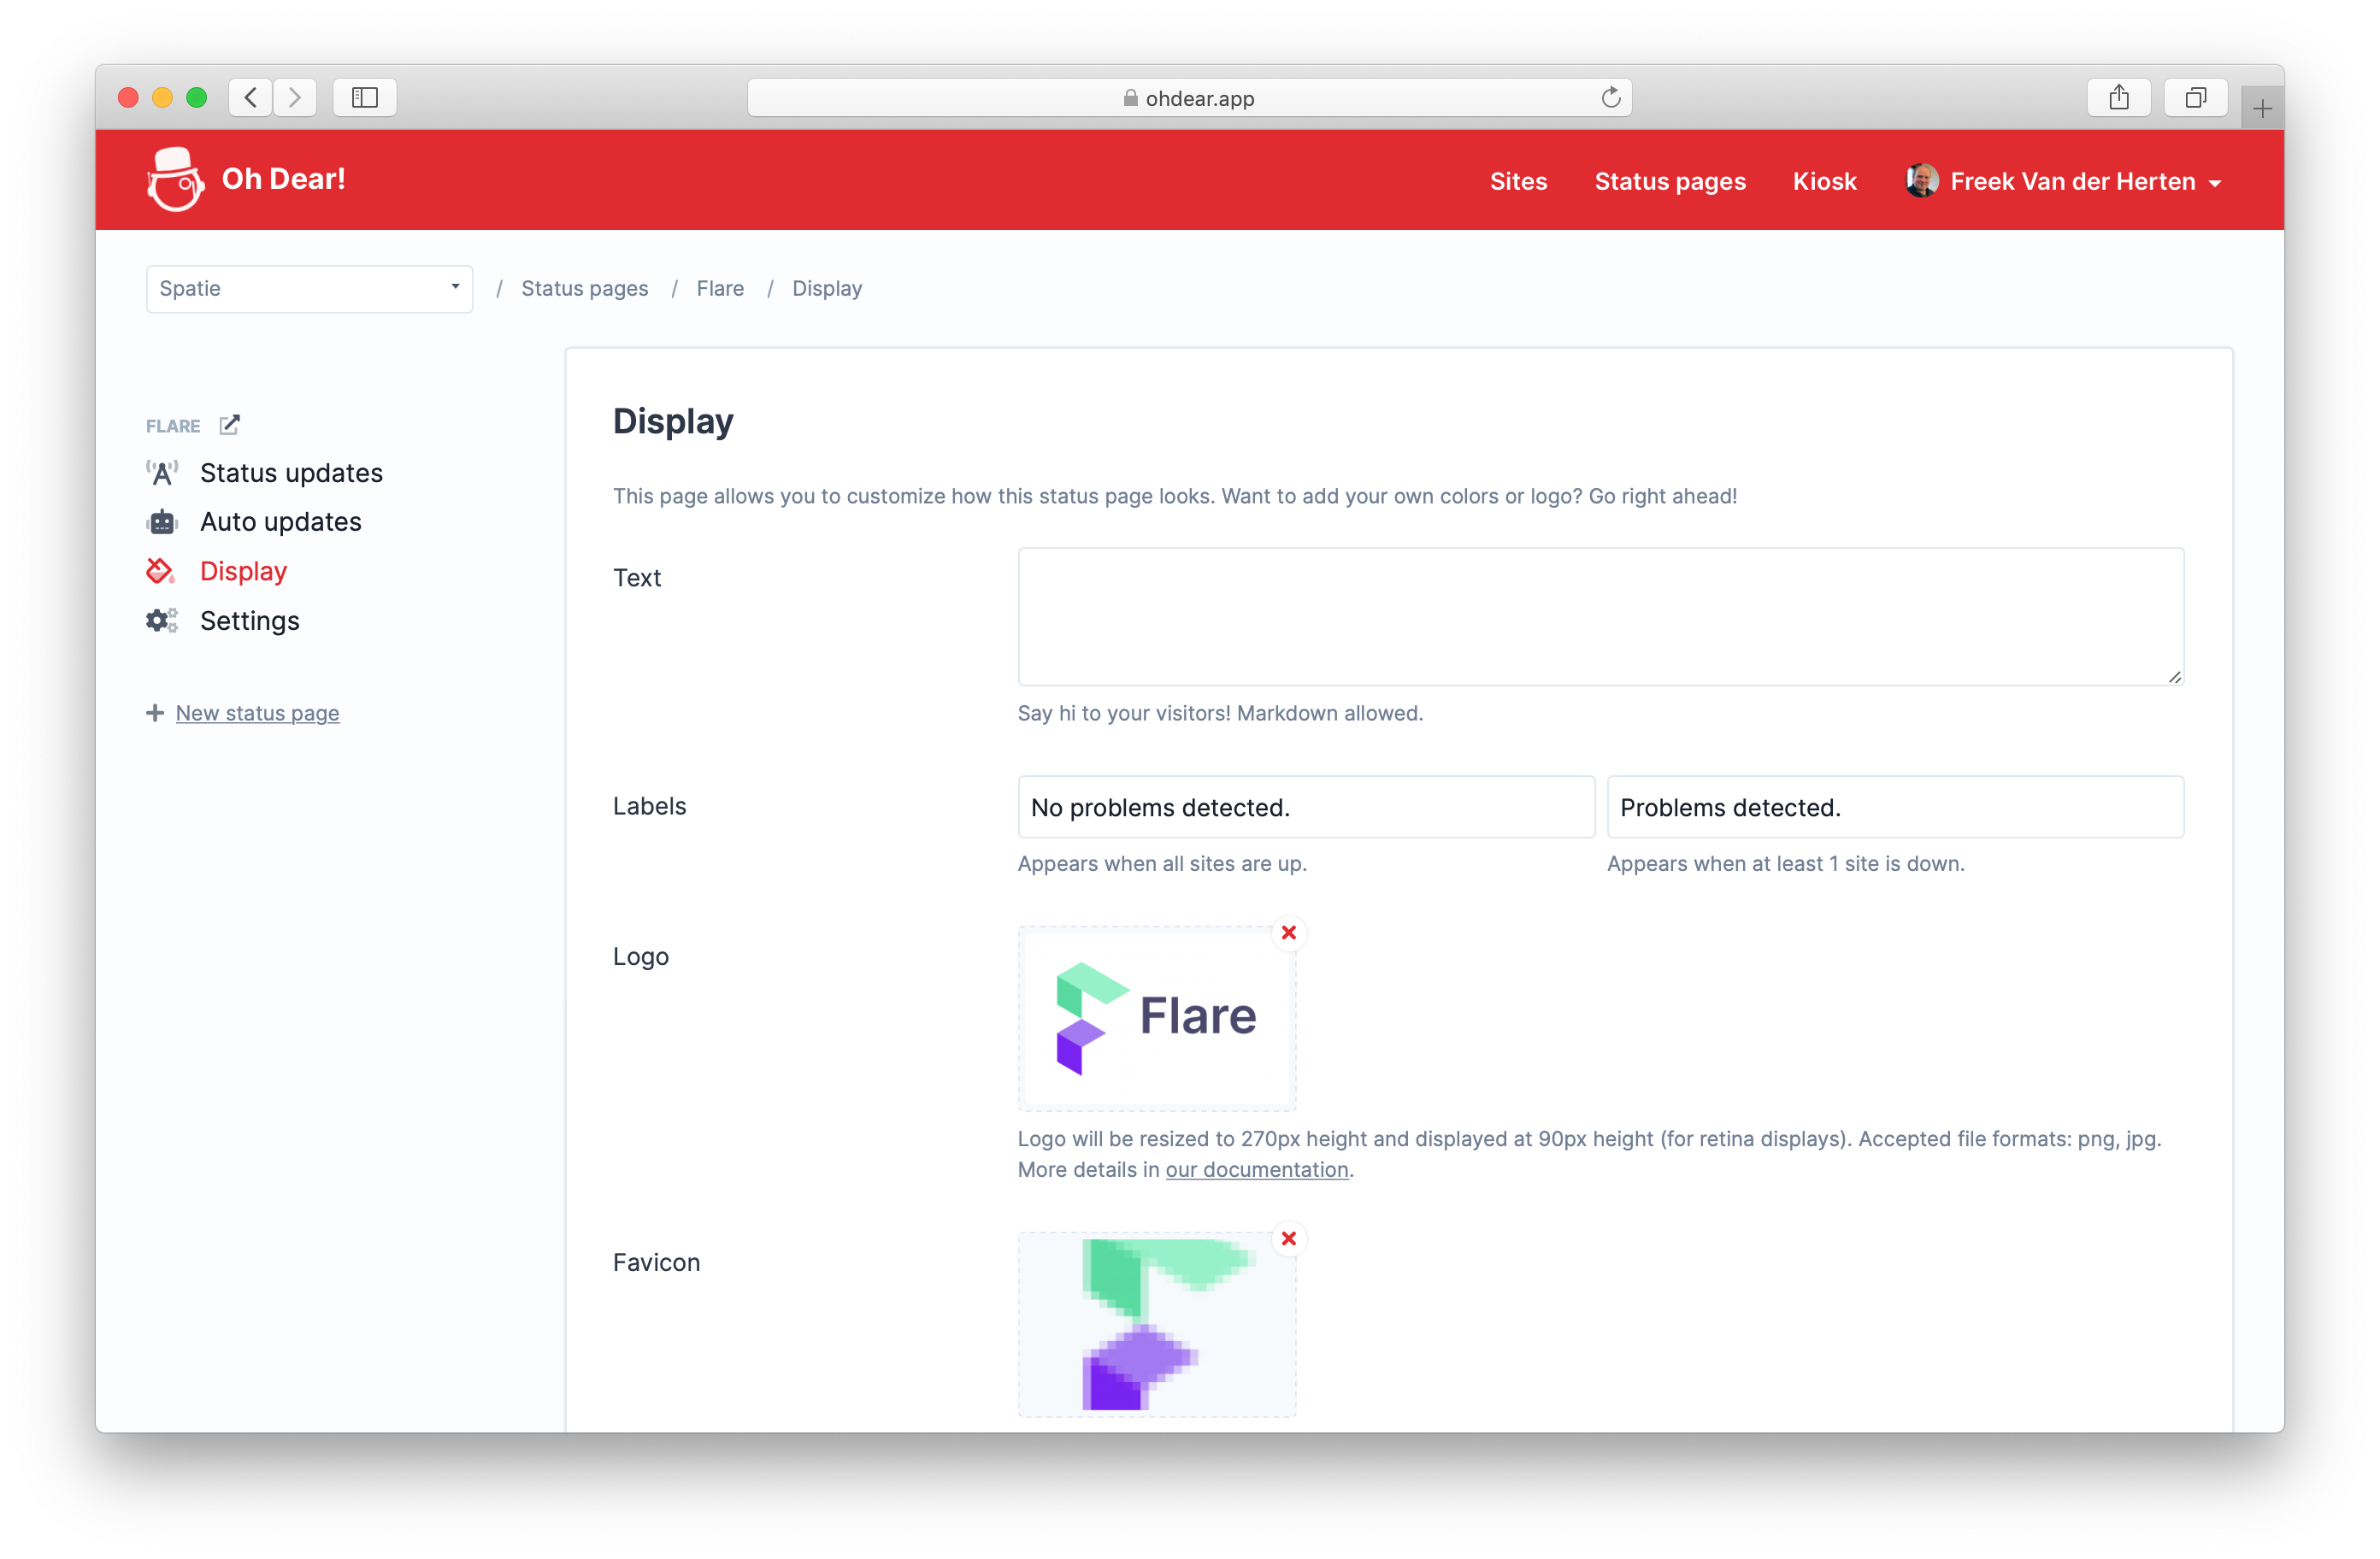
Let's move on to the next screen, titled "Display". Even though our standard layout looks pretty good, you might want to customize it a bit to match your brand.
On this screen, you can upload a logo and the favicon to be used on the status page.
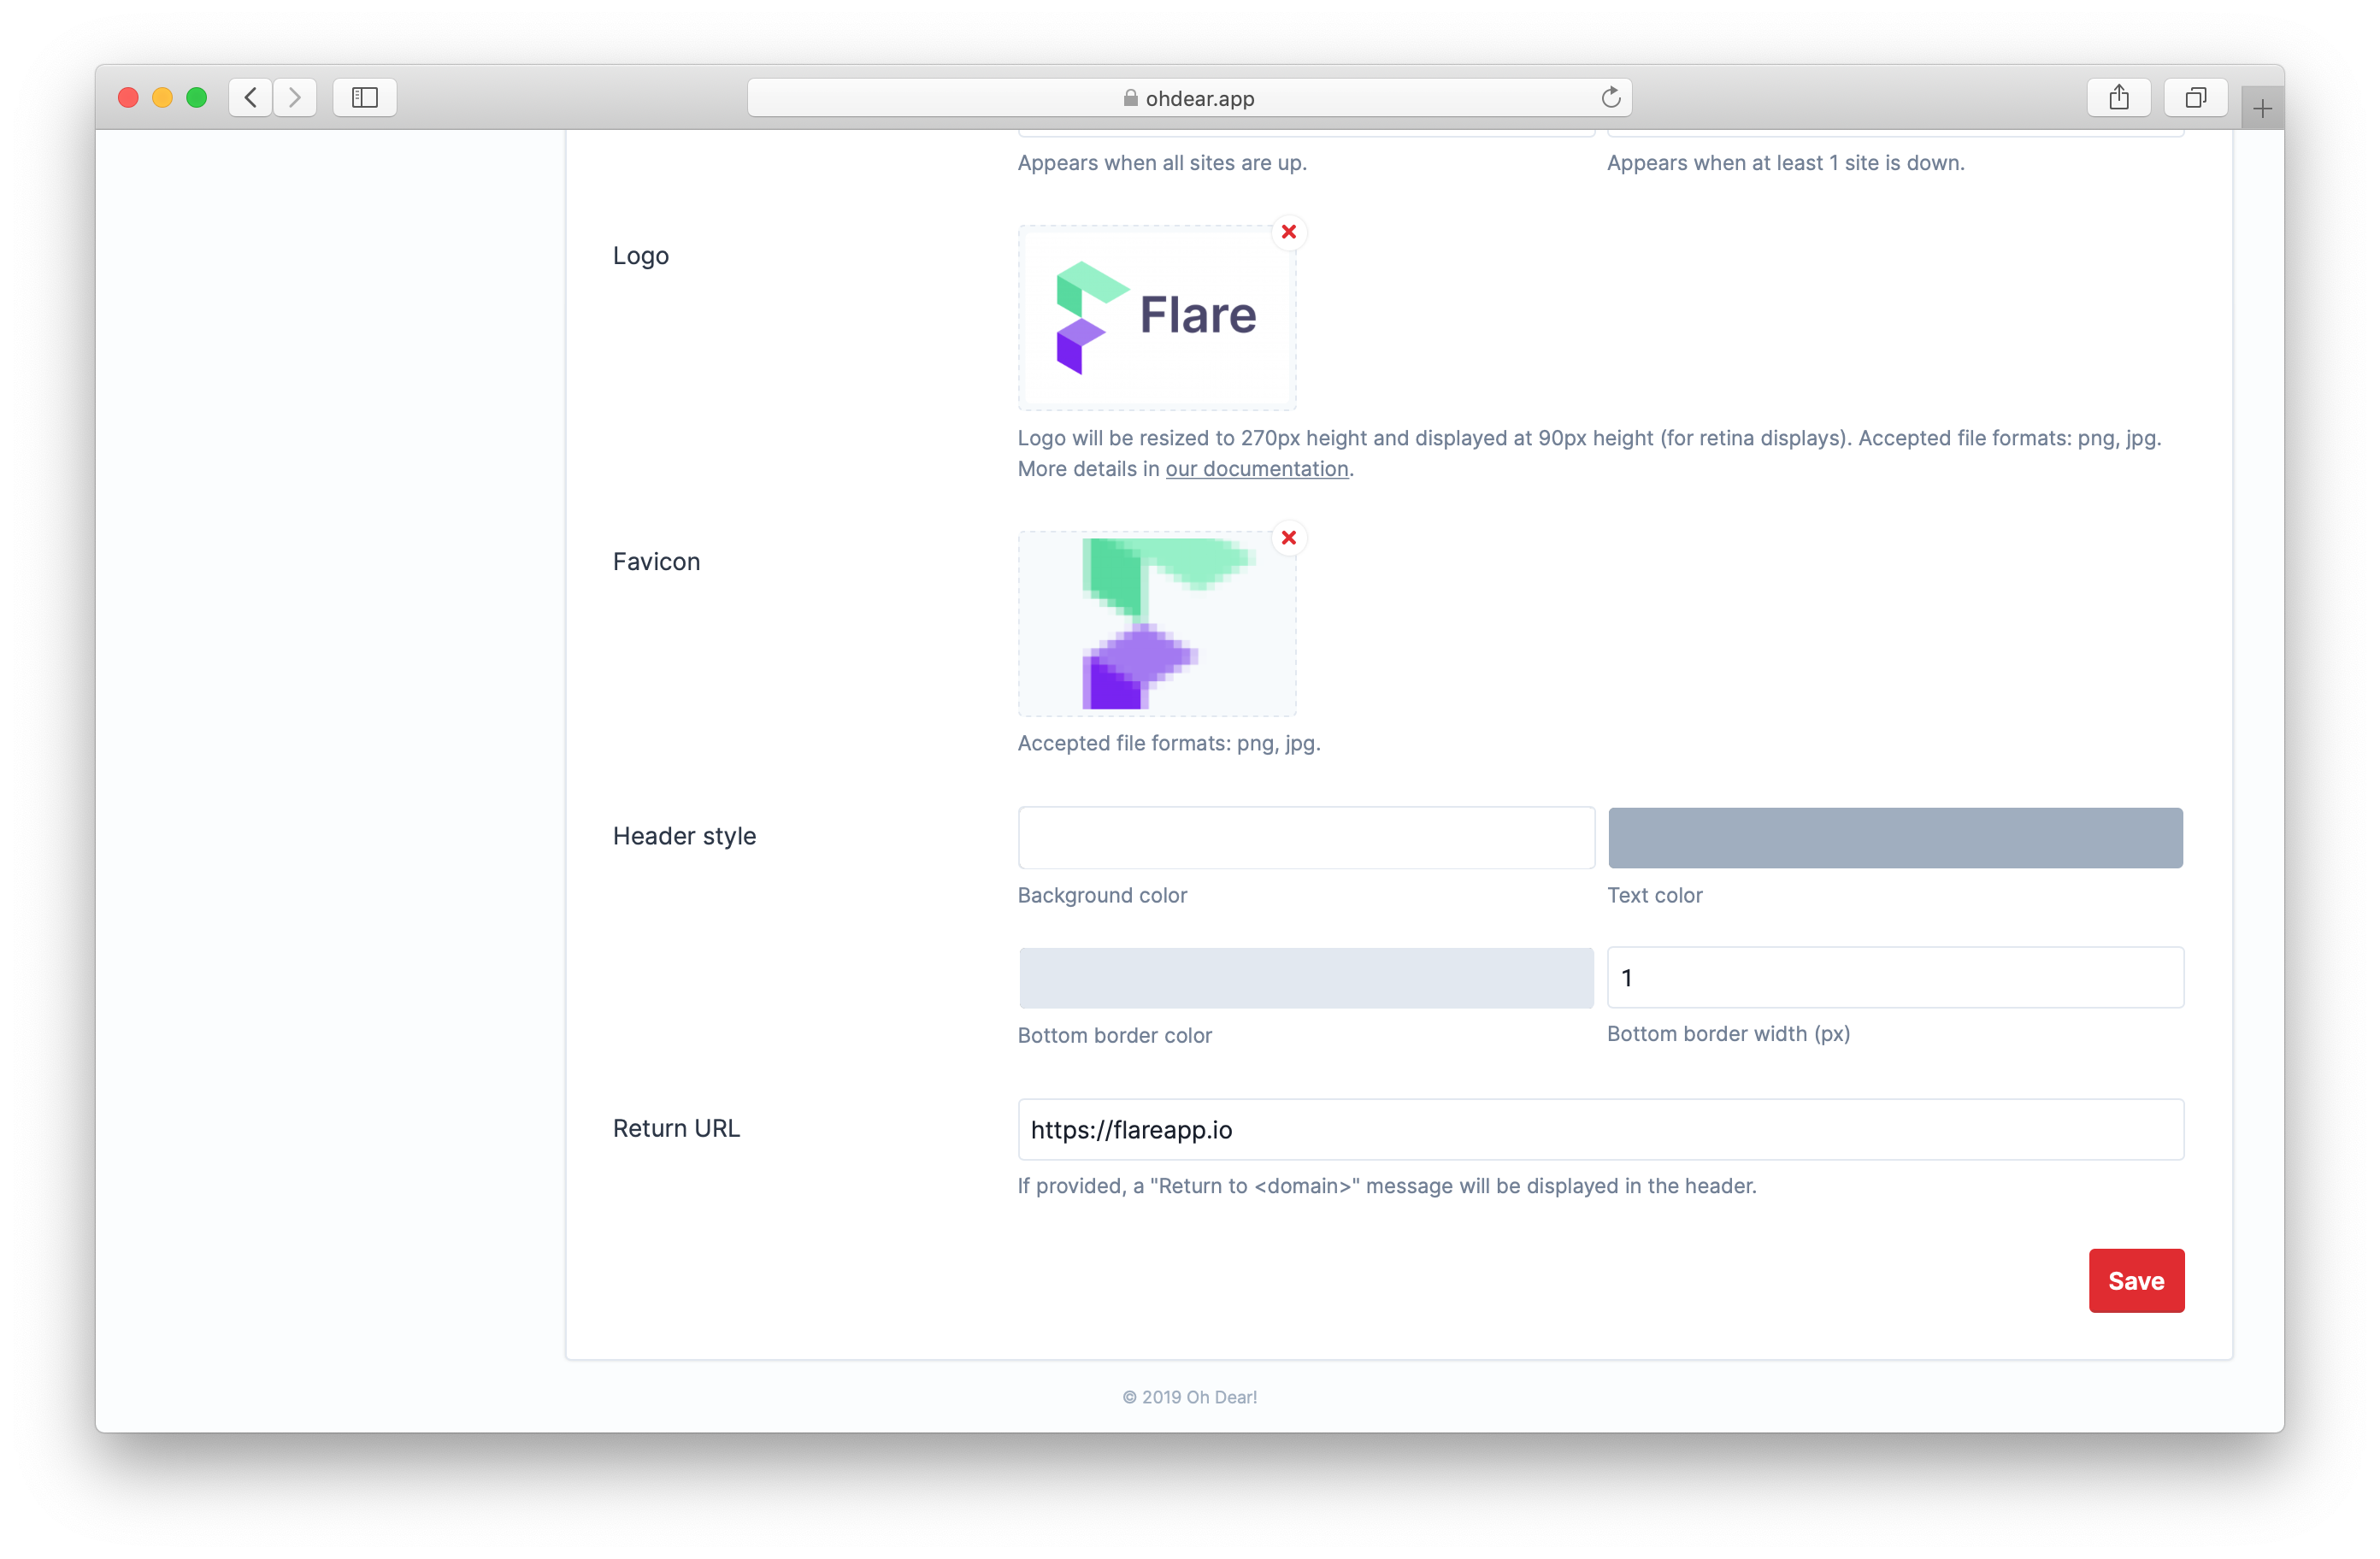
And if you scroll down a little, you'll see some setting to customize the colors of the header.
Here's a screenshot of a customized status page by one of our users.
Behind the scenes, the upload of the logo and favicon is handled by the medialibrary package. In case you're not familiar with it, the medialibrary can associate files with Eloquent models. It can take care of creating thumbnails, uploading to external filesystems (like S3).
Let's take a look at how we use the medialibrary in Oh Dear (which is a Laravel app). If you're not interested in the code, skip to the next section.
Here's how the controller looks like that handles the update of the display settings. I've removed some of the code not relevant to the handling of the uploads.
namespace App\Http\Controllers\App\StatusPages;

use App\Domain\StatusPage\Models\StatusPage;
use Illuminate\Http\Request;

class StatusPageDisplayController
{
    public function index(StatusPage $statusPage)
    {
        // ...
    }

    public function update(Request $request, StatusPage $statusPage)
    {
        $validated = $request->validate([
            // ... other validation rules removed for brevity
            'logo' => 'file|mimes:jpeg,png|max:1024',
            'remove_logo' => 'bool',
            'favicon' => 'file|mimes:jpeg,png|max:512',
            'remove_favicon' => 'bool',
        ]);

        $this
            ->handleUpload($validated, 'logo', $statusPage)
            ->handleUpload($validated, 'favicon', $statusPage);

        flash()->success('The display settings have been updated.');

        return redirect()->action([static::class, 'index'], $statusPage);
    }

    protected function handleUpload(
        array $attributes,
        string $uploadName,
        StatusPage $statusPage
    ) {

        if (isset($attributes[$uploadName])) {
            $statusPage->addMediaFromRequest($uploadName)->toMediaCollection($uploadName);
        }

        if ($attributes['remove_' . $uploadName] ?? false) {
            $statusPage->clearMediaCollection($uploadName);

            return $this;
        }

        return $this;
    }
}
If there was an upload, then the addMediaFromRequest and toMediaCollection functions will get called. The medialibrary organizes files into collections. If present, the favicon image will go into the favicon collection, the logo image, in the image collection.
On the StatusPage model, these collections and their behaviors are defined in the registerMediaCollections method.
public function registerMediaCollections()
{
    $this
        ->addMediaCollection('logo')
        ->singleFile()
        ->registerMediaConversions(function () {
            $this
                ->addMediaConversion('logo')
                ->nonQueued()
                ->height(270)
                ->format('png');
        });

    $this
        ->addMediaCollection('favicon')
        ->singleFile()
        ->registerMediaConversions(function () {
            $this
                ->addMediaConversion('admin')
                ->nonQueued()
                ->height(270)
                ->format('png');

            foreach ([16, 32, 96, 180, 192] as $size) {
                $this
                    ->addMediaConversion("favicon-{$size}")
                    ->fit(Manipulations::FIT_CONTAIN, $size, $size)
                    ->format('png');
            }
        });
}
Let's unpack this code. In the code above, we use some cool media collection options. The singleFile signifies that the collection can hold only one item. If you add a file to add, the previous file will be deleted. This is pretty handy because when the user uploads a new favicon/logo we don't want to keep the old one. singleFile takes care of that.
Inside the callable given to registerMediaConversions, you can specify which conversions should be performed. We want to use a conversion because users will probably upload files that are too big. We want to display an image of precisely the right size on our status page.
So merely by adding something to the collection, the conversion will be performed. To easily display the converted image, we added two accessors on our StatusPage model.
public function getLogoUrl(): ?string
{
    return $this->getFirstMediaUrl('logo', 'logo');
}
This allows us to use $statusPage->logo_url to display the logo in the blade view that renders the status page.
All the uploads and conversions will be stored on S3. You don't see that in the code here. Medialibrary takes care of that behind the scenes. We added a media disk that uses an S3 driver and configured medialibrary to use that disk by default.
// config/filesystems.php

'disks' => [
    'media' => [
        'driver' => 's3',
        'key' => env('AWS_ACCESS_KEY_ID'),
        'secret' => env('AWS_SECRET_ACCESS_KEY'),
        'region' => env('AWS_DEFAULT_REGION'),
        'bucket' => env('AWS_BUCKET'),
        'url' => env('AWS_URL'),
    ],

    // ...
];
If you're still here, you probably like reading technical stuff. Let's geek out over a small detail. To have quick response times, all conversions are performed on a queue. Did you notice that nonQueued method in the registerMediaConversions of the favicon collection? We do that one conversion not on a queue because that's the conversion we're going to use on the "Display" settings page itself. It should be available immediately after the current request is finished (otherwise users wouldn't see their upload immediately).
Automatic updates
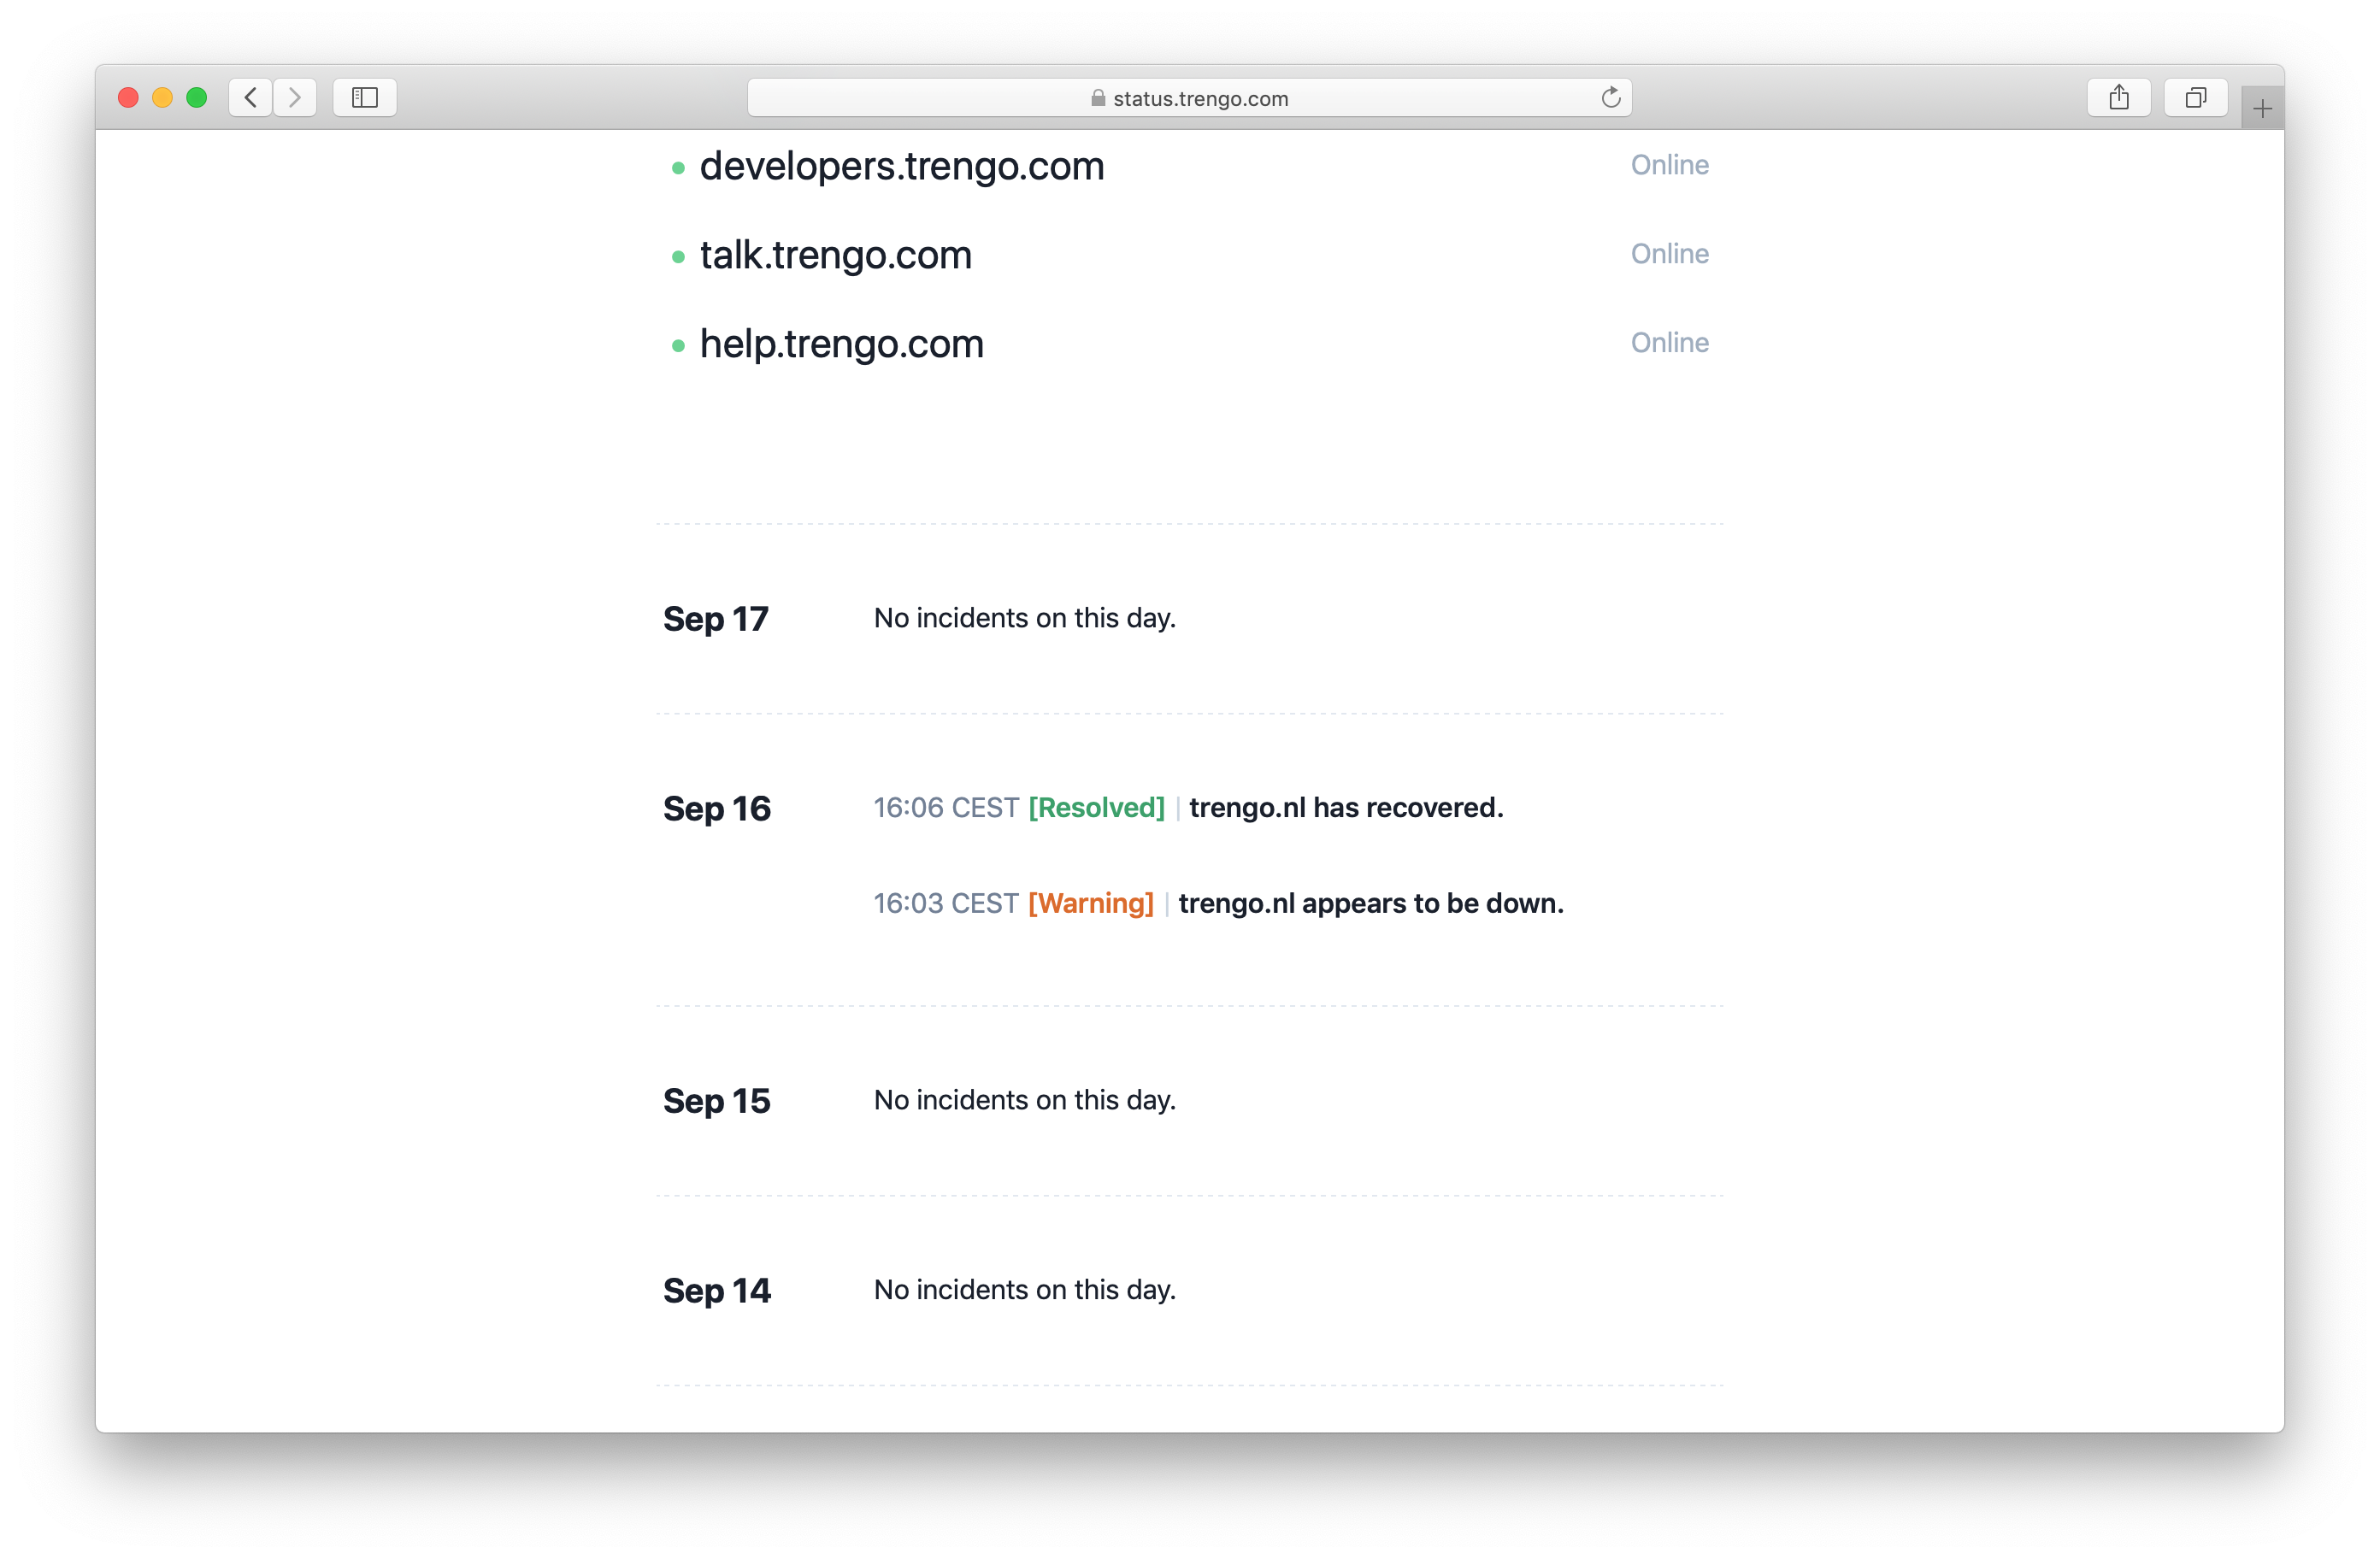
Let's take a look at the "Auto updates" screen
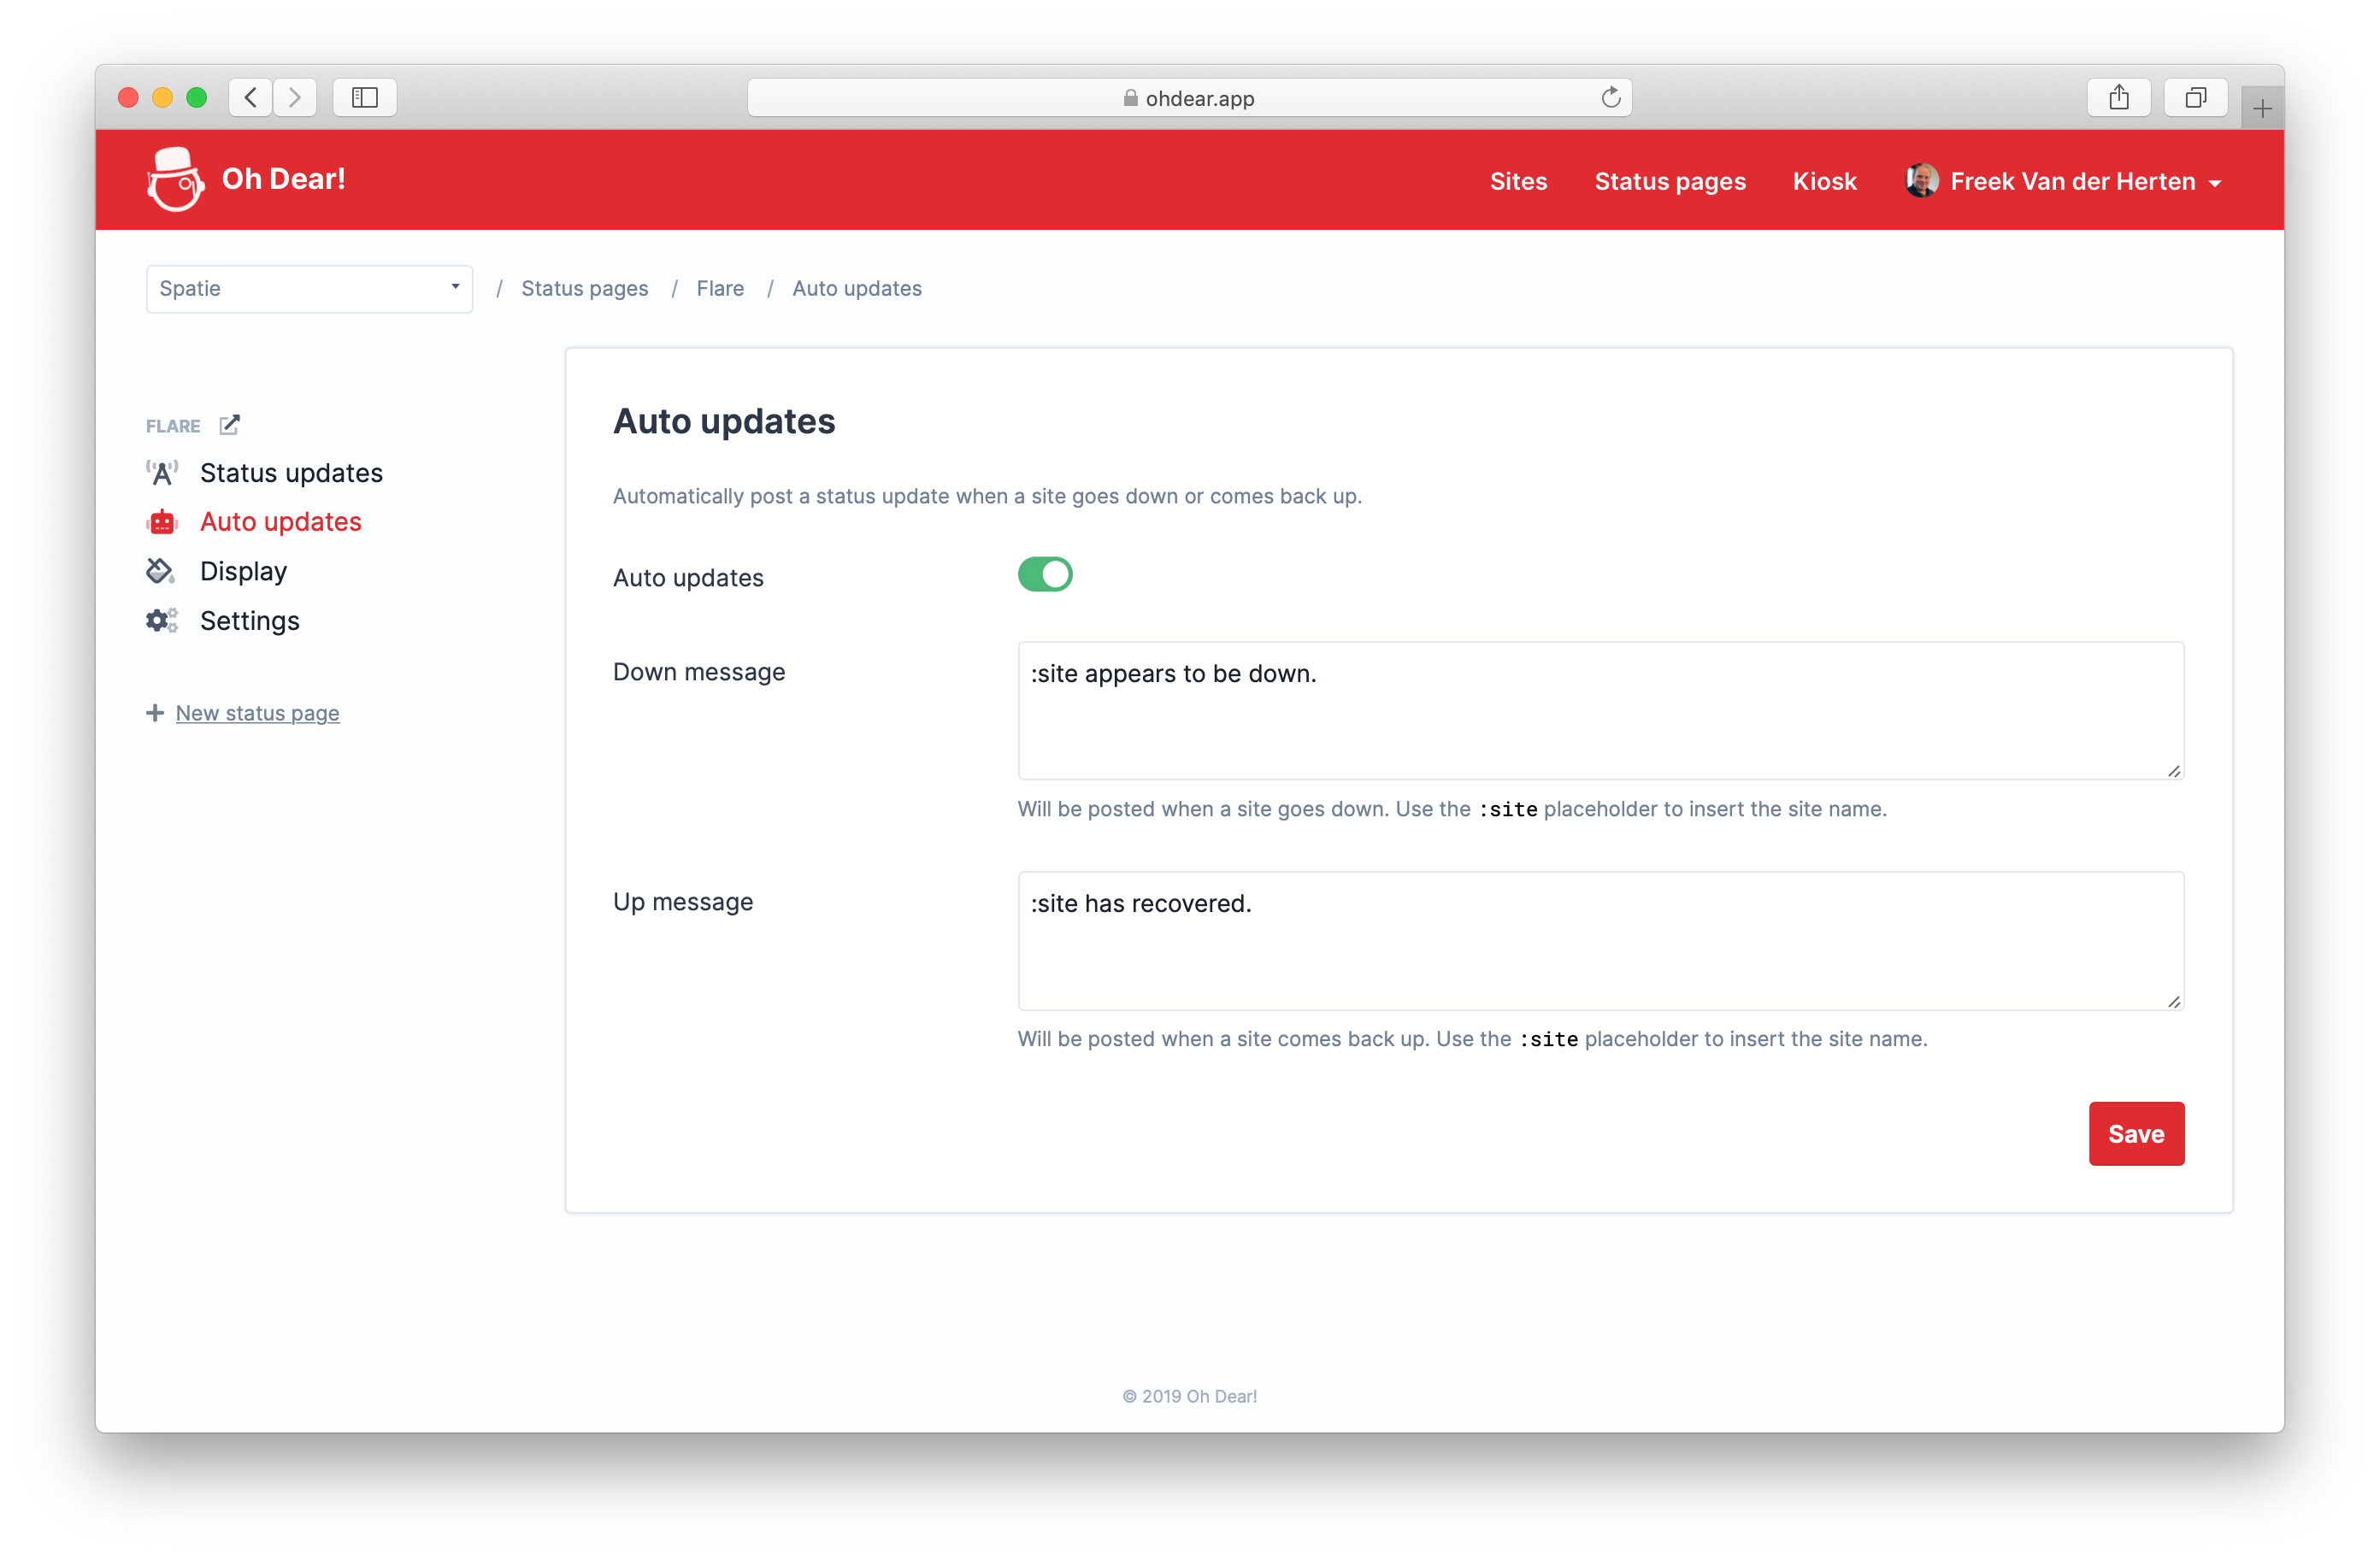
By default, auto updates are enabled. Whenever Oh Dear! detects that your site is down (and back up), it will write a message on the status page. This is how that could look like.
Let's take a look at how that works behind the screens. When a site goes down, we send the user a notification. This notification can be sent via Slack SMS, Mail, ... and there are a few options that determine when exactly a notification should be sent.
We thought that it would be very logical that the updates written on the status page would follow these options too. That's why we've hooked the creation of a status update to when a notification is sent.
Whenever a notification is sent, a CheckerNotificationEvent will be dispatched in our app. We have created an event subscriber that listens for that event.
The type of notification inside that event determines which message will be written. The site inside that notification determines which status pages should be updated.
Here's the code of that event subscriber:
namespace App\Domain\StatusPage\EventSubscribers;

use App\Domain\Check\Support\Checkers\Uptime\Notifications\UptimeCheckFailed;
use App\Domain\Check\Support\Checkers\Uptime\Notifications\UptimeCheckRecovered;
use App\Domain\Notification\Events\CheckerNotificationSentEvent;
use App\Domain\Site\Models\Site;
use App\Domain\StatusPage\Enums\StatusPageUpdateSeverity;
use App\Domain\StatusPage\Models\StatusPage;
use App\Domain\StatusPage\Models\StatusPageUpdate;
use Illuminate\Contracts\Events\Dispatcher;

class StatusPageEventSubscriber
{
    public function subscribe(Dispatcher $events): void
    {
        $events->listen(
            CheckerNotificationSentEvent::class,
            function (CheckerNotificationSentEvent $notificationSentEvent) {
                $sentNotification = $notificationSentEvent->notification;

                if (!$site = $sentNotification->concerningSite()) {
                    return;
                };

                if ($sentNotification instanceof UptimeCheckFailed) {
                    $this->handleUptimeCheckFailed($site);
                }

                if ($sentNotification instanceof UptimeCheckRecovered) {
                    $this->handleUptimeCheckRecovered($site);
                }
            }
        );
    }

    private function handleUptimeCheckFailed(Site $site)
    {
        $site->statusPages()->autoUpdatesEnabled()->each(function (StatusPage $statusPage) use ($site) {
            $this->createMessage($statusPage, $site, $statusPage->down_message, StatusPageUpdateSeverity::WARNING);
        });
    }

    private function handleUptimeCheckRecovered(Site $site)
    {
        $site->statusPages()->autoUpdatesEnabled()->each(function (StatusPage $statusPage) use ($site) {
            $this->createMessage($statusPage, $site, $statusPage->up_message, StatusPageUpdateSeverity::RESOLVED);
        });
    }

    private function createMessage(StatusPage $statusPage, Site $site, string $title, string $severity): void
    {
        $title = str_replace(':site', $site->label, $title);

        StatusPageUpdate::create([
            'status_page_id' => $statusPage->id,
            'site_id' => optional($site)->id,
            'title' => $title,
            'severity' => $severity,
            'time' => now(),
        ]);
    }
}
Auto refreshing
I suspect that my people will leave a status page open in the browser. It would be sucky if you had to refresh the page to see the latest date. That's why we auto refresh the page.
We don't auto refresh by reloading the entire page. If we did that you'd see the page rebuilding from time to time. Instead, we use a little bit of JavaScript to fetch the content of the page and replace the .content node. This way, the browser doesn't need to reload CSS or JavaScript, and no "flashing" occurs.
This is the code:
function autorefresh() {
    fetch('')
        .then(response => response.text())
        .then(content => {
            const parser = new DOMParser();
            const html = parser.parseFromString(content, 'text/html');

            document.title = html.title;
            document.querySelector('.content').innerHTML = html.querySelector('.content').innerHTML;
        });
}

window.setInterval(autorefresh, 30 * 1000);
You can think of this as a poor man's Inertia. That JavaScript snippet is written by Seb, who also contributes a lot to Inertia as well.
There's also another nice tidbit. If you're offline, we obviously can't update the page, so we add a little warning.
Here's the JavaScript to do that:
window.addEventListener('offline', () => {
    document.getElementById('autorefresh-online').classList.add('hidden');
    document.getElementById('autorefresh-offline').classList.remove('hidden');
});
When you're back online, we immediately are going to remove that "offline" notice and update the page by calling that autorefresh function shown above.
window.addEventListener('online', autorefresh);
Integration into Flare
At Flare, the exception tracker that I've recently built together with some good folks, we're already using an Oh Dear! powered status page.
There's one tiny little detail on the Flare homepage that I'd like to highlight. In the footer of all Flare pages the status page is linked. Before that link, there's an indicator if there are any problems.
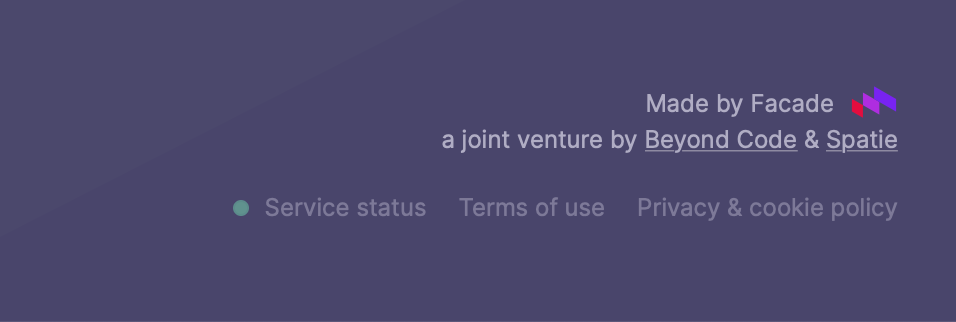
That indicator actually works. If it's green, all systems are working ok. It will be red if there's something wrong.
We determine the color of that indicator using the Oh Dear!'s status page API. Using that API, you can get the summarized status of a status page, the status of each of the individual site on it, read and write update messages, ... It's pretty powerful. In theory, you could use this to build an entire custom version of a status page.
Oh Dear! has a PHP SDK package, that lets you use the API very easily. In Flare we use the SDK in this command that is scheduled to run every minute.
namespace App\Support\OhDear;

use Exception;
use Illuminate\Console\Command;
use OhDear\PhpSdk\OhDear;

class FetchSummarizedStatusCommand extends Command
{
    protected $name = 'flare:fetch-summarized-status';

    public function handle()
    {
        $token = config('services.oh_dear.api_token');
        $statusPageId = config('services.oh_dear.status_page_id');

        $status = (new OhDear($token))->statusPage($statusPageId)->summarizedStatus;

        SummarizedStatus::put($status);
    }
}
That SummarizedStatus class is a simple wrapper around a session key.
namespace App\Support\OhDear;

use Illuminate\Support\Facades\Cache;

class SummarizedStatus
{
    const STATUS_UP = 'up';
    const STATUS_DOWN = 'down';
    const STATUS_UNKNOWN = 'unknown';

    public static $key = 'summarized-status';

    public static function isUp(): bool
    {
        return Cache::get(self::$key, self::STATUS_UP) !== self::STATUS_DOWN;
    }

    public static function put(string $status): void
    {
        Cache::put(self::$key, $status);
    }
}
In the view that renders the footer, we can use the SummarizedStatus.
<li><a href="https://status.flareapp.io" class="flex items-center">
    <span class="w-2 h-2 mr-2 rounded {{ \App\Support\OhDear\SummarizedStatus::isUp() ? 'bg-green-400' : 'bg-red-400' }} border border-tint-200"></span>
    Service status
</a></li>
Closing thoughts
I hope you liked this tour of the status pages. There are some more things that we didn't touch upon: an RSS feed, timezone support, custom messages, ...
We like to keep Oh Dear! really simple. We only add features that could be useful for 90% of our audience. I believe status pages are such a feature. We've put a lot of time getting the details of the status pages just right.
I've had a lot of fun building this feature. Luckily I did not have to it alone. Seb took care of the looks and some JavaScript magic. Mattias figured out all that cool custom domain stuff.
I've called Oh Dear! an uptime monitor, but unlike most other services, Oh Dear will! check more than just the homepage. It will crawl your entire site and notify you if there's a problem with any of the pages. It can also check your SSL certificates and mixed content.
You can try it out for free at https://ohdear.app.