How to add webmentions to a Laravel powered blog
The comment section of this blog used to be powered by Disqus. At its core, Disqus works pretty well. But I don't like the fact that it pulls in a lot of JavaScript to make it work. It's also not the prettiest UI.
I've recently replaced Disqus comments with webmentions. If you reply to, like or retweet this tweet, that interaction will, after a few minutes, appear in the comment section below.
Try it!
? How to add webmentions to a Laravel powered bloghttps://t.co/S6KdTAW1rS#php #laravel #webmentions
— Freek Van der Herten ? (@freekmurze) July 15, 2019
In this blog post, I'd like to explain why I moved to webmentions and how they are implemented on this blog.
What are webmentions?
Recently my colleague Seb wrote a very interesting blog post on webmentions. Reading that post got me interested in webmentions. In the post, Seb already explains what webmentions are.
Webmentions are a protocol for websites to communicate across each other. What makes the webmention standard interesting is that it's not tied to a single service — it's a protocol. Webmentions can be aggregated from a range of different services from Twitter, to other blogs or even direct comments.
Sending webmentions
Whenever I publish a blog post, a tweet with a link is automatically published. Ideally, I'd like to be notified by Twitter whenever that tweet (or any tweet that contains a link to my blog) is replied to, liked or retweeted.
Unfortunately, Twitter itself has no support for webmentions. But luckily some services can add this.
One of them is Bridgy. After it has been set up, Bridgy will scan Twitter for any tweets that contain a link to https://freek.dev. It'll also scan for new interactions (replies, retweets, likes) to those tweets.
Whenever it finds a link to my blog, it will look for a link tag on that page. If Bridgy finds this tag, it will send a webmention to the specified URL in href. More on that later.
<link rel="webmention" href="...">
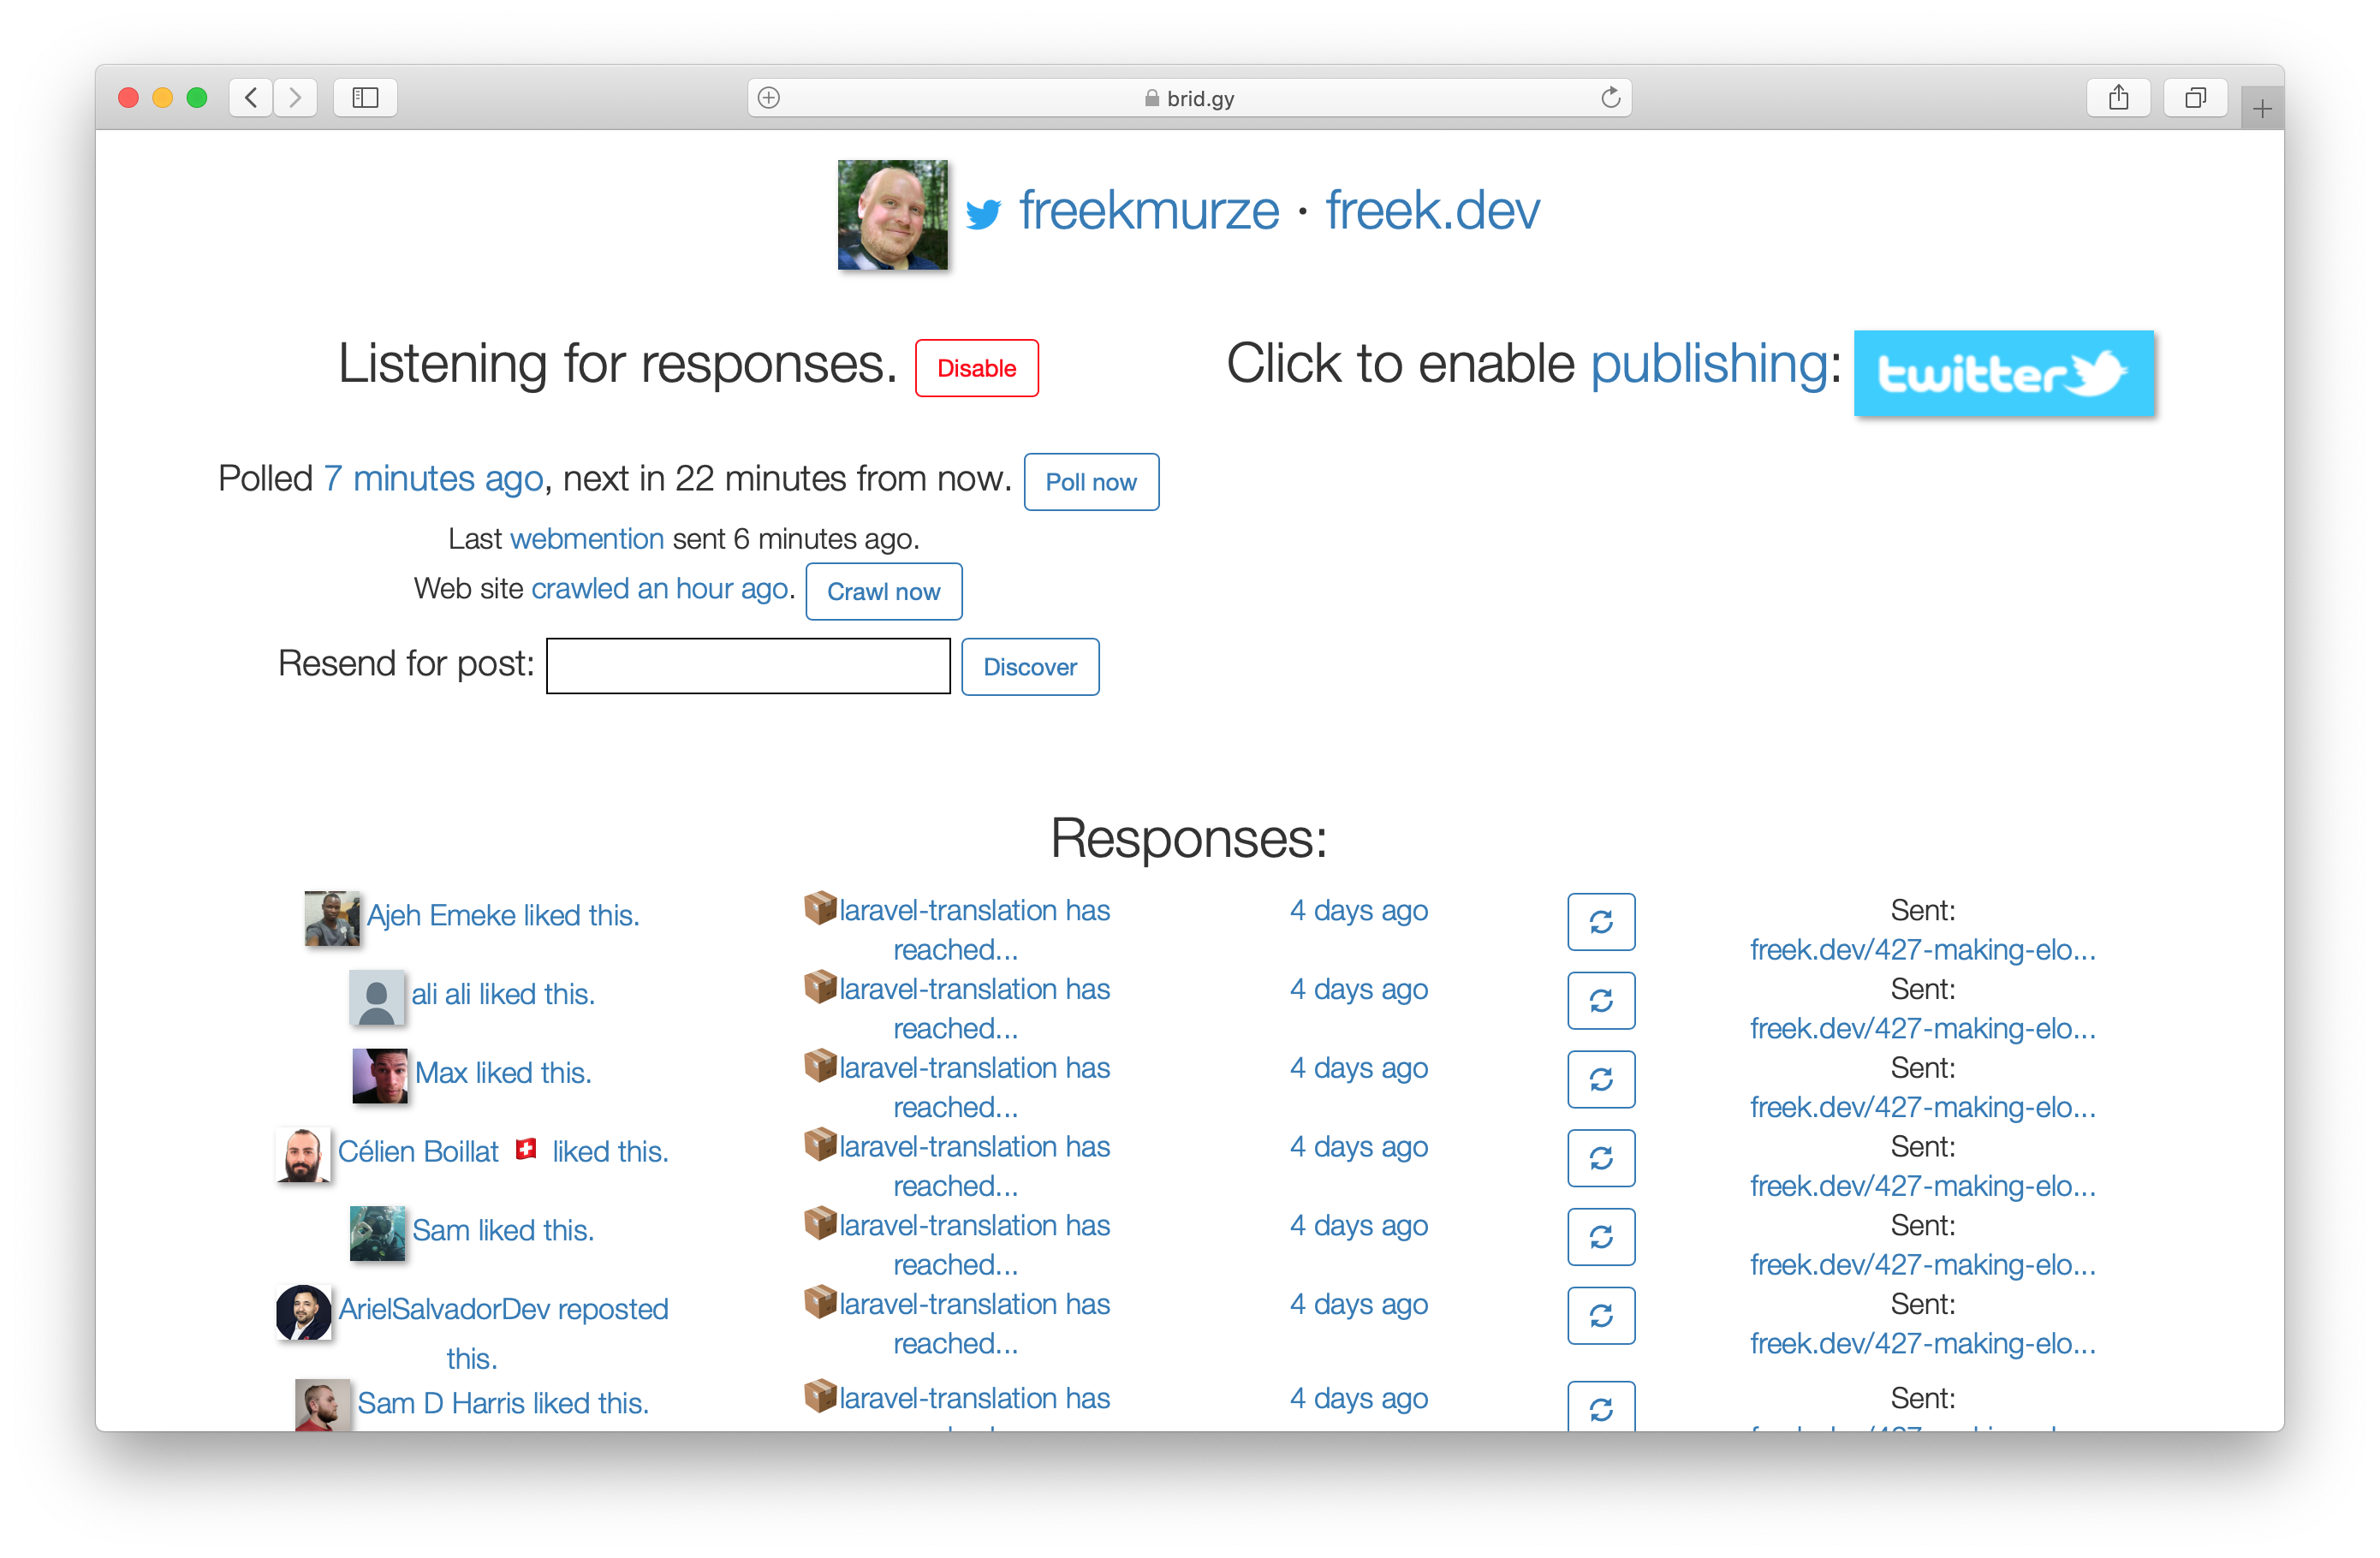
Here's how Bridgy UI looks like.

It might not be the prettiest screen, but here you can see when it'll scan Twitter for new mentions and crawl my blog for new or updated webmention targets. Using the UI, you can manually start these actions. You can also resend a webmention. These options came in very handy when developing webmention support for this blog.
Receiving webmentions
So Bridgy can send out webmentions, but we should also take care of receiving webmentions. Sure, you could code up a server yourself that can receive webmentions, but there are also specialized services for this. By using a service, you're sure that even when your server might be down for some reason, webmentions will still be recorded.
I'm using Webmention.io. It can filter out spammy webmentions performed by bots. To have Bridgy send all webmentions to webmention.io, I need to specify this href on each post page of my blog.
<link rel="webmention" href="https://webmention.io/freek.dev/webmention" />
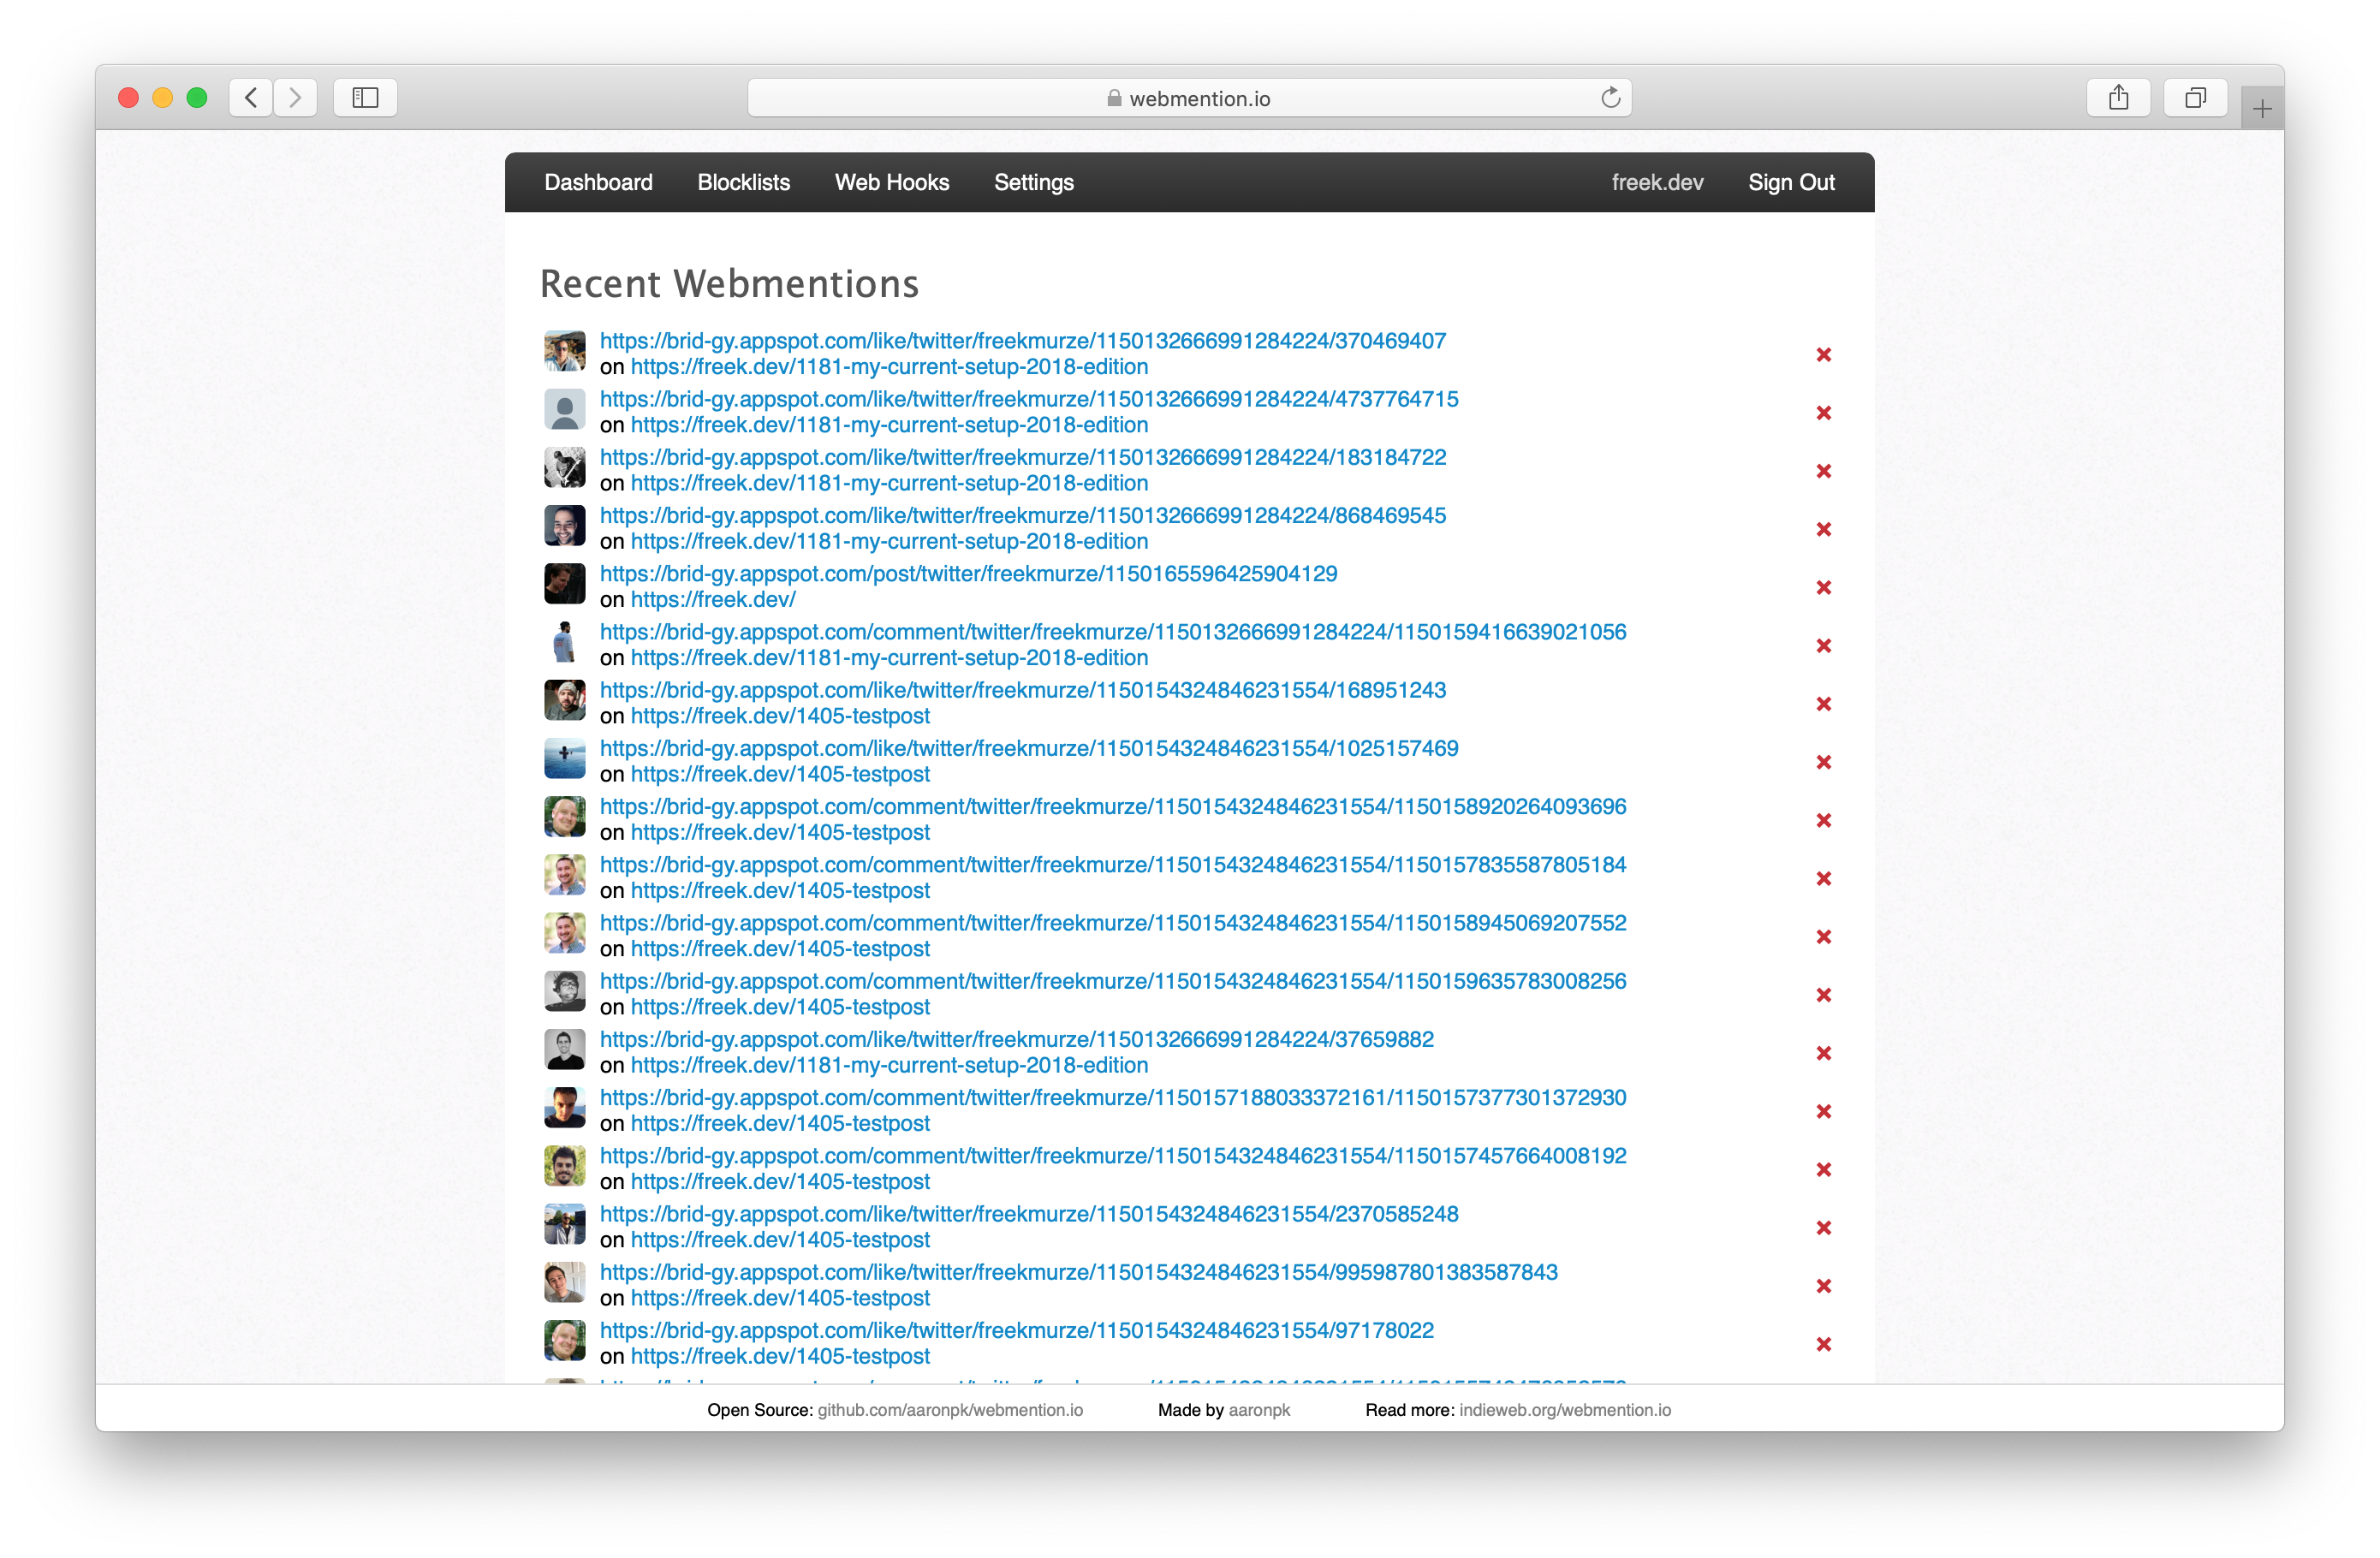
On the webmention.io UI, you can see each webmention that Bridgy sent.

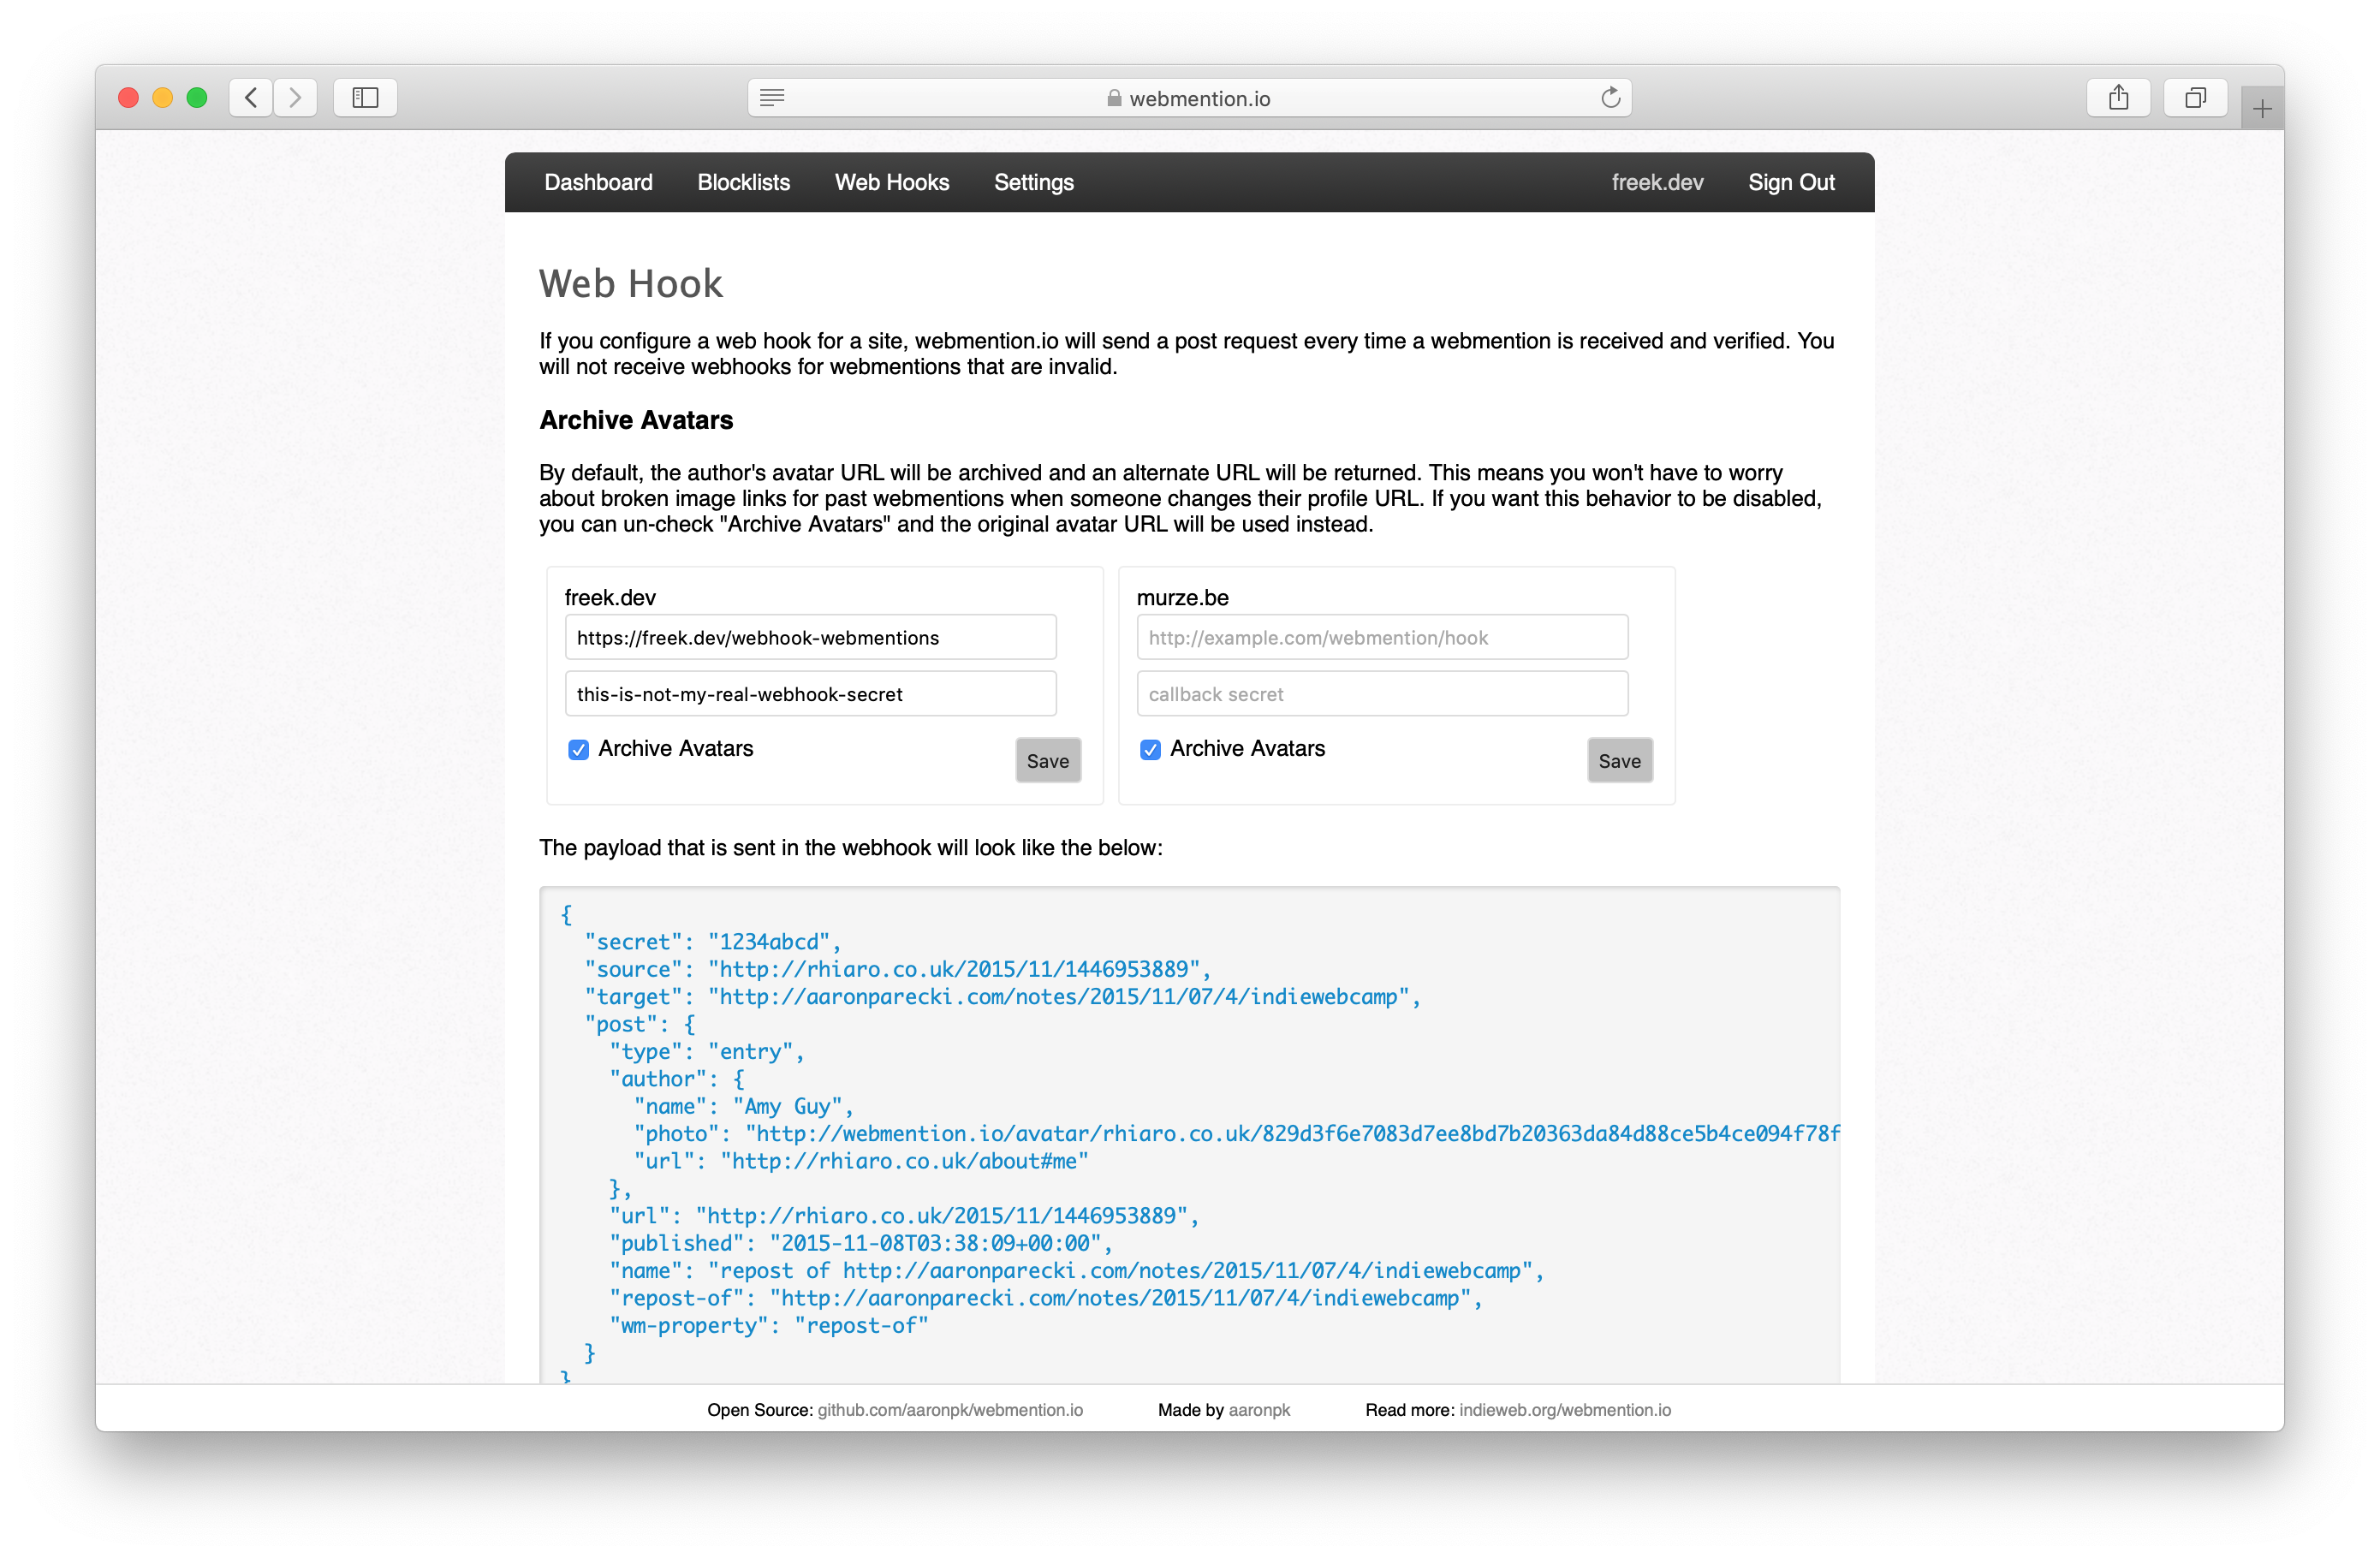
Webmention.io has support for sending out webhooks. We can configure it so that a soon as they get a webmention (and they deem it non-spammy), they send it to a specified URL.

With that out of the way, let's take a look at how we handle the incoming webhooks from webmention.ui in our Laravel app.
Processing webmentions
A few weeks ago, my team at Spatie released a package called laravel-webhooks-client. This package makes it easy to handle any incoming webhook in a Laravel app.
After installing the package, the first thing that needs to be taken care of is making sure there's a URL that can accept the call made to our app by webmention.io. Using the package, you need to use the webhooks macro on Route. I've put this line in my routes file:
Route::webhooks('webhook-webmentions', 'webmentions');
The first parameter is the URL. The second parameter is the key used in the config file. Go over this section in the readme of the package on GitHub to know more about that.
In the screenshot above you've probably noticed that callback secret field. Webmention.io will add the value of that field in the payload it sends. I've also created a webmentions.webhook_secret entry in the config/services.php file and put that secret there.
When using the laravel-webhook-client package, you can specify a class that is responsible for determining if the webhook call is valid.
namespace App\Services\Webmentions;

use Illuminate\Http\Request;
use Spatie\WebhookClient\SignatureValidator\SignatureValidator;
use Spatie\WebhookClient\WebhookConfig;

class WebmentionWebhookSignatureValidator implements SignatureValidator
{
    public function isValid(Request $request, WebhookConfig $config): bool
    {
        if (! $request->has('secret')) {
            return false;
        }

        return $request->secret === config('services.webmentions.webhook_secret');
    }
}
Whenever webmention.io calls our app via the webhook, I'd like to transform the payload, associate it with the blog post it concerns, and add it to the database in the webmentions table.
All this is done in ProcessWebhookJob. Here is the code:
namespace App\Services\Webmentions

use App\Models\Post;
use App\Models\Webmention;
use Illuminate\Support\Arr;
use Spatie\Url\Url;
use Spatie\WebhookClient\ProcessWebhookJob as SpatieProcessWebhookJob;

class ProcessWebhookJob extends SpatieProcessWebhookJob
{
    public function handle()
    {
        $payload = $this->webhookCall->payload;

        if ($this->payloadHasBeenReceivedBefore($payload)) {
            return;
        }

        if (!$type = $this->getType($payload)) {
            return;
        }

        if (!$post = $this->getPost($payload)) {
            return;
        }

        Webmention::create([
            'post_id' => $post->id,
            'type' => $type,
            'webmention_id' => Arr::get($payload, 'post.wm-id'),
            'author_name' => Arr::get($payload, 'post.author.name'),
            'author_photo_url' => Arr::get($payload, 'post.author.photo'),
            'author_url' => Arr::get($payload, 'post.author.url'),
            'interaction_url' => Arr::get($payload, 'post.url'),
            'text' => Arr::get($payload, 'post.content.text'),
        ]);
    }

    private function payloadHasBeenReceivedBefore(array $payload): bool
    {
        $webmentionId = Arr::get($payload, 'post.wm-id');

        return Webmention::where('webmention_id', $webmentionId)->exists();
    }

    private function getType(array $payload): ?string
    {
        $types = [
            'in-reply-to' => Webmention::TYPE_REPLY,
            'like-of' => Webmention::TYPE_LIKE,
            'repost-of' => Webmention::TYPE_RETWEET,
        ];

        $wmProperty = Arr::get($payload, 'post.wm-property');

        if (!array_key_exists($wmProperty, $types)) {
            return null;
        }

        return $types[$wmProperty];
    }

    private function getPost(array $payload): ?Post
    {
        $url = Arr::get($payload, 'post.wm-target');

        if (!$url) {
            return null;
        }

        $postIdSlug = Url::fromString($url)->getSegment(1);

        [$id] = explode('-', $postIdSlug);

        return Post::find($id);
    }
}
I'm not going to go through this code step by step. Most of it should be self-explanatory.
Now that we have stored the webmentions in the database and they are associated with a post, we can loop through them in a Blade view.
Using webmentions as a commenting system vs Disqus
I have a love-hate relationship with Disqus. The core features work very well, there's support for nested comments, logging in possible to post comments is possible via a variety of systems.
On the downside, the UI Disqus adds to a site is ugly (imho) and can't be customized too much. Because of how it is rendered on the page, Google won't index the comments. Disqus can also inject ads into the comments.
Using Twitter webmentions as a comment system is also a mixed bag. It's nice to that you're in full control of how the comments are rendered. You'll also store the comments somewhere yourself, so you're not dependent on a service that keeps the content for you.
On the flip side, you must keep in mind that webmentions don't appear immediately. Commenters need an account of another service (in my case they need to have a Twitter account). Comments can't be long, because there's a low limit on the number of characters a tweet can have (you can of course still use multiple tweets. There's no support for nested tweets whatsoever.
Right now I think I like the trade-offs of webmentions more. I don't have too many comments on the posts on this blog, but most of my audience seems to be active on Twitter. Maybe my thoughts on this will change in the future. We'll see...
Closing thoughts
I hope you've enjoyed this tour of how webmentions are implemented on this blog. Here are some resources to check out if you want to know more:
- Seb's blogpost on webmentions
- A deep dive on webmentions by Chris Aldrich
- Brid.gy
- Webmention.io
- Our webhooks package
What do you think of this? Let me know in the comments below ?.
