
Going serverless with Hugo and Netlify
Our team releases a lot of open source packages. All of our packages are well documented. For the smaller packages, we use a simple readme on GitHub. The bigger packages, like medialibrary and event projector get documented on our documentation site.
We recently moved our site from a Digital Ocean server to Netlify, a serverless platform. In this post, I'd like to tell you why and how we did this.
A good old Laravel app
Until a few weeks ago, our documentation site was a Laravel app. All content was included in that repo as a set of markdown files. Whenever a markdown file got updated, we had a webhook notify our server which would pull in the changes.
For a long time, this approach worked pretty well for us. There were two downsides. First, the documentation of a package wasn't in the package repo, but in the docs.spatie.be repo. When getting PRs, we had to ask contributors to send an extra PR to docs.spatie.be to update the documentation. Secondly, we had to manage a Digital Ocean server ourselves to host the site.
Moving to Netlify
A couple of weeks ago, we finished our transition to Netlify. Because of the serverless nature of Netlify, we don't have to manage a server ourselves anymore to host docs.spatie.be. All documentation of a packag now lives in the docs directory of the package itself.
On each package that has a docs directory, we added a webhook to Netlify.
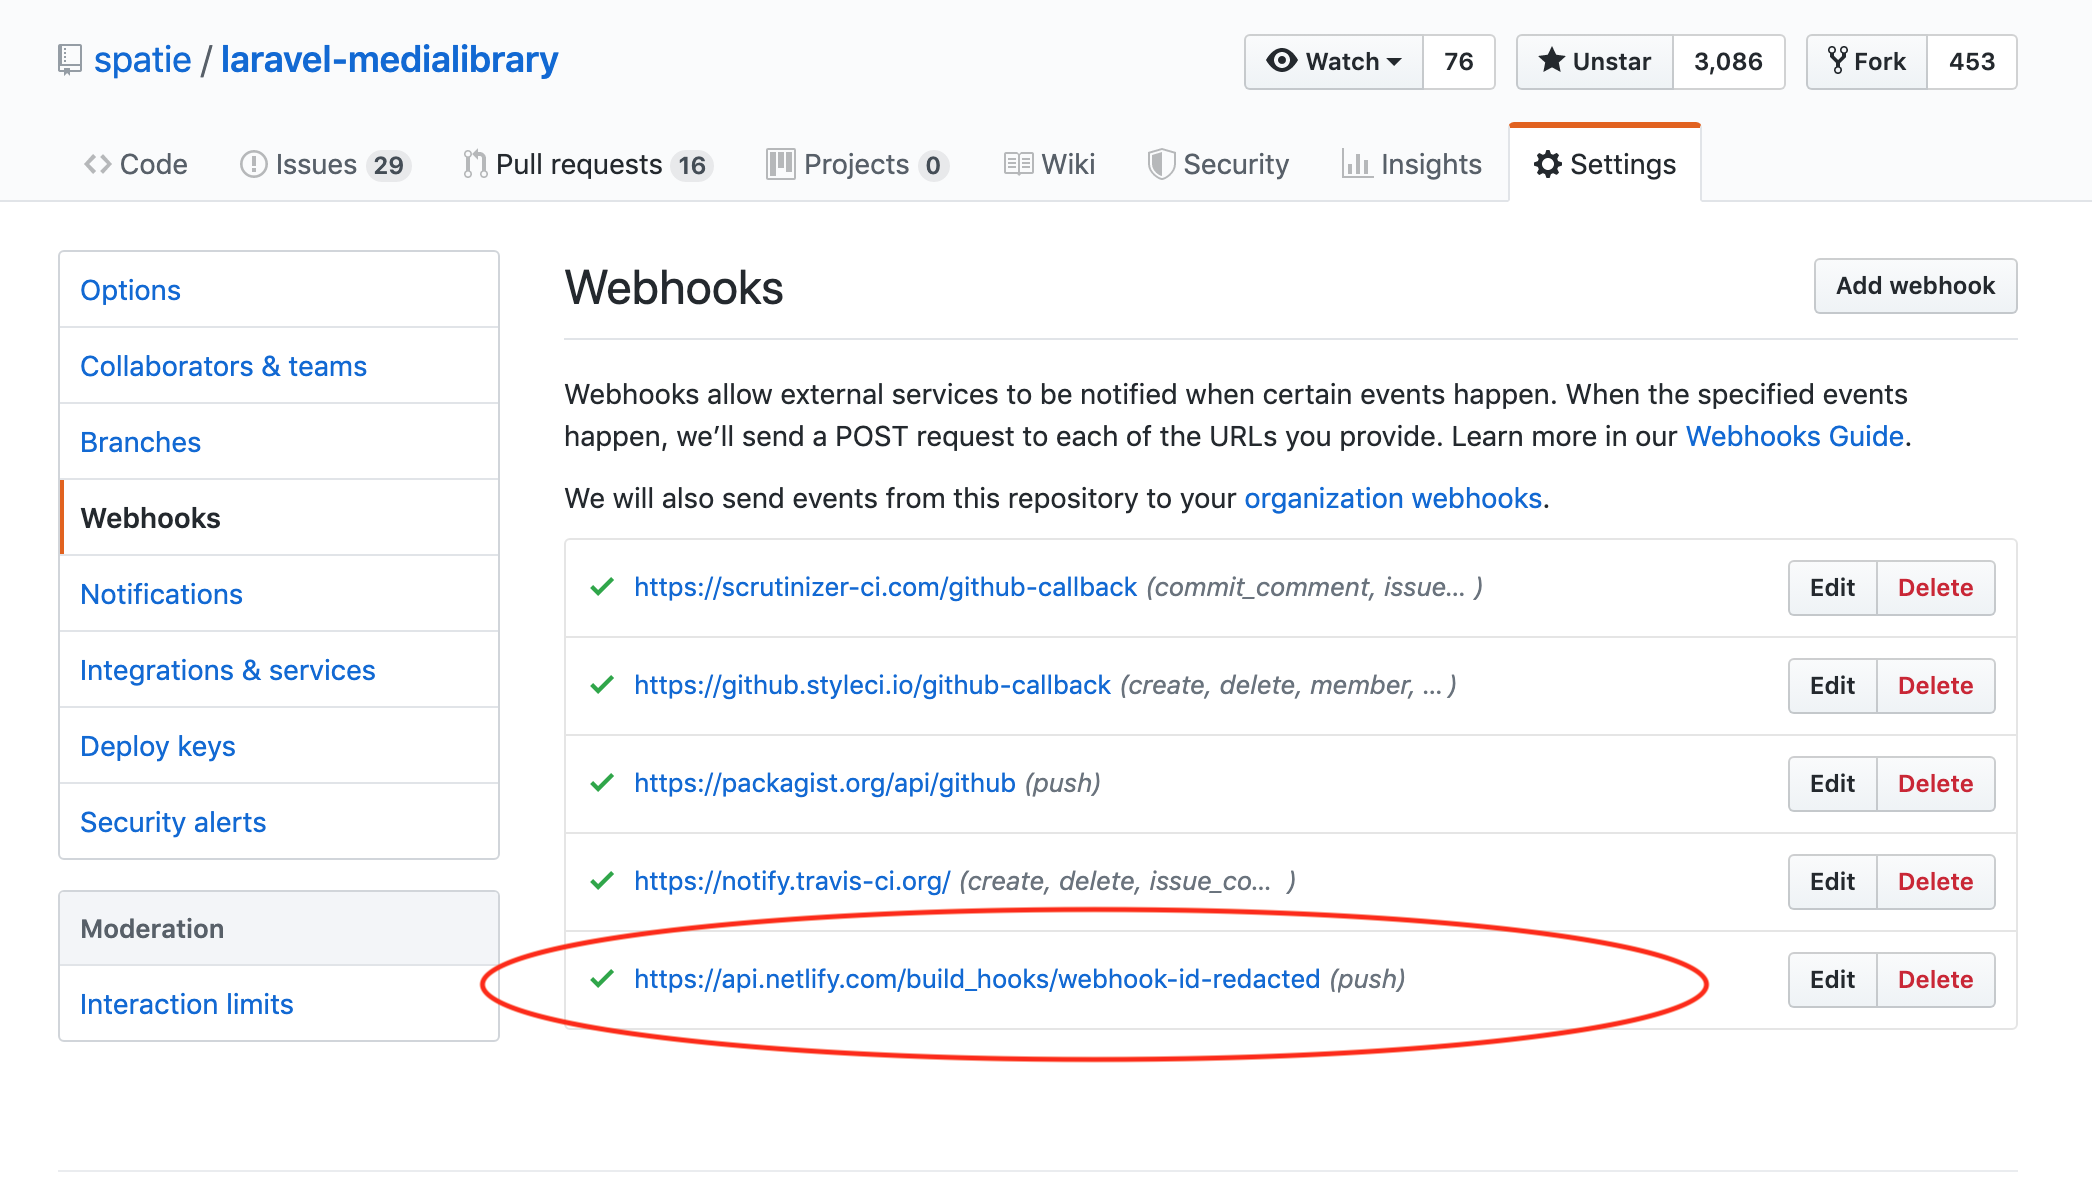
So each time something is committed, Netlify will get notified. At that time, our deploy and build script will run. That script will, in short, download the docs directories of all repos, and use a static site builder called Hugo to build the docs.spatie.be site. Let's take a look at how that works under the hood.
The new docs.spatie.be repo does not contain a Laravel app anymore, but the Netlify configuration for docs.spatie.be.
At Netlify we've added that repo in the "Build settings".

In the repo, there's a netlify.toml file that contains instructions on how the site should be built. This is the command that 'll build the website.
command = "node fetch-content.js && hugo -b https://docs.spatie.be"
Let's take a look at the content of fetch-content.js.
const util = require("util");
const exec = util.promisify(require("child_process").exec);
console.log('Fetching repositories...');
console.time('Fetched repositories');

const repositories = require("./repositories.json");

function transformBranchToFolderName(branch) {
    return branch.startsWith('v') ? branch.substring(1) : branch;
}

(async function () {
    let promises = [];

    for (const repository of repositories) {
        for (const [branch, alias] of Object.entries(repository.branches)) {
            const folder = `content/${repository.name}/${alias}`;
            const url = `https://codeload.github.com/${repository.repository}/tar.gz/${branch}`;

            promises.push(exec(`mkdir -p ${folder} && curl ${url} \
             | tar -xz -C ${folder} --strip=2 ${repository.repository.split('/')[1]}-${transformBranchToFolderName(branch)}/docs \
             && echo "---\ntitle: ${repository.name}\ncategory: ${repository.category}\n---" > content/${repository.name}/_index.md`));

        }
    }

    await Promise.all(promises);
    console.timeEnd('Fetched repositories');
})();
The code above will loop over each of the repositories defined in repositories.json. For each repo a promise will be made that will fetch the code of the repo as a zip file and unzip it in a local content directory. You might think downloading all repos like this is slow, but it's very fast. It only takes a couple of seconds.
After node fetch-content.js has completed, hugo -b https://docs.spatie.be will be executed. This command will build the actual site. Hugo is installed by default on Netlify.
The directory structure of the locally created content directory will be used to determine the URL structure. You can read more on that in the Hugo docs. Hugo will parse each markdown file and use the templates in the layouts directory to convert them to HTML. It's our feeling the learning the Hugo templating language was one of the hardest things in this project.
In each docs directory of a repo, there is a _index.md file with some general settings. Each subdirectory also has an _index.md to specify its title and order in the navigation.
In closing
It's cool that by moving to Netlify, we don't need to manage a server for our docs site anymore. The fact that the documentation of a package now lives in the repo of the package itself is also a nice win.
A big thank you to my colleagues Rias and Seb, who researched Netlify & Hugo and put all of this together.
What are your thoughts on "Going serverless with Hugo and Netlify"?