We just released Laravel Mobile Pass, a package that lets you generate those Apple and Google passes from a Laravel app and send updates to already issues passes.
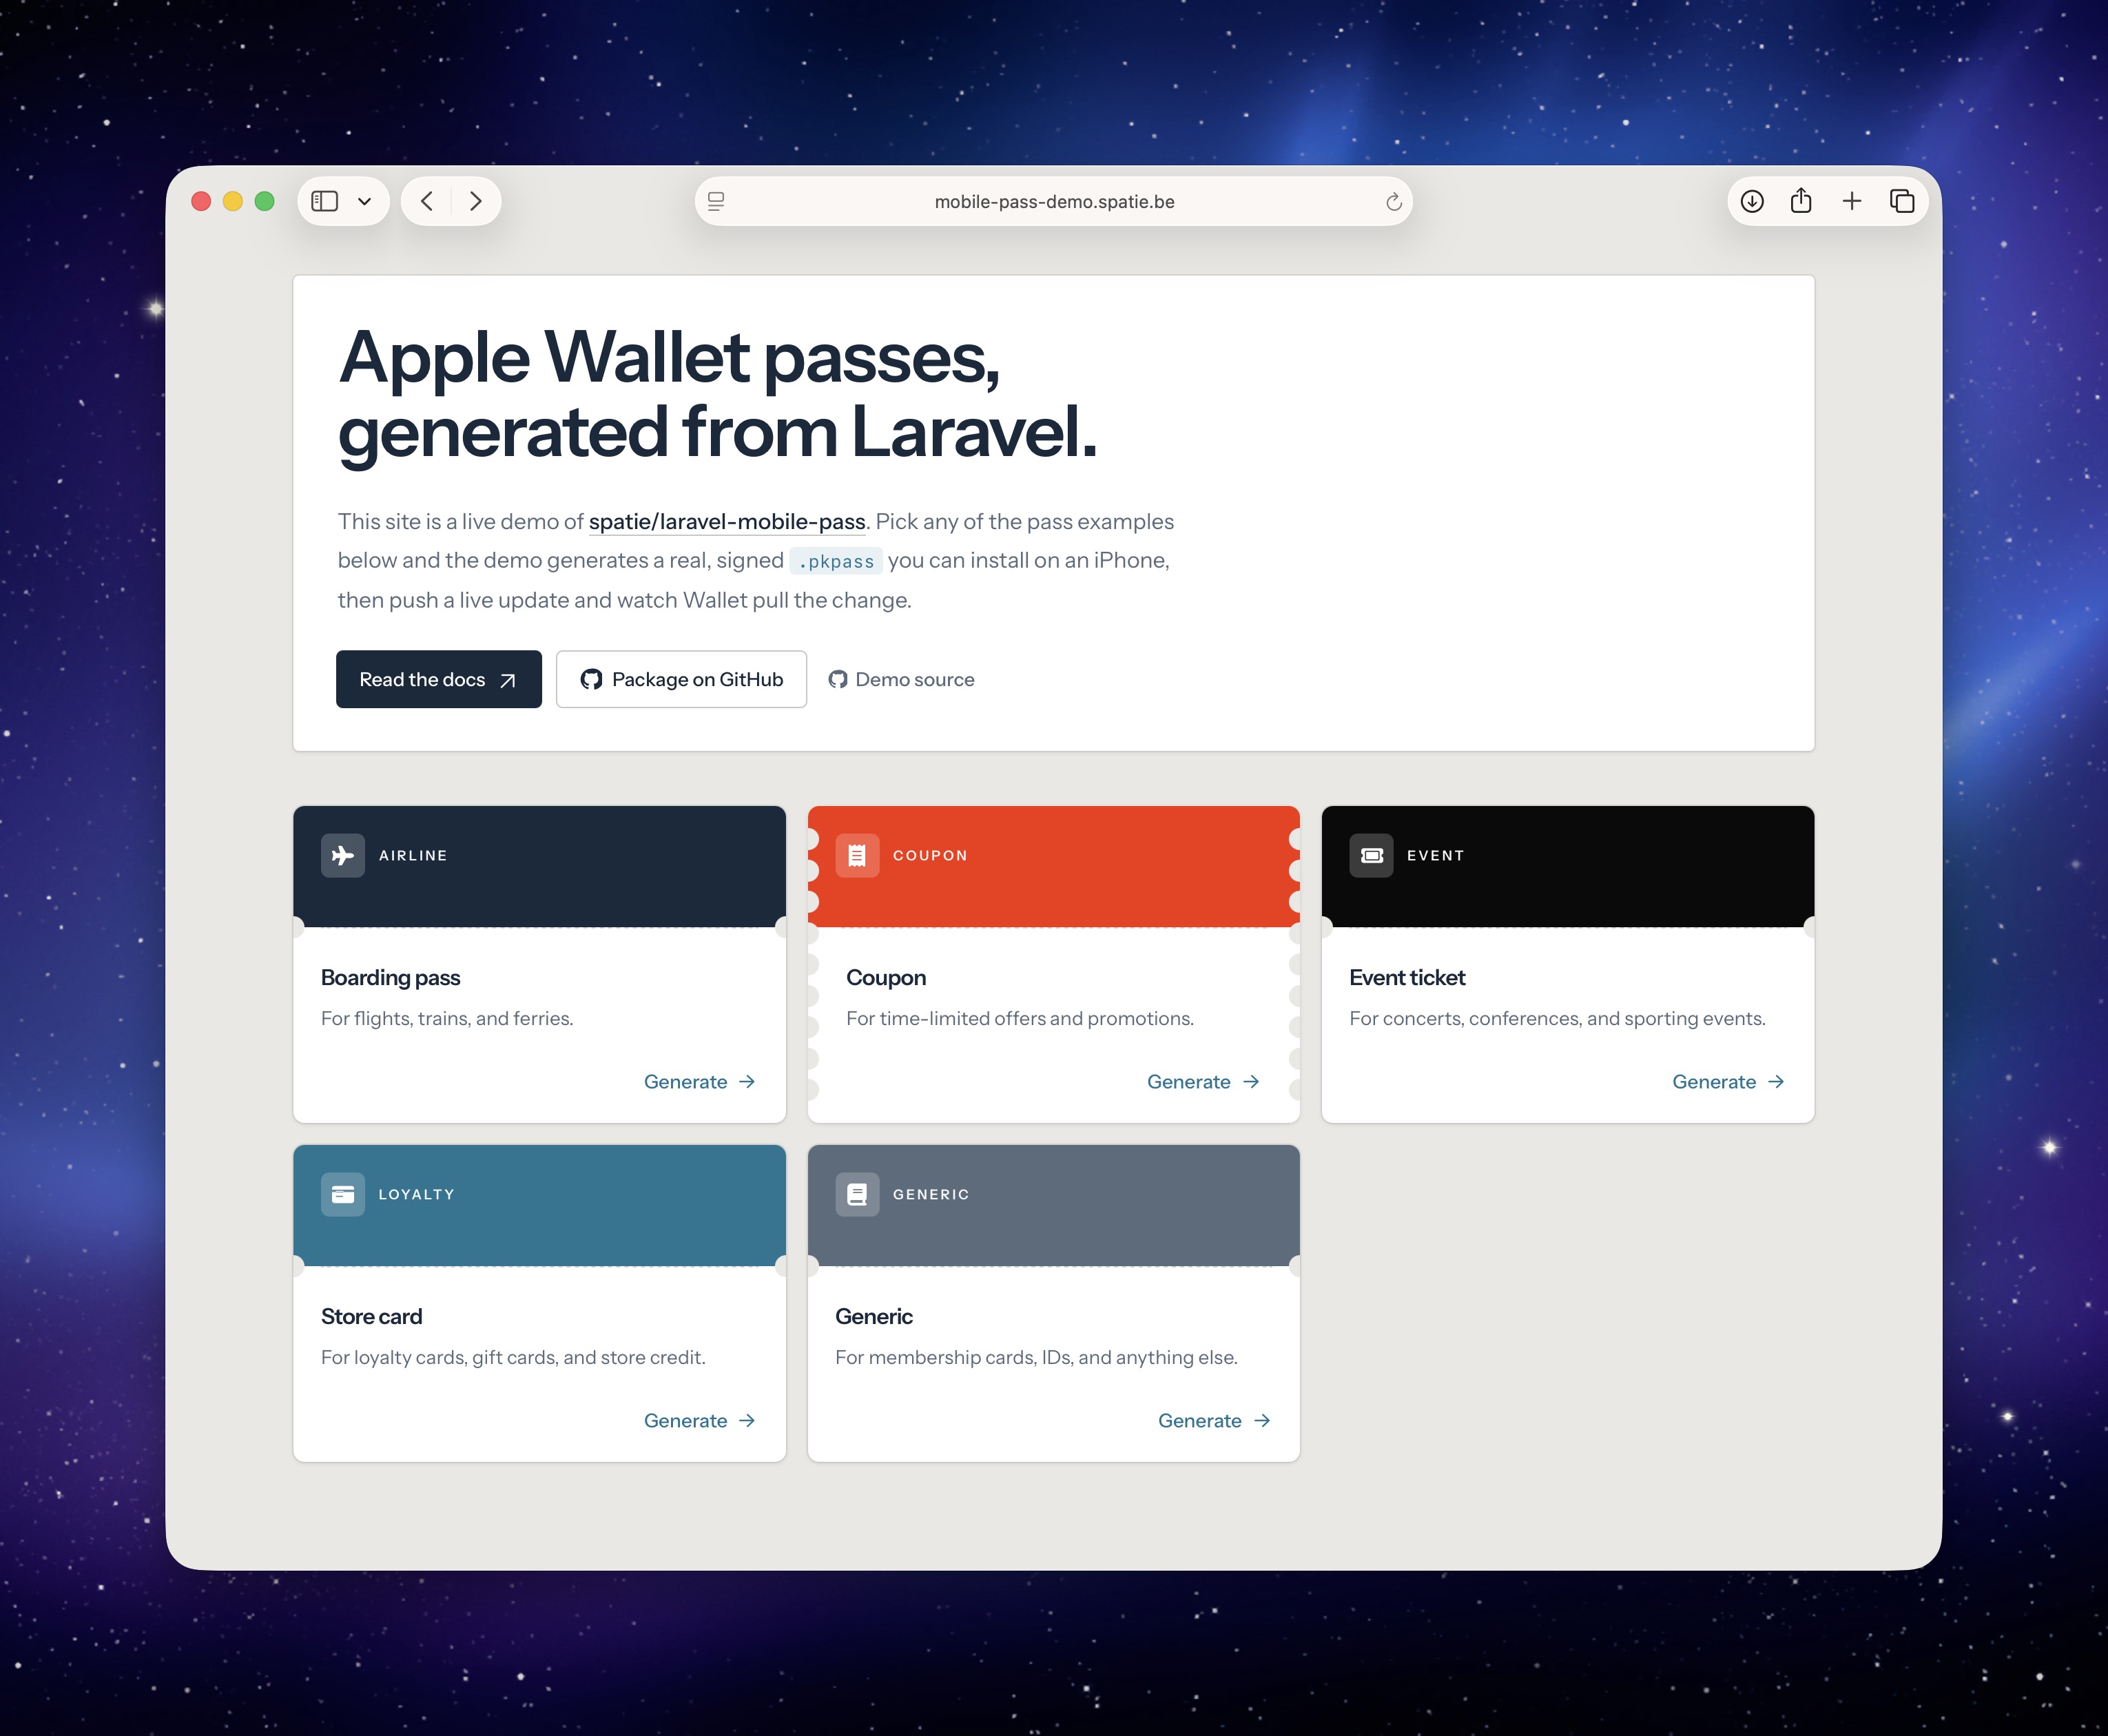
Together with the package, we also published a demo site where you can create Apple Wallet passes and push an update so you can see it all working on your own iOS device.
Dan Johnson and I have been working on it for a while. Let me walk you through what it can do.
A simple example
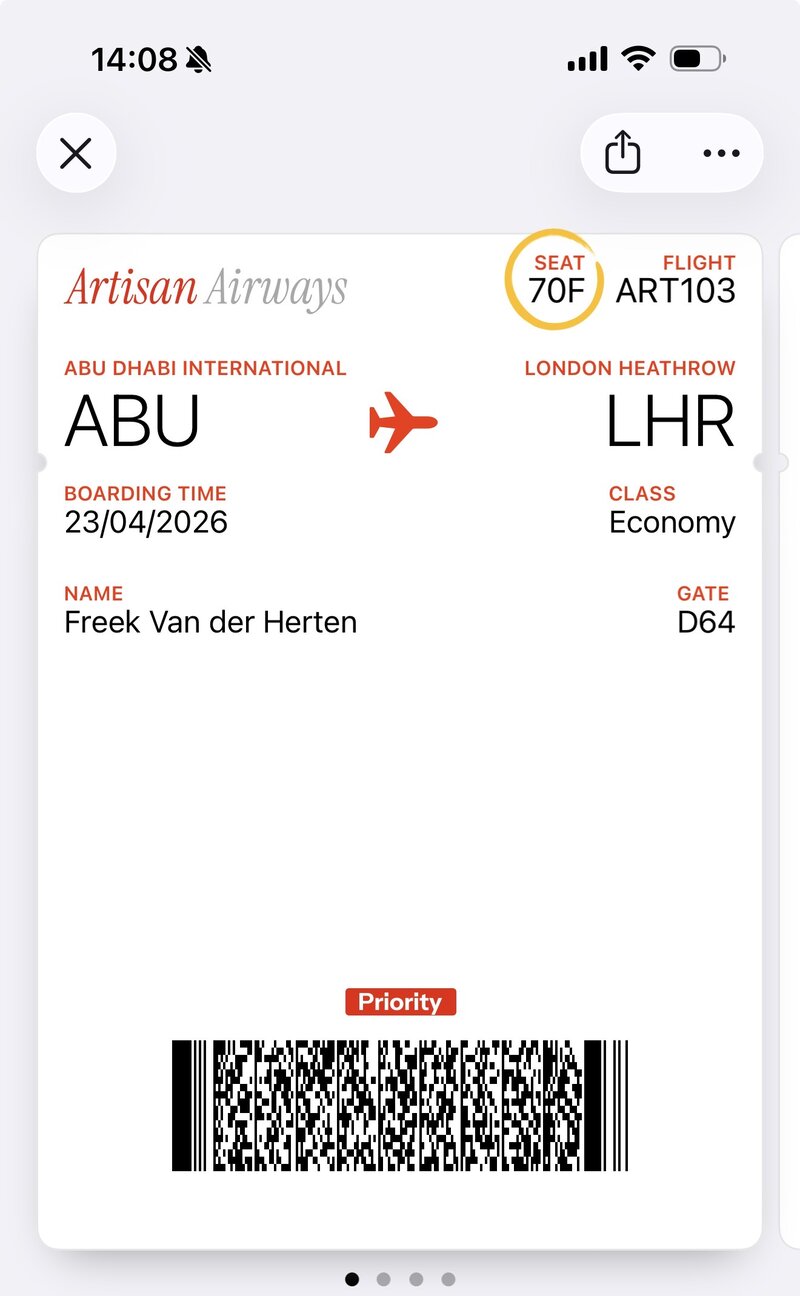
Here's the shortest useful thing you can build with it. An Apple Wallet boarding pass for a flight:
use Spatie\LaravelMobilePass\Builders\Apple\AirlinePassBuilder;
use Spatie\LaravelMobilePass\Enums\BarcodeType;

$mobilePass = AirlinePassBuilder::make()
    ->setOrganizationName('Artisan Airways')
    ->setSerialNumber('ART-103')
    ->setDescription('Boarding Pass')
    ->addHeaderField('flight-no', 'ART103', label: 'Flight')
    ->addHeaderField('seat', '66F')
    ->addField('departure', 'ABU', label: 'Abu Dhabi International')
    ->addField('destination', 'LHR', label: 'London Heathrow')
    ->addSecondaryField('name', 'Mary Smith')
    ->setBarcode(BarcodeType::Pdf417, 'ART-103-66F')
    ->save();
Calling save() gives you back a MobilePass model. Nothing is written to disk. The whole pass (fields, images, barcode, the lot) lives as a row in the mobile_passes table that ships with the package.
Handing the pass to a user
So in the example above, the $mobilePass variable contains MobilePass Eloquent model. It plays nice with the parts of Laravel you already know. Here are a few ways you can use it to send a mobile pass to a user
Return it straight from a controller. The model implements Responsable, so the package takes care of signing and serving the .pkpass file.
// in a controller
return $mobilePass;
Attach it to an outgoing mail. The model also implements Attachable, which means you can drop it into a Mailable's attachments() method and Laravel figures out the rest.
class FlightBooked extends Mailable
{
    public function __construct(public MobilePass $mobilePass) {}

    public function attachments(): array
    {
        return [$this->mobilePass];
    }
}
The user taps through, sees the pass preview in Apple Wallet, and taps Add.

Apple then calls back to your app to register the device against the pass. The package handles that endpoint and stores the registration. That link between pass and device is what lets you push updates later.
Pushing a live update
Here's the part I like most. If a seat gets reassigned or a gate changes, you can update the pass from your app and the version on the user's phone updates within a minute, without them doing anything.
$mobilePass->updateField('seat', '13A');
Under the hood, the package dispatches a job that notifies Apple through APNs. Apple pings the device. The device fetches the new version from your server. Wallet swaps the old pass for the new one.
Now this all happens silently, without warning the user. If you want the user to see a notification when the value changes, pass a changeMessage:
$mobilePass->updateField(
    'seat',
    '13A',
    changeMessage: 'Your seat was changed to :value',
);
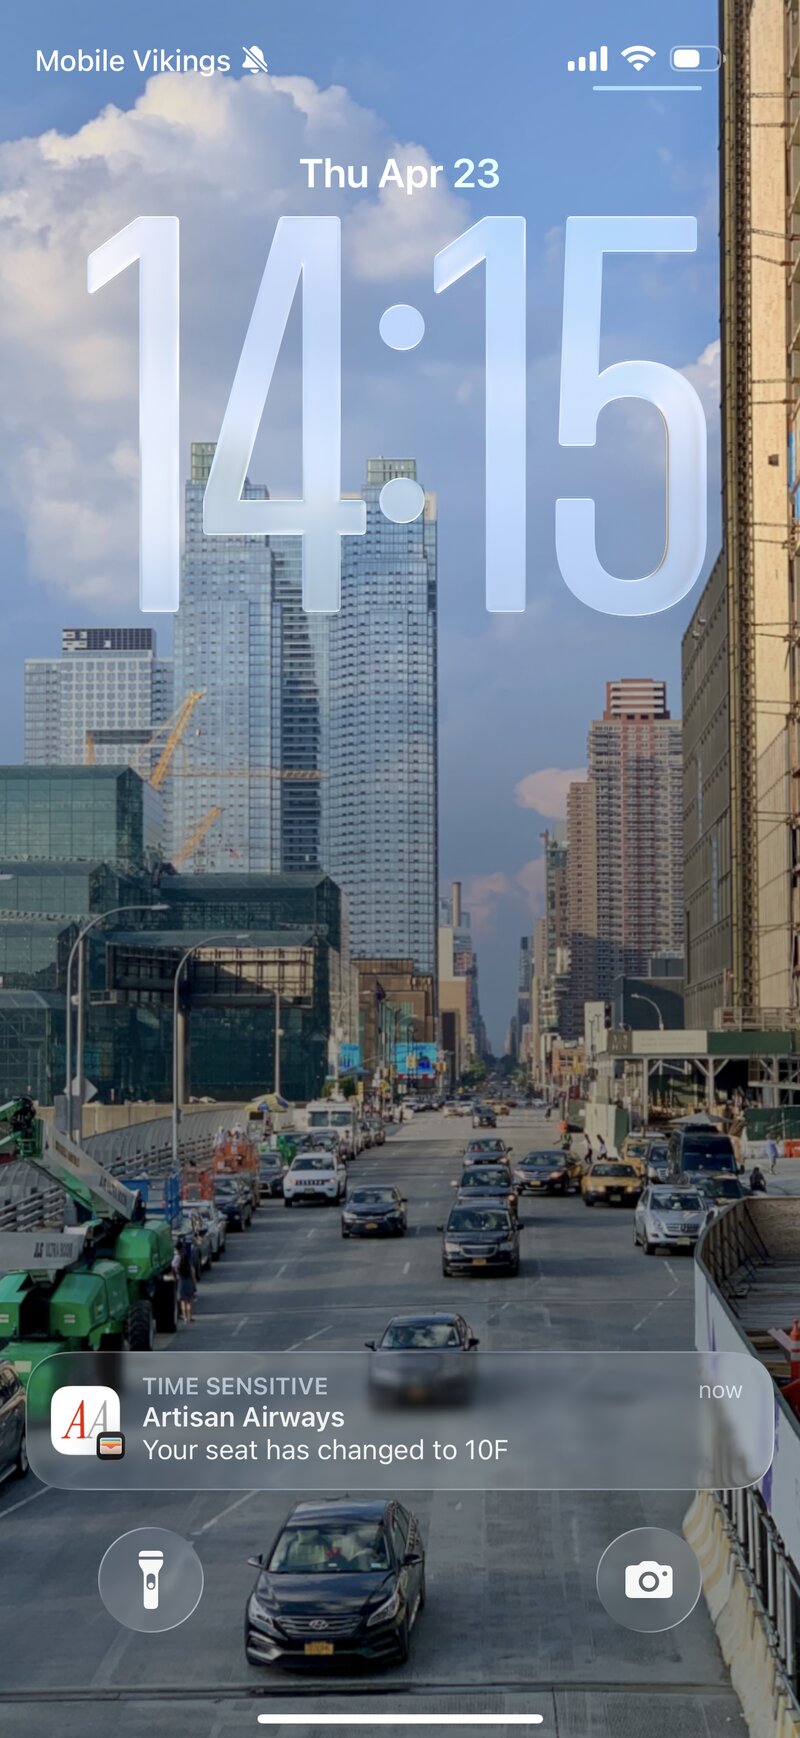
Very cool! If you tap that notification, you,'ll notice that Passbook highlights what was changed.
Google Wallet is supported too
Google Wallet works a little differently. Google wants you to declare a Class once (a shared template for a batch of passes) and then issue individual Objects against that class. The package covers both.
use Spatie\LaravelMobilePass\Builders\Google\EventTicketPassBuilder;
use Spatie\LaravelMobilePass\Enums\BarcodeType;

$mobilePass = EventTicketPassBuilder::make()
    ->setClass('spring-tour-2026')
    ->setAttendeeName('Mary Smith')
    ->setSection('Floor A')
    ->setRow('12')
    ->setSeat('24')
    ->setBarcode(BarcodeType::Qr, 'TICKET-12345')
    ->save();
Returning $mobilePass from a controller does the right thing on either platform. Android users get redirected to the Google Wallet save URL. iPhone users get the .pkpass download. The Responsable implementation picks the right response for the platform the pass was built for.
A few more things worth knowing
Picture the boarding pass from earlier. You hand it to the user three days before the flight. They install it and promptly forget it exists. An hour before departure, or the moment they walk into the airport, the pass drifts onto their lock screen without them doing anything. By the time they reach the gate, their thumb is already on it.
That trick is called pass relevance, and wiring it up is two calls on the builder:
$builder
    ->addLocation(latitude: 25.2528, longitude: 55.3644)
    ->setRelevantDate($flight->departs_at);
The location turns on the geofence. The date turns on the clock. Combine both and Wallet shows the pass at the right place and the right moment. It's the small thing that makes a Wallet pass feel like it belongs on the device instead of inside an email.
Passes don't need to stick around once they've served their purpose. When a coupon has been redeemed or a ticket is from last night, call expire() on the model and Wallet greys it out and drops it from the lock screen:
$mobilePass->expire();
If you issue Google Wallet passes, you probably want to know when someone actually saves one to their Wallet, or later removes it. Google pings your app on both events. The package listens for those callbacks and fires regular Laravel events you can subscribe to:
Event::listen(GoogleMobilePassSaved::class, function (GoogleMobilePassSaved $event) {
    // $event->mobilePass is now on the user's Wallet
});
Drop in a listener if you want to record activations, send a thank-you email, or kick off any other flow. It's the kind of integration that would otherwise involve reading Google's callback spec and signing JWTs by hand. You shouldn't have to.
Try it live
We put up a demo at mobile-pass-demo.spatie.be. Pick a pass type on the landing page, scan the QR code with your iPhone, install the pass, and hit the simulate-change button. Your Wallet pulls the new version a moment later. The full source of the demo app is on GitHub if you want to see how everything ties together.
In closing
At Laracon India 2025, Dan Johnson showed me a prototype he had been hacking on for generating Apple Wallet passes. I loved the idea, we decided to team up, and this package is what came out the other end. It took a while to get here, but we finally gave it the polish we wanted.
Mobile passes aren't new. Apple shipped Wallet (back then called Passbook) with iOS 6 in 2012, and Google followed with their own Wallet passes a few years later.
Given the two have been around for that long, I was surprised nobody had built a solid Laravel package around either platform yet. Luckily there's one now. Hope you like it!
The code is on GitHub. The full documentation is at spatie.be.
This is one of the many packages we've created at Spatie. If you want to support our open source work, consider picking up one of our paid products.
]]>